 Save Pin
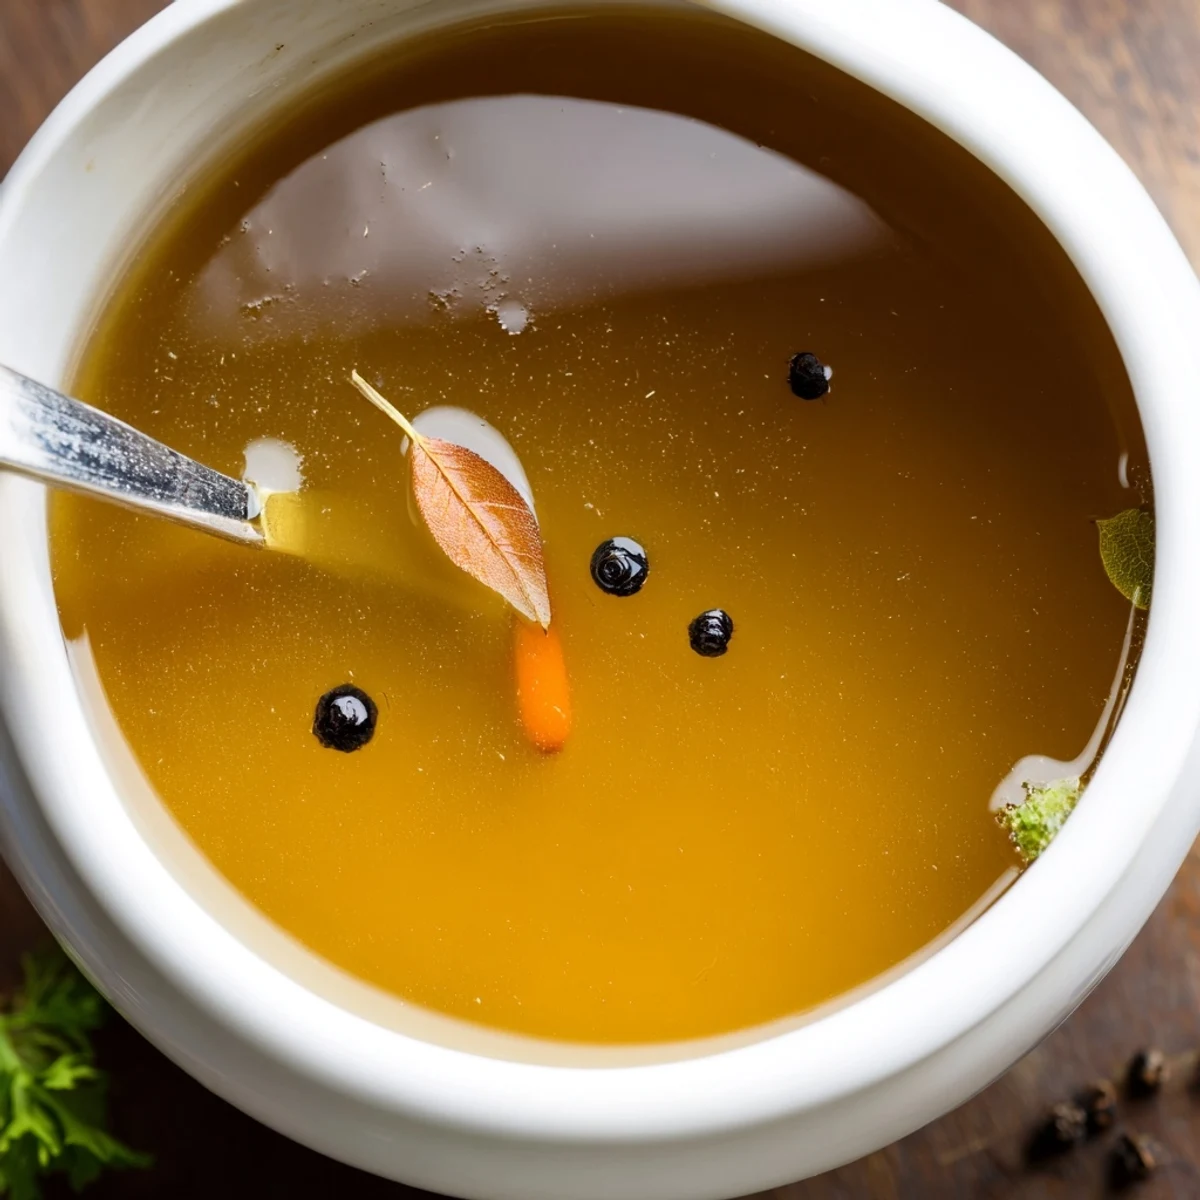
 Make a nourishing beef bone broth by simmering roasted or raw beef bones with carrots, celery, onion and garlic. Add apple cider vinegar to help extract minerals, then simmer gently for 12+ hours, skimming foam in the first hour. Strain through a fine-mesh sieve, cool and refrigerate to remove fat. Use hot as a restorative drink or as a flavorful base for soups, stews and sauces. Freeze portions for longer storage.
The house smelled like something ancient and good, the kind of scent that makes neighbors knock and ask what you are cooking. I started making beef bone broth years ago on a cold Sunday when the fridge was bare except for a bag of soup bones from the butcher. Twelve hours later I had a golden, jiggly liquid that tasted like it came from a restaurant kitchen, not my own. That batch changed how I think about cooking forever.
My friend Maria came over one afternoon while a pot was bubbling away on the stove and she sat in my kitchen reading a book for three hours just breathing it in. She left with two jars and called me the next day to say her risotto was never going to be the same.
Ingredients
- Beef bones (2.5 lbs or 1.1 kg): Use a mix of marrow, knuckle, and oxtail bones for the best balance of flavor and gelatin, and ask your butcher to cut them if they are too large.
- Carrots (2, roughly chopped): These add a gentle sweetness that rounds out the deep savory notes from the bones.
- Celery stalks (2, roughly chopped): Celery brings an earthy mineral quality that you would miss if you left it out.
- Large onion (1, quartered): Leave the skin on for a richer color in your finished broth.
- Garlic cloves (4, smashed): Smashing rather than mincing lets the garlic release flavor slowly without turning bitter over the long cook.
- Bay leaves (2): These quiet little leaves do more heavy lifting than almost anything else in the pot.
- Fresh parsley (1 small bunch): Add it in the last hour or two if you want a brighter, greener note in the final broth.
- Whole black peppercorns (1 tsp): Whole peppercorns give subtle warmth without clouding the broth the way ground pepper would.
- Apple cider vinegar (2 tbsp): This is the secret weapon, as the acid helps draw minerals and collagen out of the bones.
- Cold water (12 cups or 3 liters): Always start with cold water because it extracts flavor more evenly than hot.
- Salt to taste: Wait until the very end to salt so you can control the concentration after straining.
Instructions
- Roast the bones:
- Arrange the bones on a baking sheet and roast at 400 degrees F for about 30 minutes until they are deeply browned. This step is optional but the caramelized edges add a depth you simply cannot get any other way.
- Build the pot:
- Transfer the roasted bones to a large stockpot or slow cooker and toss in the carrots, celery, onion, garlic, bay leaves, parsley, and peppercorns. Pour the apple cider vinegar over everything.
- Add the water:
- Pour in the cold water, making sure the bones and vegetables are fully submerged. If they are not, add a little more water until everything is covered.
- Simmer and skim:
- Bring the pot to a gentle simmer over medium heat and use a ladle or skimmer to remove the grey foam that rises during the first hour. This foam is just impurities and skimming makes the broth clearer and cleaner tasting.
- Let time do the work:
- Lower the heat and let it barely bubble, uncovered or partially covered, for at least 12 hours. Check occasionally and add water if the level drops below the bones.
- Strain and season:
- Pour the broth through a fine mesh sieve or cheesecloth into a large bowl or second pot. Discard all the solids and then season with salt to your liking.
- Cool and store:
- Let the broth cool completely, then refrigerate so the fat solidifies on top and you can easily lift it off. Keep in the fridge for up to 5 days or freeze for up to 3 months.
 Save Pin
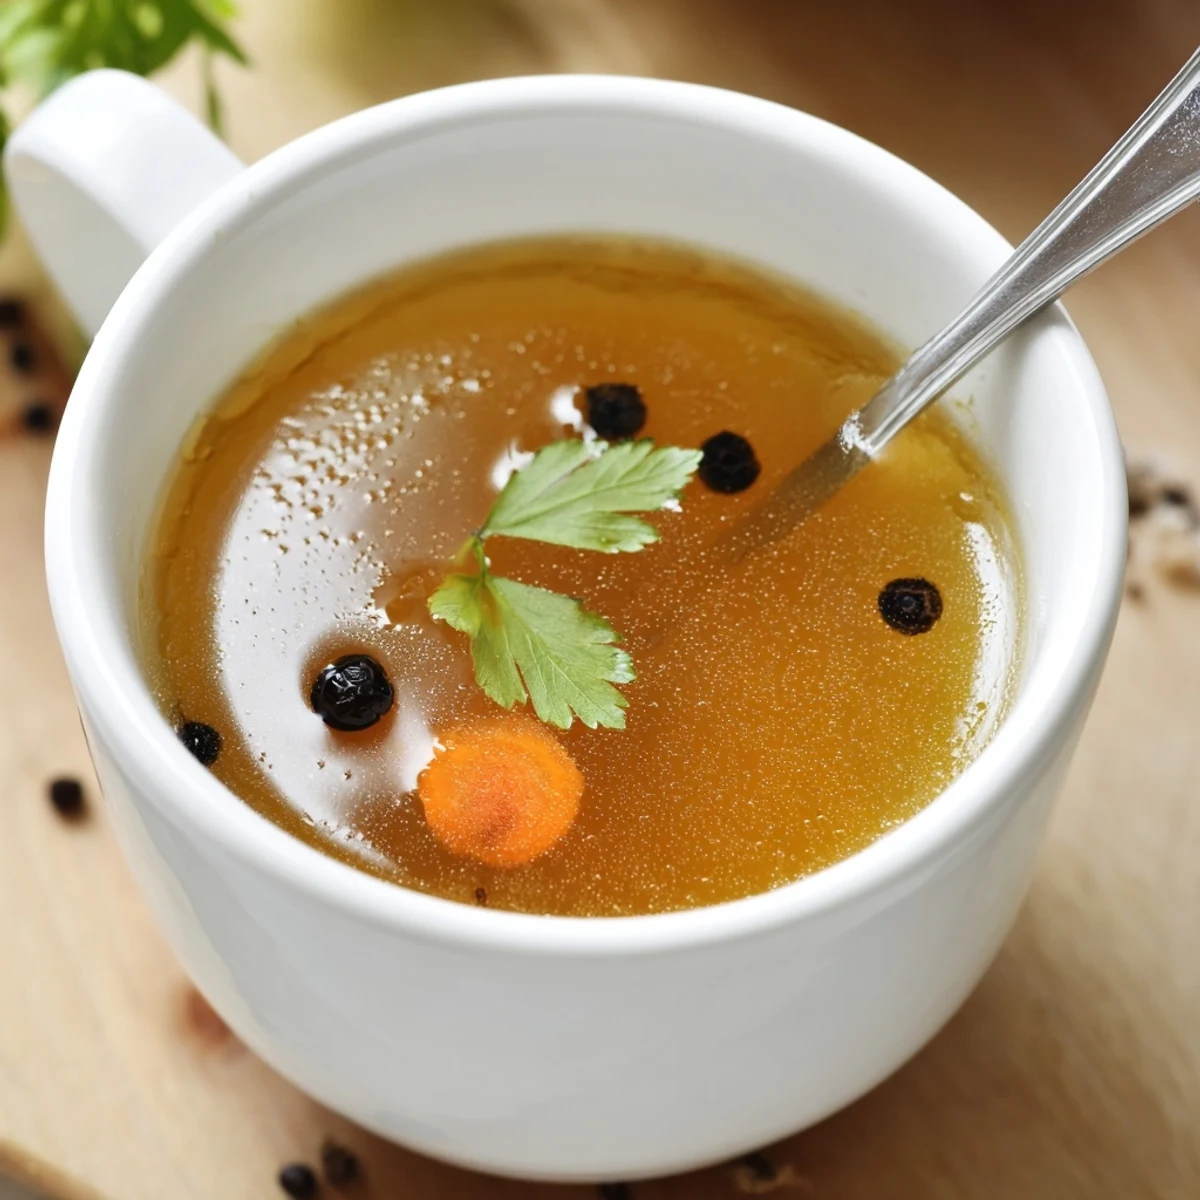
 There is something deeply satisfying about pulling a jar of your own broth from the freezer on a weeknight and knowing that a meal made with it will be better for it. It feels like a small act of care that keeps giving long after the simmering is done.
Choosing the Right Bones
Your butcher is your best friend here, so call ahead and ask for a mix of marrow bones, knuckle bones, and a few oxtail pieces. Knuckle bones are especially valuable because they contain more collagen, which translates directly to that coveted gelatinous texture. Marrow bones contribute richness and body, while oxtail adds a meaty sweetness. If you can only find one type, knuckle bones will give you the most satisfying result on their own.
Slow Cooker Versus Stovetop
Both methods work beautifully, but the stovetop gives you more control over the simmer level. If you use a slow cooker, set it to low and leave the lid slightly ajar with a wooden spoon to allow some evaporation and concentration of flavor. The stovetop requires a bit more attention but rewards you with a slightly deeper, more reduced broth. Either way, the goal is the barest occasional bubble, never a full rolling boil.
How to Use Every Last Drop
Once you have a stash of this broth in your freezer, you will find yourself reaching for it constantly and finding new uses faster than you can replenish it.
- Use it instead of water when cooking rice, quinoa, or couscous for an instant flavor upgrade.
- Sip a warm mug of it with a pinch of salt and a squeeze of lemon on mornings when you need something soothing.
- Freeze it in ice cube trays so you always have small portions ready for deglazing pans or thinning sauces.
 Save Pin
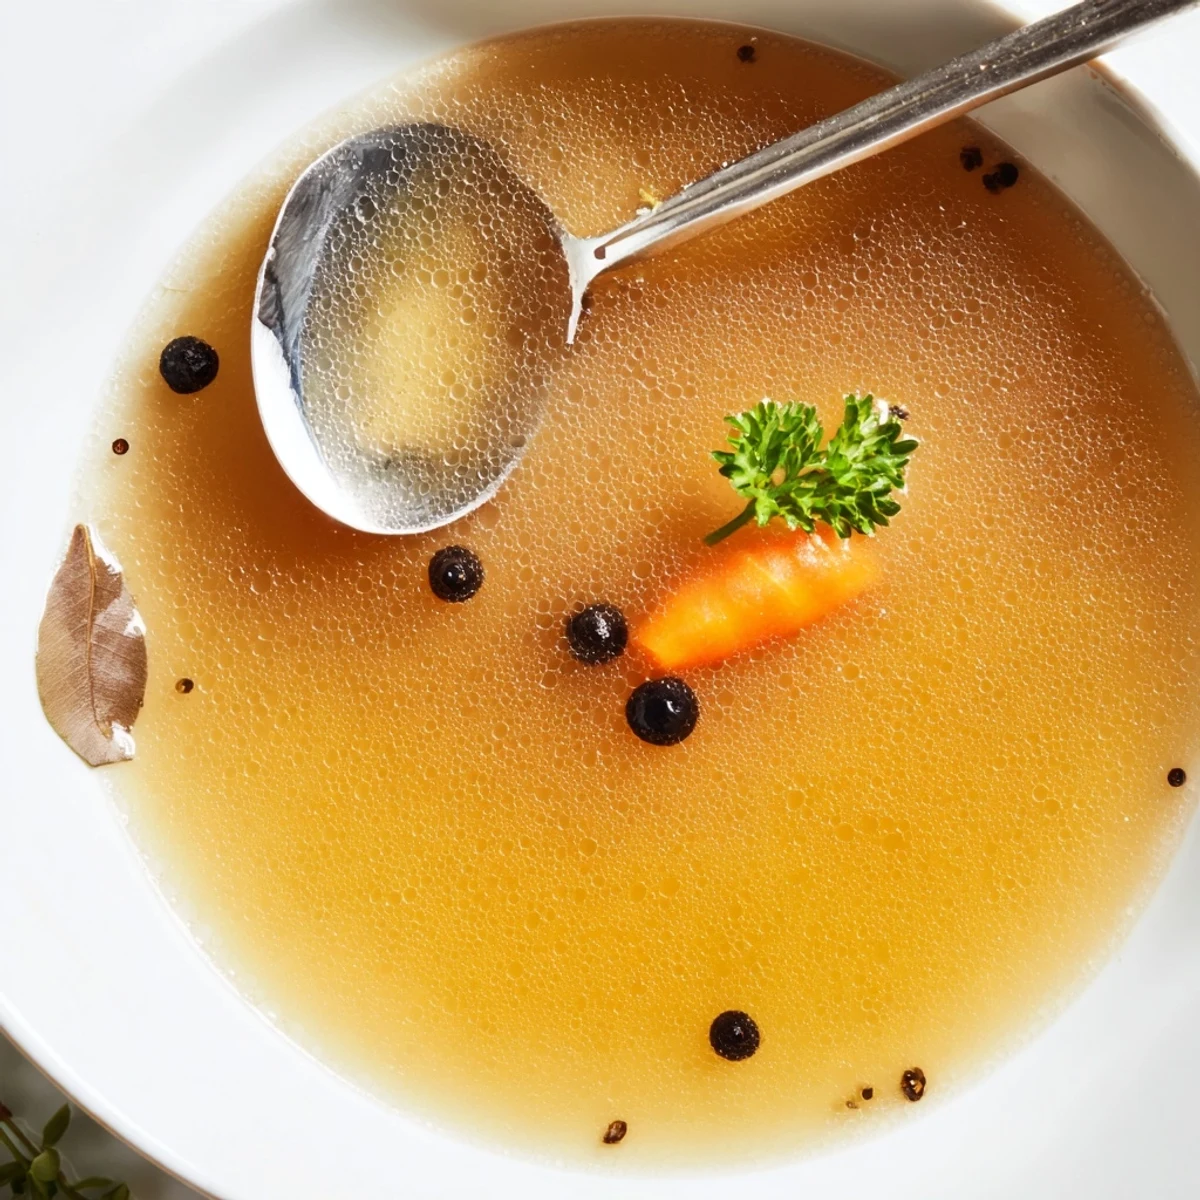
 Good broth asks for nothing more than time and patience, and it rewards both generously. Once you make it yourself, you will never look at a store bought carton the same way again.
Recipe FAQs
- → How long should I simmer beef bones for best results?
-
Simmer bones for at least 12 hours to extract collagen and develop flavor; extending to 18–24 hours yields a deeper color and more gelatinous body. Keep a gentle simmer and add water as needed to keep bones covered.
- → Why add apple cider vinegar to the pot?
-
A splash of vinegar helps draw minerals and collagen out of the bones into the liquid. Use 1–2 tablespoons before heating and let it sit briefly to improve extraction.
- → Should I roast the bones first?
-
Roasting bones for about 30 minutes at 400°F (200°C) caramelizes the surface, adding depth of flavor and a richer color. Skip roasting for a lighter, clearer broth.
- → How do I know when the broth is done?
-
When chilled, a well-made broth will set into a soft gel due to released collagen. If it remains thin, extend the simmer or include more marrow or knuckle bones next time.
- → How should I store and freeze the broth?
-
Refrigerate strained broth for up to 5 days; fat will solidify on top and can be skimmed. Freeze in portioned containers or ice cube trays for up to 3 months and thaw in the fridge before use.
- → When should I add salt and extra seasonings?
-
Season with salt after cooking to avoid over-concentrating flavors during reduction. Finish with salt to taste and add fresh herbs or additional vegetables for variation before serving.
