 Save Pin
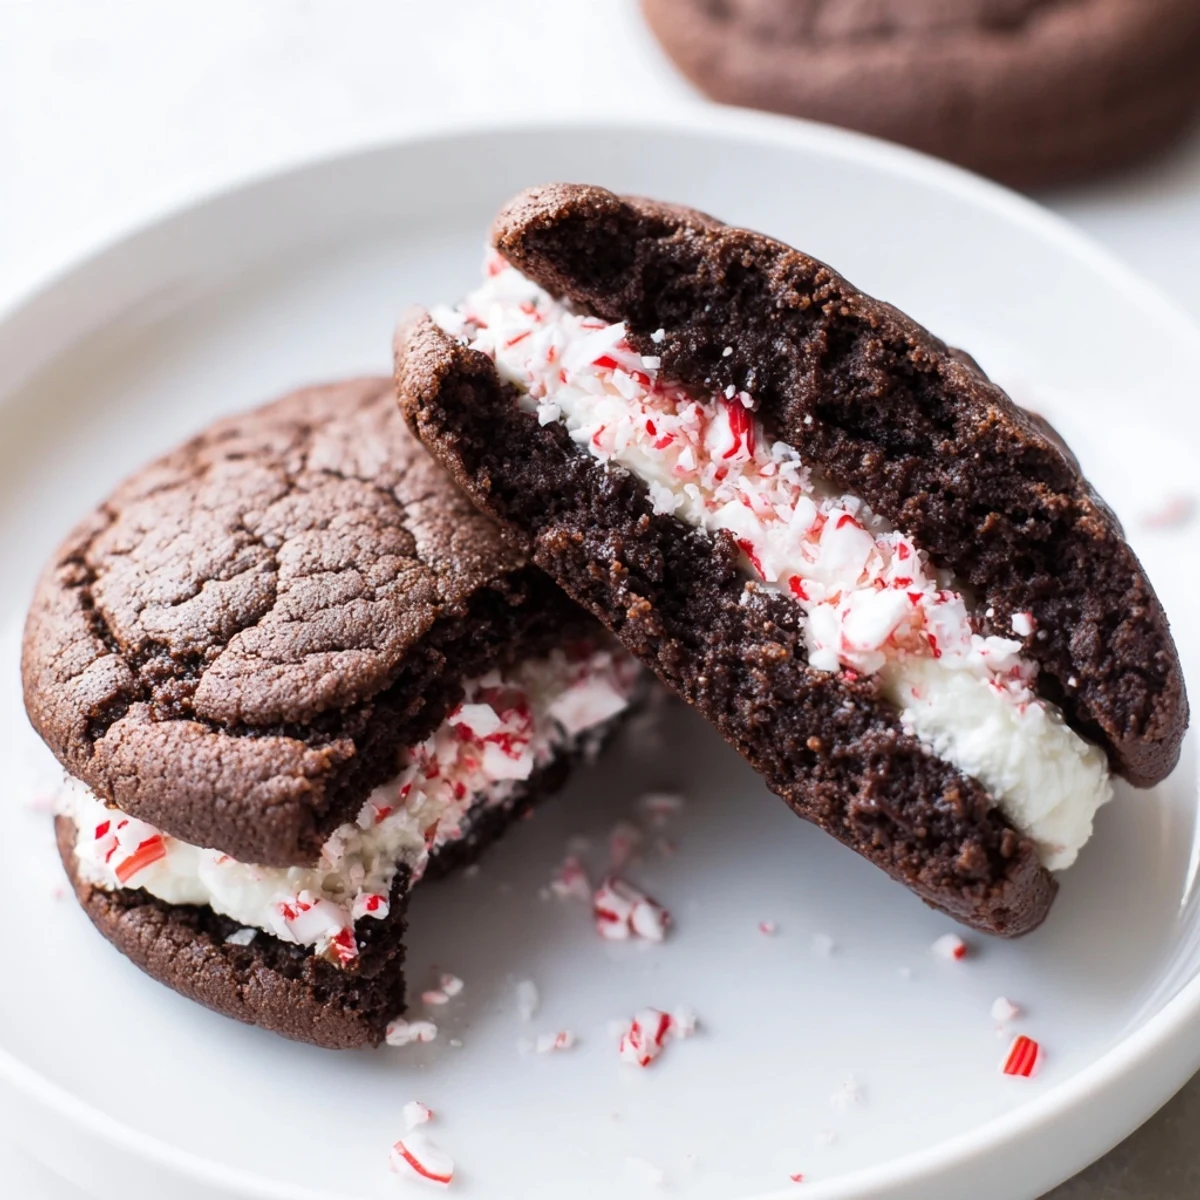
 These chocolate peppermint sandwich cookies pair tender cocoa rounds with a light, minty buttercream for a crisp, cooling contrast. Start by whisking flour, cocoa, baking soda and salt, then cream butter and sugar before adding egg and vanilla. Drop dough, bake 8–10 minutes, cool completely. Beat butter, sifted powdered sugar, cream and peppermint into a fluffy filling, pipe between cookie halves and chill briefly to set. Makes 18 sandwiches.
The smell of cocoa and peppermint drifting through my kitchen one December afternoon convinced me that holiday baking does not need to be complicated to feel magical. I had been staring at a half eaten box of candy canes and a lonely bag of cocoa powder when the idea for these sandwich cookies practically assembled itself in my head. Thirty minutes later, flour dusted across my counter and my dog hopefully parked by the oven, I pulled out the first tray of dark, fragrant discs. That batch disappeared within a day, and now they show up every winter without fail.
My neighbor Laura knocked on my door the week before Christmas last year holding a plate of these cookies and asked if I could teach her eight year old daughter how to make them. We spent a Saturday afternoon in my kitchen with Ella standing on a step stool, her tiny hands rolling dough balls while powdered sugar drifted like snow across every surface. Ella ate three sandwiches warm from the first batch and declared them better than any store bought cookie she had ever tasted.
Ingredients
- All-purpose flour (1 cup, 130 g): The structural backbone of the cookie, and spooning it into the cup rather than scooping prevents dense, heavy results.
- Unsweetened cocoa powder (1/2 cup, 45 g): Use a good quality one here because this is where all the chocolate intensity comes from, and the difference between decent and memorable starts at the grocery shelf.
- Baking soda (1/2 tsp): Just enough lift to keep the cookies from turning into flat wafers.
- Salt (1/4 tsp): A small amount that makes the chocolate taste deeper and more rounded.
- Unsalted butter, softened (1/2 cup, 115 g): Bring it to room temperature for about an hour so it creams smoothly with the sugar without melting.
- Granulated sugar (3/4 cup, 150 g): Creates a slightly crisp edge while keeping the centers chewy.
- Large egg (1): Binds everything together and adds richness to the crumb.
- Vanilla extract (1 tsp): Rounds out the chocolate flavor with a gentle warmth underneath.
- Unsalted butter for filling (1/2 cup, 115 g): Softened butter whipped into the filling creates that cloud-like texture that makes each bite feel indulgent.
- Powdered sugar, sifted (1 1/2 cups, 180 g): Sifting is not optional here because even tiny lumps will leave ugly streaks in your beautiful white filling.
- Heavy cream or milk (2 tbsp): Loosens the filling to the perfect spreadable consistency without making it runny.
- Peppermint extract (1/2 tsp): A little goes a very long way, and you can always add more but you cannot take it back.
- Salt for filling (pinch): Balances the sweetness and sharpens the mint flavor.
- Optional food coloring (a few drops): A festive touch of red or green makes these unmistakably holiday ready.
Instructions
- Get your oven ready:
- Preheat to 350 degrees F (175 degrees C) and line two baking sheets with parchment paper so nothing sticks and cleanup is effortless.
- Build your dry mixture:
- In a medium bowl, whisk together the flour, cocoa powder, baking soda, and salt until evenly blended and no cocoa clumps remain.
- Cream the butter and sugar:
- In a large bowl, beat the softened butter and granulated sugar until the mixture turns pale, light, and visibly fluffy, which takes about two minutes of patient mixing.
- Bring the wet team together:
- Beat in the egg and vanilla extract until fully incorporated and the batter looks smooth and glossy.
- Unite wet and dry:
- Gradually add the dry ingredients to the wet mixture, mixing gently until just combined and you see no more dry streaks, being careful not to overwork the dough.
- Shape and bake:
- Roll tablespoonfuls of dough into balls, flatten them slightly between your palms, and place two inches apart on the sheets before baking for 8 to 10 minutes until just set.
- Cool with patience:
- Let the cookies rest on the baking sheet for two minutes, then transfer them gently to a wire rack to cool completely because warm cookies will melt your filling.
- Whip up the peppermint filling:
- Beat the butter until smooth, then add powdered sugar, cream, peppermint extract, salt, and food coloring if using, and whip until the filling is light, fluffy, and irresistible.
- Assemble your sandwiches:
- Spread or pipe about one tablespoon of filling onto the flat side of half the cookies, then gently press the remaining cookies on top to form little sandwiches.
- Let them set:
- Chill the assembled cookies in the refrigerator for 15 minutes so the filling firms up and holds everything together beautifully.
 Save Pin
 One year I brought a tin of these to my office holiday party and a coworker who never touches dessert tracked me down the next morning to ask if I had any leftovers hidden in my desk. That moment taught me that a really good cookie can break down even the most stubborn resistance.
Making Them Festive
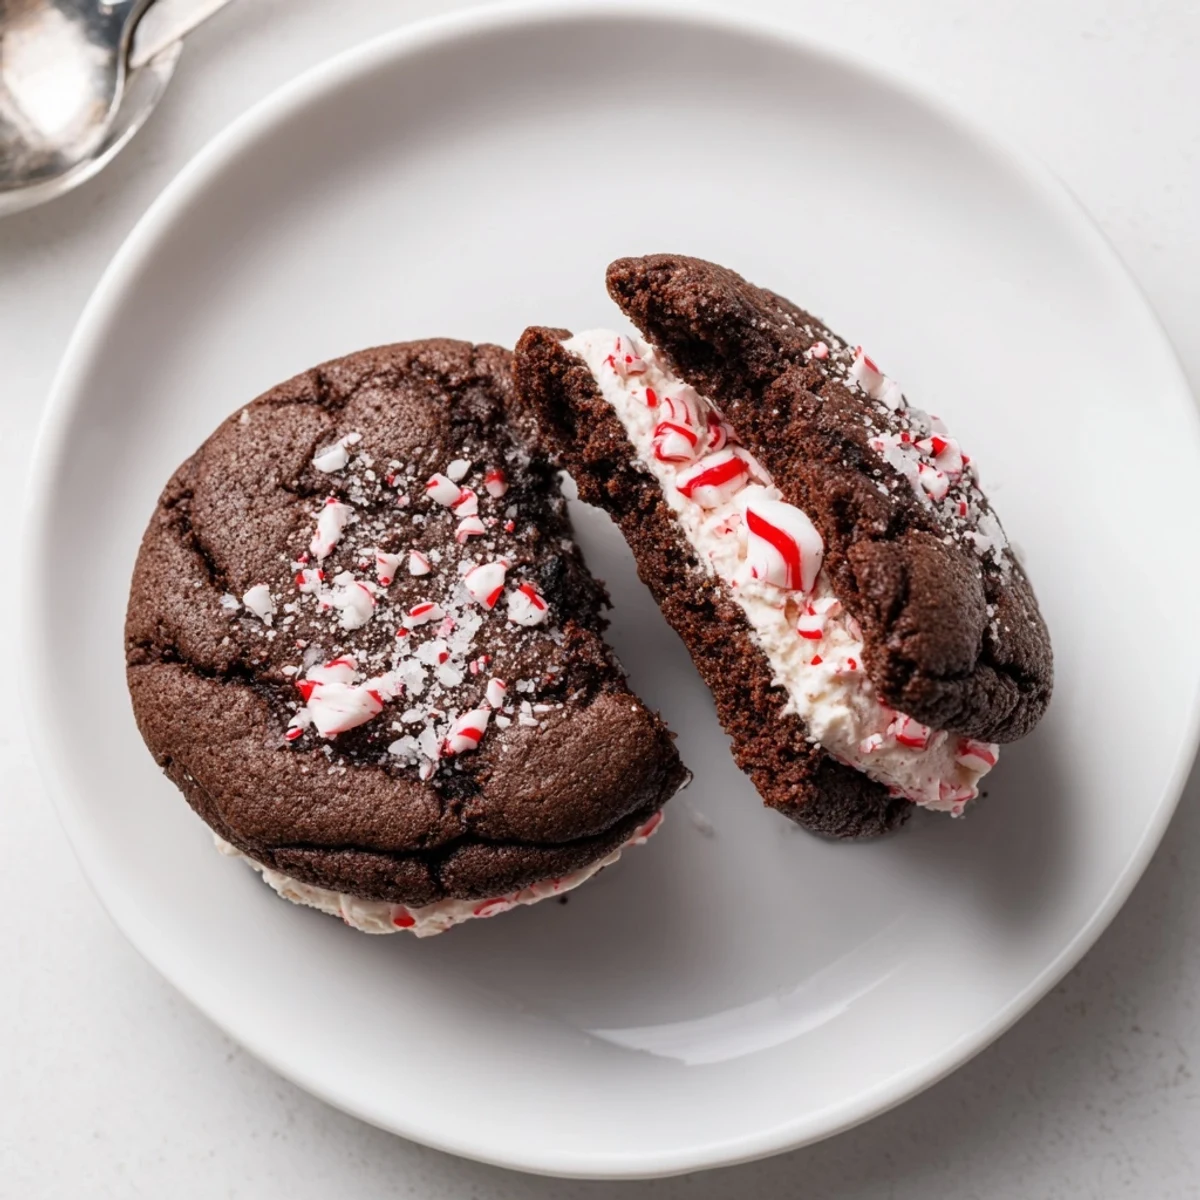
Rolling the edges of each assembled sandwich in crushed candy canes turns an already lovely cookie into something that stops people mid conversation at any party table. I learned this trick by accident when my candy cane shattered while I was unwrapping it over the counter and the shards landed perfectly on a freshly filled sandwich.
Storage That Actually Works
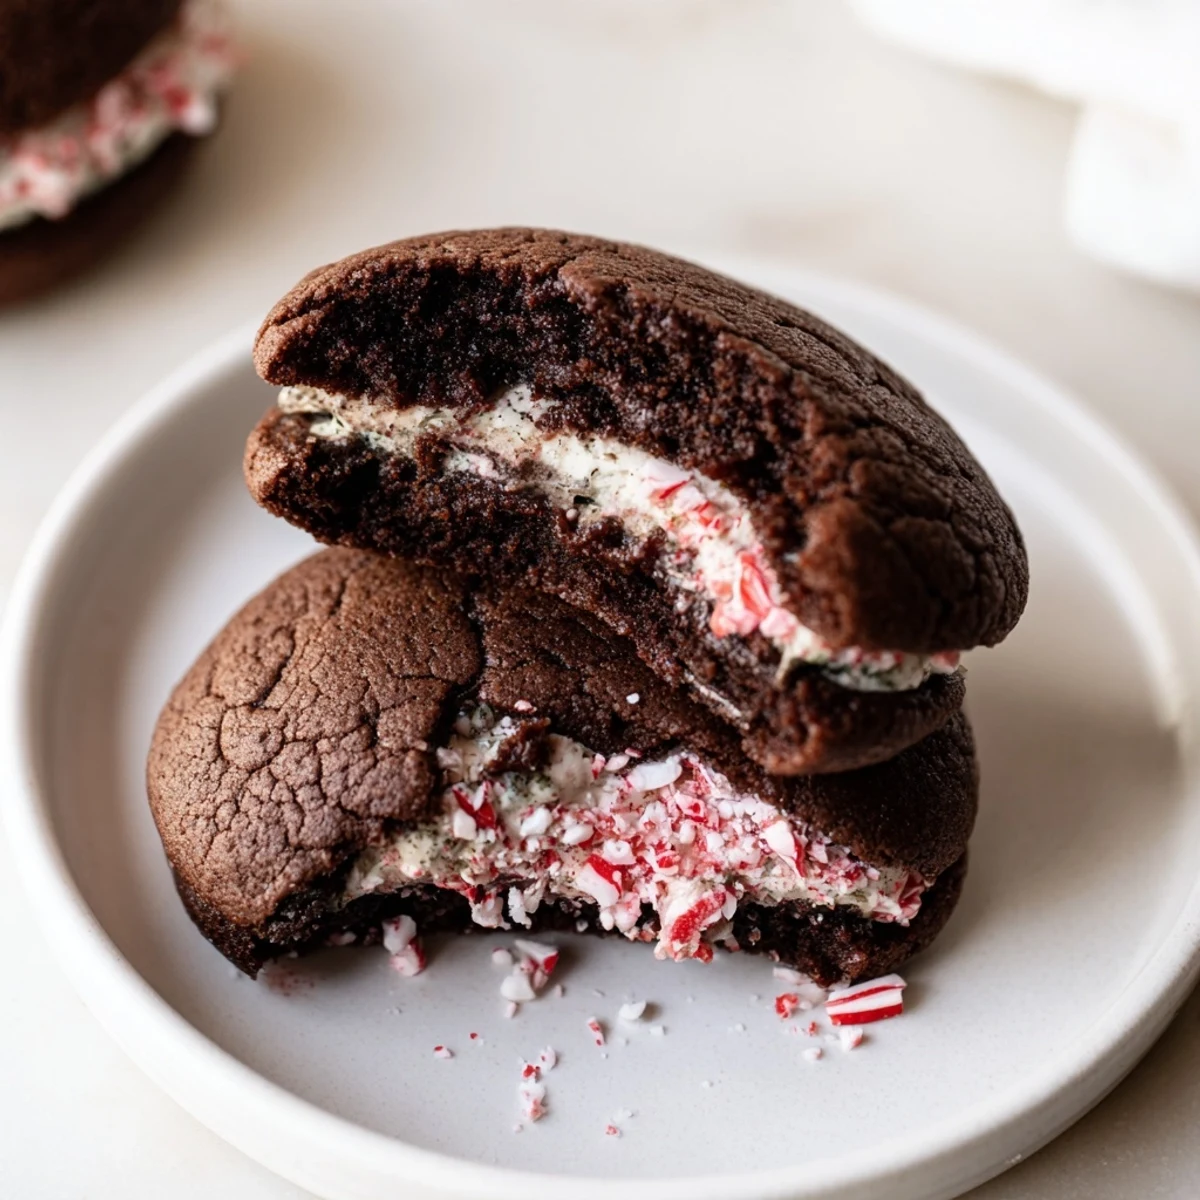
These cookies keep beautifully in an airtight container in the refrigerator for up to five days, and honestly I think the flavor improves after the first day as the filling seeps gently into the cookie. Let them sit at room temperature for about ten minutes before serving so the filling softens back to that ideal creamy texture.
When You Want to Switch Things Up
Swapping the peppermint extract for vanilla gives you a classic cream filled chocolate sandwich that works any time of year, and a friend of mine adds a tablespoon of espresso powder to the dough for a mocha version that is dangerously good.
- A tiny pinch of cinnamon in the dough adds warmth without competing with the peppermint.
- For a gluten free version, a one to one baking flour blend works well with only minor texture changes.
- Always taste your filling before assembling so you can adjust the mint level to your preference.
 Save Pin
 Stack them on a pretty plate, dust the whole thing with a little extra cocoa powder, and watch how quickly they vanish. These cookies are proof that the best holiday traditions start with simple ingredients and a willingness to play.
Recipe FAQs
- → How can I tell when the cookies are done?
-
Look for set edges and a slightly soft center—they will firm as they cool. Remove from the oven when the tops no longer look wet and let sit on the baking sheet for 2 minutes before transferring to a rack to finish cooling.
- → How do I get a light, fluffy peppermint filling?
-
Beat softened butter until smooth, then gradually add sifted powdered sugar while mixing on low. Add cream a tablespoon at a time and finish with peppermint extract. Beat on medium-high until airy; chill briefly if the buttercream seems too soft for piping.
- → Can I swap the peppermint or adjust sweetness?
-
Yes—replace peppermint extract with vanilla or almond for a different profile, or reduce powdered sugar slightly for a less sweet filling. If using stronger extracts, start with half the amount and taste before adding more.
- → What are the best storage options?
-
Store assembled sandwiches in an airtight container in the refrigerator for up to 5 days. For longer storage, freeze cookie halves without filling, then thaw and assemble when ready to serve. Bring chilled sandwiches to room temperature briefly before serving, if desired.
- → How can I add a festive finish?
-
Roll the filled edges in crushed peppermint or finely chopped candy canes, drizzle melted chocolate over the tops, or tint the filling with a drop of color for a seasonal look. Work gently to avoid melting the buttercream.
- → Are there allergy-friendly swaps for dairy or eggs?
-
Use a plant-based stick margarine or vegan butter for the cookies and filling, and try a flax or chia egg (1 tbsp ground seed + 3 tbsp water) in place of the egg. Texture may vary, so test one batch and chill dough if it spreads too much.
