 Save Pin
 This homemade yogurt delivers a creamy, tangy result using just two ingredients: whole milk and a yogurt starter with active cultures. The process involves gently heating milk to 85°C, cooling it to around 43°C, mixing in the starter, and then incubating the mixture for 8 to 12 hours in a warm spot like a turned-off oven or yogurt maker.
After incubation, chilling the yogurt for at least two hours sets it to a smooth, spoonable consistency. Each batch yields about four cups and stays fresh in the refrigerator for up to one week. You can also reserve a portion of your batch to use as the starter for the next one.
The sound of milk humming against the side of a saucepan at six in the morning is oddly soothing, like a kitchen lullaby before the house wakes up. Making yogurt from scratch felt intimidating until I realized it is mostly waiting, and I am very good at waiting when there is breakfast at the end. My grandmother never measured anything, she just touched the milk with her finger and somehow knew, but I rely on a thermometer and that is perfectly fine. This recipe is my weekday ritual now, simple and quiet and endlessly rewarding.
My friend Sara called one Tuesday afternoon asking if I had ever made yogurt and I lied and said yes, then immediately panicked and made my first batch that evening so I could teach her three days later. We sat on her kitchen floor eating it with honey and walnuts, laughing at how nervous we both were about temperature. That batch was slightly too tangy and nobody cared one bit.
Ingredients
- Whole milk (1 liter): Whole milk gives you that luxurious creamy texture, but low fat works if that is what you have on hand.
- Plain yogurt with active cultures (2 tablespoons): This is your starter and the quality matters, so choose one with live active cultures and no added flavors or thickeners.
Instructions
- Warm the milk gently:
- Pour the milk into a saucepan and set it over medium heat, stirring every now and then so the bottom does not scorch, until your thermometer reads 85 degrees Celsius. Keep watch because milk can surprise you and bubble over the moment you look away.
- Let it cool to the sweet spot:
- Remove the pan from heat and let the milk drift down to about 43 to 45 degrees Celsius, which should feel warm but not hot when you hold the pan. This patience is the hardest part of the whole process and the most important.
- Temper the starter:
- Scoop a few tablespoons of the cooled milk into a small bowl and stir in the yogurt starter until completely smooth with no lumps hiding in the corners. This gentle step prevents strange textures later.
- Marry the two:
- Pour the smooth starter mixture back into the saucepan and stir with a whisk, making sure everything is evenly combined. Think of it as folding the future into the present.
- Find a warm home:
- Transfer the mixture into a clean container or divide it among individual jars, cover loosely, and tuck it into a warm spot for the next eight to twelve hours. A turned off oven with the light switched on works beautifully.
- Chill and set:
- After incubation, move the containers to the refrigerator for at least two hours so the yogurt can firm up into something spoonable and luscious. Try not to sneak a taste before it is fully chilled, though I always do.
 Save Pin
 There is something deeply satisfying about opening the refrigerator and seeing rows of little glass jars filled with yogurt you made yourself, like a small act of independence from the grocery store aisle. It became a quiet point of pride in my household, something I never expected from two humble ingredients.
Getting the Texture You Want
If you prefer thick Greek style yogurt, line a strainer with cheesecloth and let the finished yogurt drain in the refrigerator for several hours until it reaches the consistency you love. I discovered this trick after a particularly runny batch and now I strain almost every time because I adore the dense, spreadable result. Even a quick thirty minute drain makes a noticeable difference.
The Starter Cycle
Save a few tablespoons from each batch to use as your starter for the next one, creating a chain of yogurt that stretches back through your kitchen history. After three or four generations the cultures can weaken, so start fresh with a new store bought yogurt when you notice the set becoming less reliable. I keep a little label on my jar reminding me which generation I am on, which amuses my partner to no end.
Simple Ways to Enjoy It
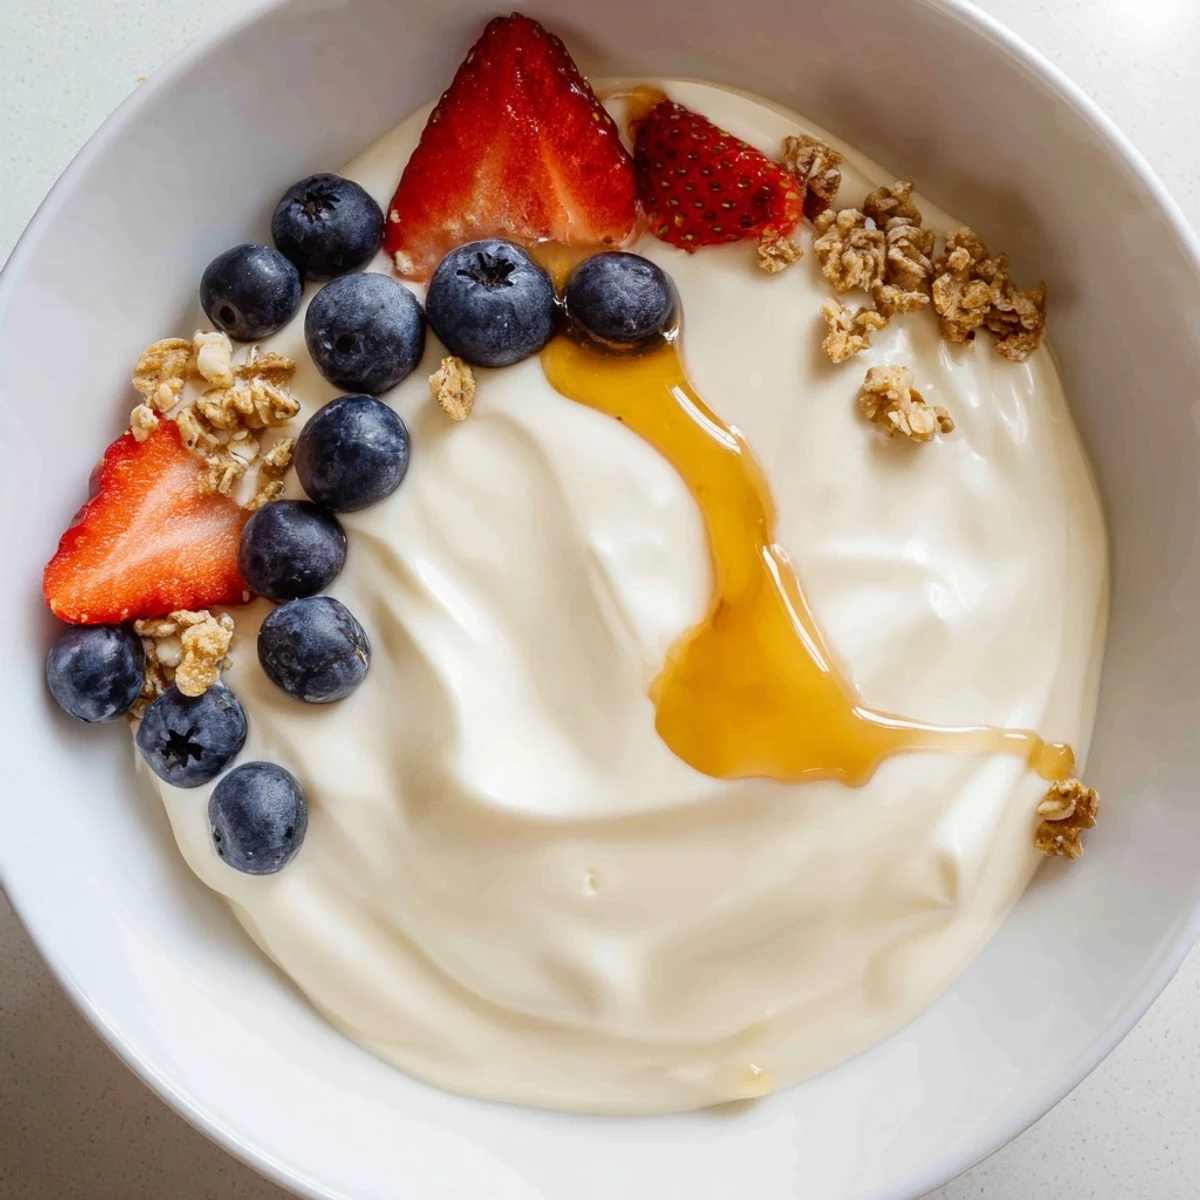
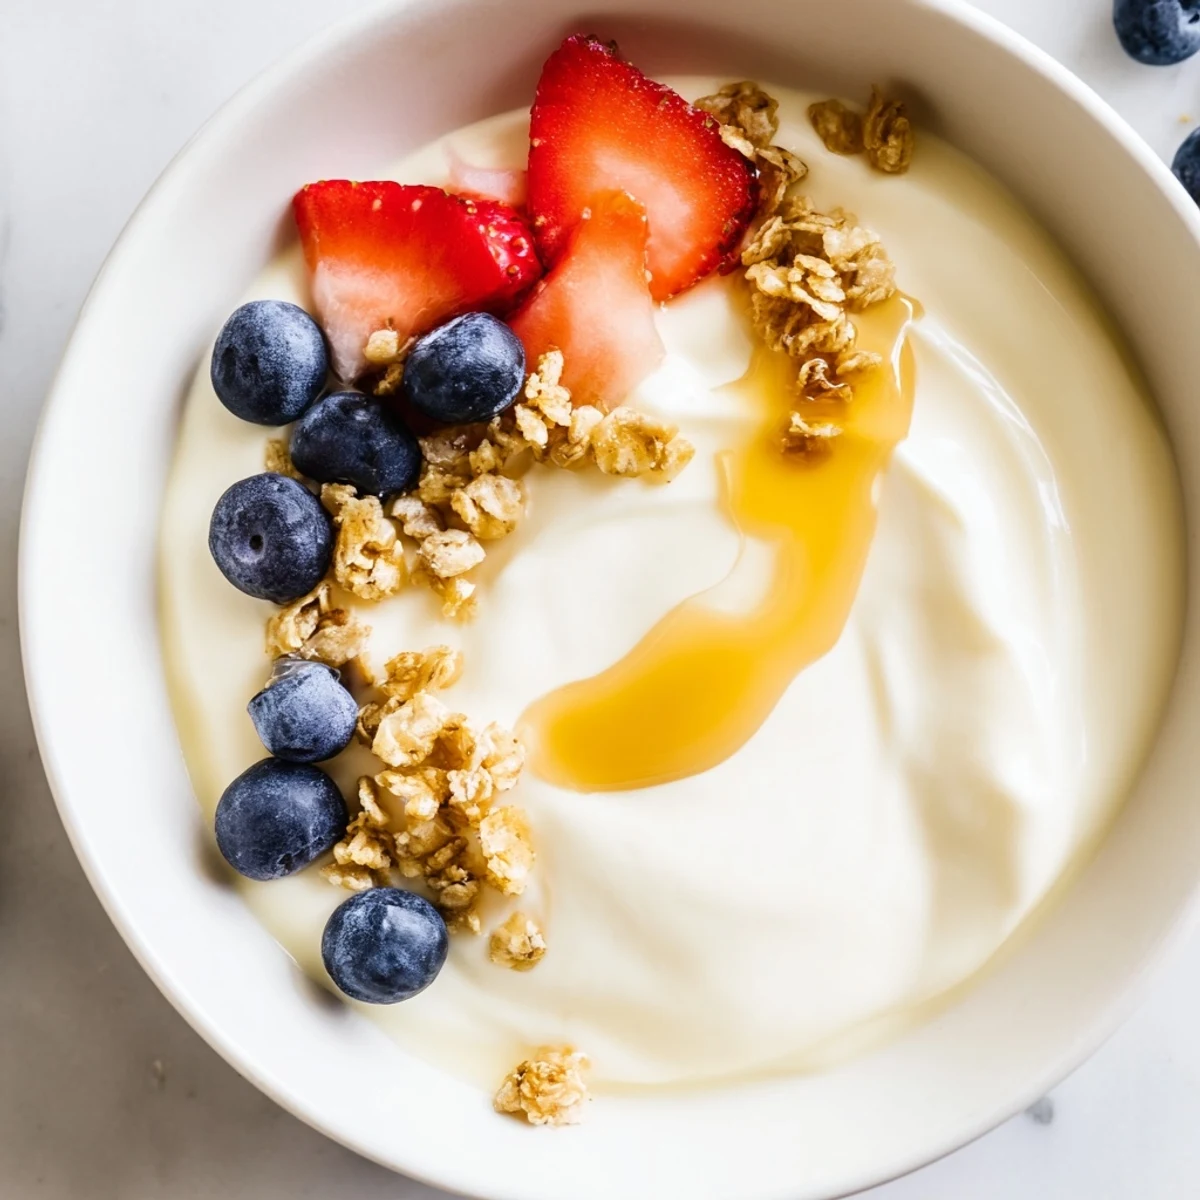
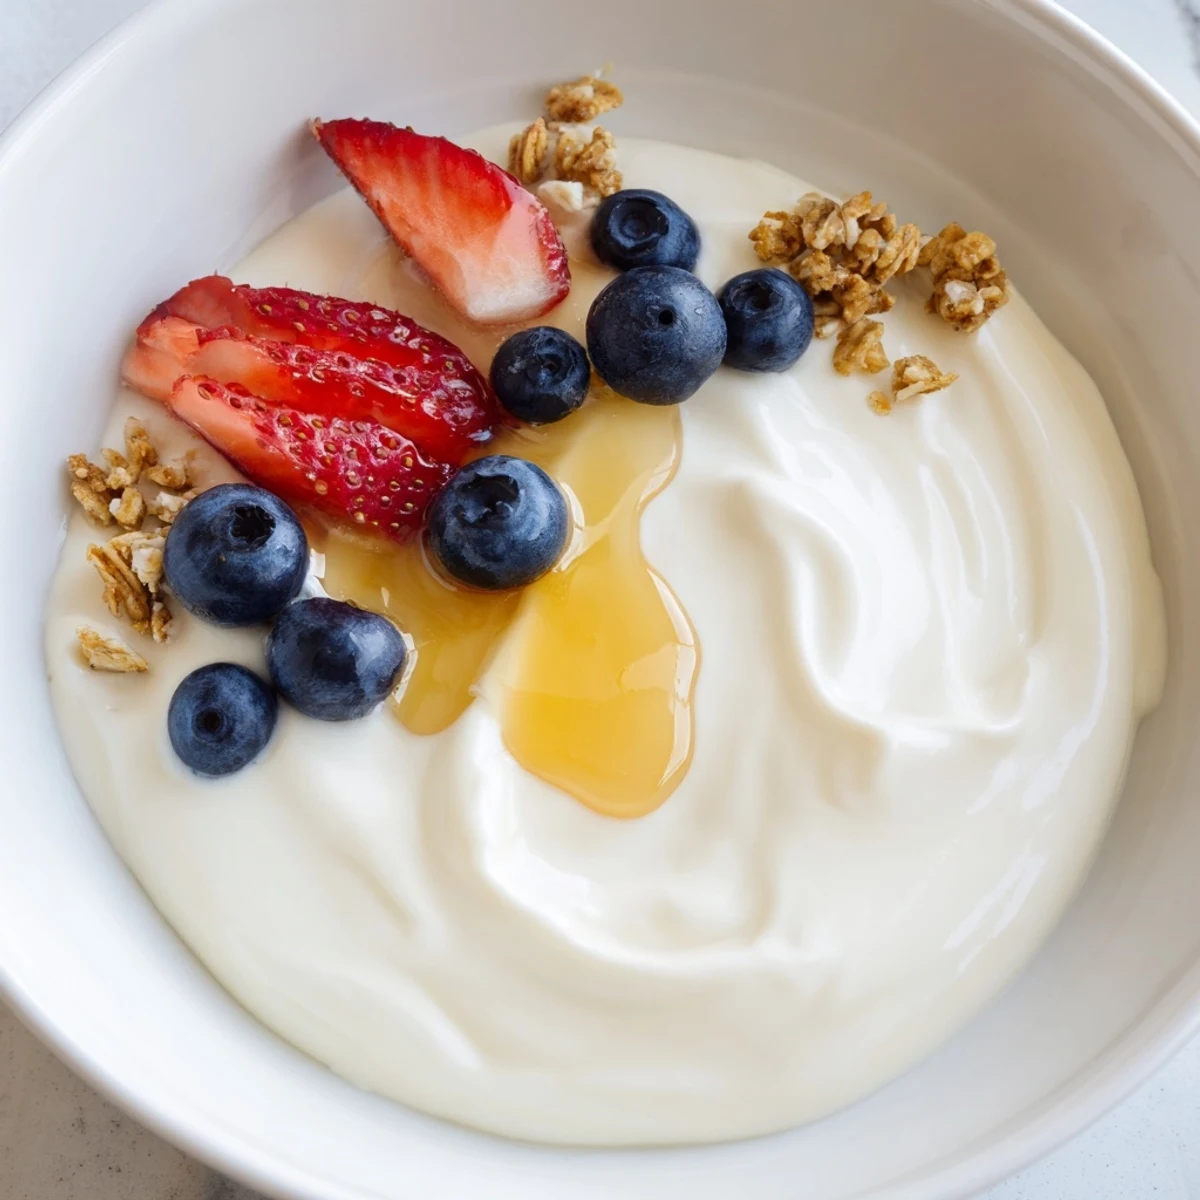
A bowl of plain homemade yogurt is a blank canvas that welcomes almost anything you want to add, from a drizzle of honey to a handful of crunchy granola. I keep it unfussy most mornings but sometimes I get ambitious and layer it into parfaits or swirl in fruit compote on weekends. It also works beautifully as a base for savory dips and sauces, which is a lovely surprise if you have only ever thought of yogurt as sweet.
- A dollop stirred into soup right before serving adds instant creaminess without any heavy cream.
- Mix minced garlic, chopped cucumber, and a squeeze of lemon into your yogurt for a quick tzatziki.
- Always save two tablespoons before you finish the batch so your next one is ready to begin.
 Save Pin
 Homemade yogurt is one of those small kitchen triumphs that reminds you how much good food can come from almost nothing. All it asks is a little warmth and a little patience, and it gives back enormously.
Recipe FAQs
- → What type of milk works best for making yogurt?
-
Whole milk produces the thickest, creamiest yogurt due to its higher fat content. Low-fat milk also works but will yield a slightly thinner result. Avoid ultra-pasteurized milk if possible, as it can affect culturing.
- → Why does the milk need to be heated to 85°C first?
-
Heating the milk to 85°C (185°F) denatures the proteins, which helps the yogurt set properly and achieve a smoother, thicker texture. It also kills any competing bacteria that could interfere with the cultures.
- → How do I maintain a warm environment for incubation without a yogurt maker?
-
A turned-off oven with the interior light switched on provides enough gentle warmth. Other options include wrapping the container in a towel and placing it near a warm appliance, using a slow cooker on the warm setting, or placing it on a heating pad set to low.
- → Can I make this yogurt dairy-free?
-
Yes, you can use plant-based milk such as soy, oat, or coconut milk. You will also need a dairy-free yogurt starter or a vegan culture, since regular yogurt starters contain dairy. The texture and set time may vary depending on the milk used.
- → How can I make the yogurt thicker?
-
Strain the finished yogurt through a cheesecloth or fine mesh strainer for several hours in the refrigerator. This removes excess whey and produces a thicker, Greek-style consistency. The longer you strain, the thicker it becomes.
- → How long does homemade yogurt last in the refrigerator?
-
Homemade yogurt stays fresh for up to one week when stored in an airtight container in the refrigerator. Always use a clean spoon when scooping to avoid introducing bacteria that could shorten its shelf life.
