 Save Pin
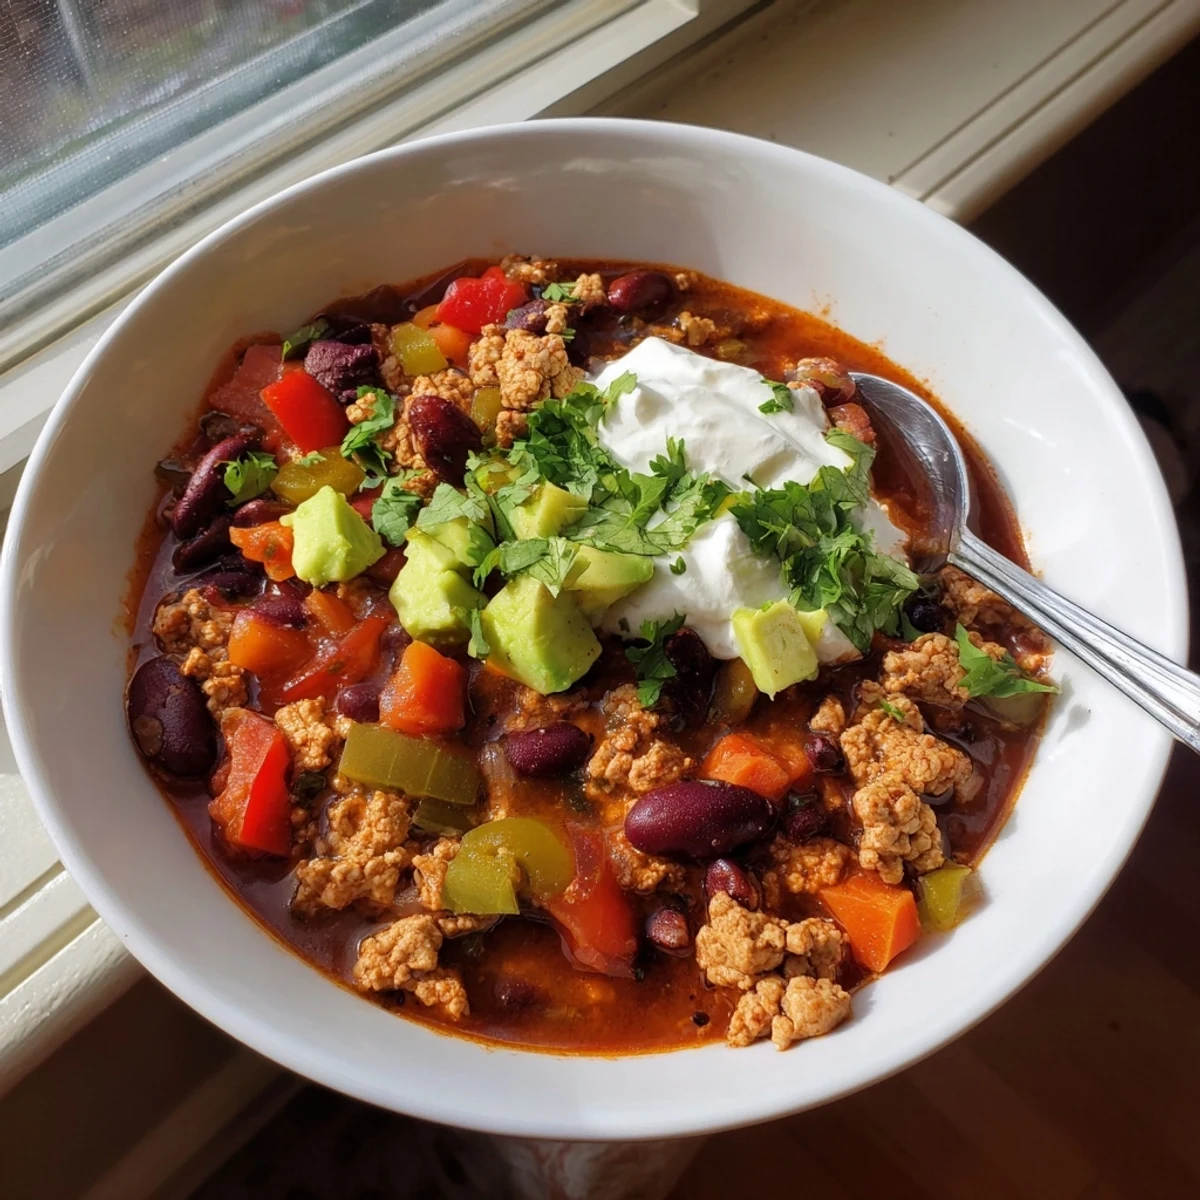
 This hearty diabetic-friendly chili combines lean ground turkey, kidney beans, black beans, and a colorful mix of bell peppers, celery, and carrots in a rich, spiced tomato base.
Seasoned with chili powder, cumin, and smoked paprika, every spoonful delivers bold flavor without relying on added sugars. It simmers in under an hour and yields six generous servings.
Top each bowl with fresh cilantro, diced avocado, or a dollop of plain Greek yogurt for a complete, nourishing meal that keeps blood sugar in check.
The kitchen smelled like cumin and smoked paprika for hours after that first batch, and honestly, I was not mad about it. My father in law had just been diagnosed with type 2 diabetes, and I wanted to make something that did not feel like a compromise. This chili was the answer: thick, deeply spiced, and satisfying enough that nobody at the table asked where the bread was.
I brought a pot of this to a Sunday football gathering a few months later and watched my brother in law go back for his third bowl before halftime. He had no idea it was designed to be diabetic friendly, and I decided right then that this recipe had earned a permanent spot in my rotation.
Ingredients
- 500 g lean ground turkey or beef: Turkey keeps it lighter, but lean beef works beautifully if that is what you have on hand.
- 1 medium onion, diced: The backbone of almost every good chili starts here.
- 2 cloves garlic, minced: Fresh garlic makes a noticeable difference compared to the jarred version.
- 1 medium green bell pepper, diced: Adds a slight bitterness that balances the sweetness of tomatoes.
- 1 medium red bell pepper, diced: Brings color and a milder, almost fruity flavor to the pot.
- 2 sticks celery, diced: Easy to overlook, but celery gives the broth a subtle earthy depth.
- 1 medium carrot, diced: A quiet source of natural sweetness that replaces any need for added sugar.
- 1 can diced tomatoes, no added sugar: Always check the label, since many brands sneak in sugar without you expecting it.
- 1 can kidney beans, rinsed and drained: Rinsing removes excess starch and keeps the chili from getting murky.
- 1 can black beans, rinsed and drained: These hold their shape well and add a creamy interior texture.
- 500 ml low sodium chicken or vegetable broth: Low sodium gives you control over the final salt level.
- 2 tbsp chili powder: Make sure your blend has no hidden salt or sugar lurking in the ingredients.
- 1 tsp ground cumin: This is the warm, toasty note that makes chili taste like chili.
- 1 tsp smoked paprika: A small amount goes a long way toward a campfire richness.
- 1/2 tsp ground black pepper: Freshly cracked is always better if your grinder is within reach.
- 1/2 tsp dried oregano: An underappreciated spice in chili that ties the flavors together.
- 1/4 tsp cayenne pepper, optional: Leave it out if heat is not your thing, or double it if it is.
- 1/2 tsp salt, or to taste: Start low and adjust at the end after everything has simmered.
- Chopped fresh cilantro: A bright finishing touch that wakes up every bowl.
- Diced avocado: Creamy contrast that also adds healthy fats.
- Plain Greek yogurt: A smart swap for sour cream that adds protein instead of extra fat.
Instructions
- Brown the meat:
- Set a large pot or Dutch oven over medium heat and add your ground turkey or beef. Break it apart with a wooden spoon as it cooks, letting it develop some golden brown edges, which should take about 5 to 6 minutes. Drain any excess fat if you used beef.
- Build the vegetable base:
- Toss in the onion, garlic, both bell peppers, celery, and carrot all at once. Stir everything around so the vegetables pick up the fond from the bottom of the pot, and cook for 5 to 6 minutes until they soften and the onion turns translucent.
- Bloom the spices:
- Add the chili powder, cumin, smoked paprika, black pepper, oregano, cayenne, and salt. Stir constantly for about a minute until your kitchen smells incredible and the spices darken slightly.
- Bring it all together:
- Pour in the diced tomatoes, kidney beans, black beans, and broth. Give everything a thorough stir, scraping up any bits stuck to the bottom of the pot.
- Simmer and develop flavor:
- Bring the chili to a gentle boil, then turn the heat down to low and let it simmer uncovered for 30 minutes. Stir occasionally and taste near the end to adjust salt or spice if needed.
- Serve and enjoy:
- Ladle into bowls while hot and top with cilantro, avocado, or a dollop of Greek yogurt as you like.
 Save Pin
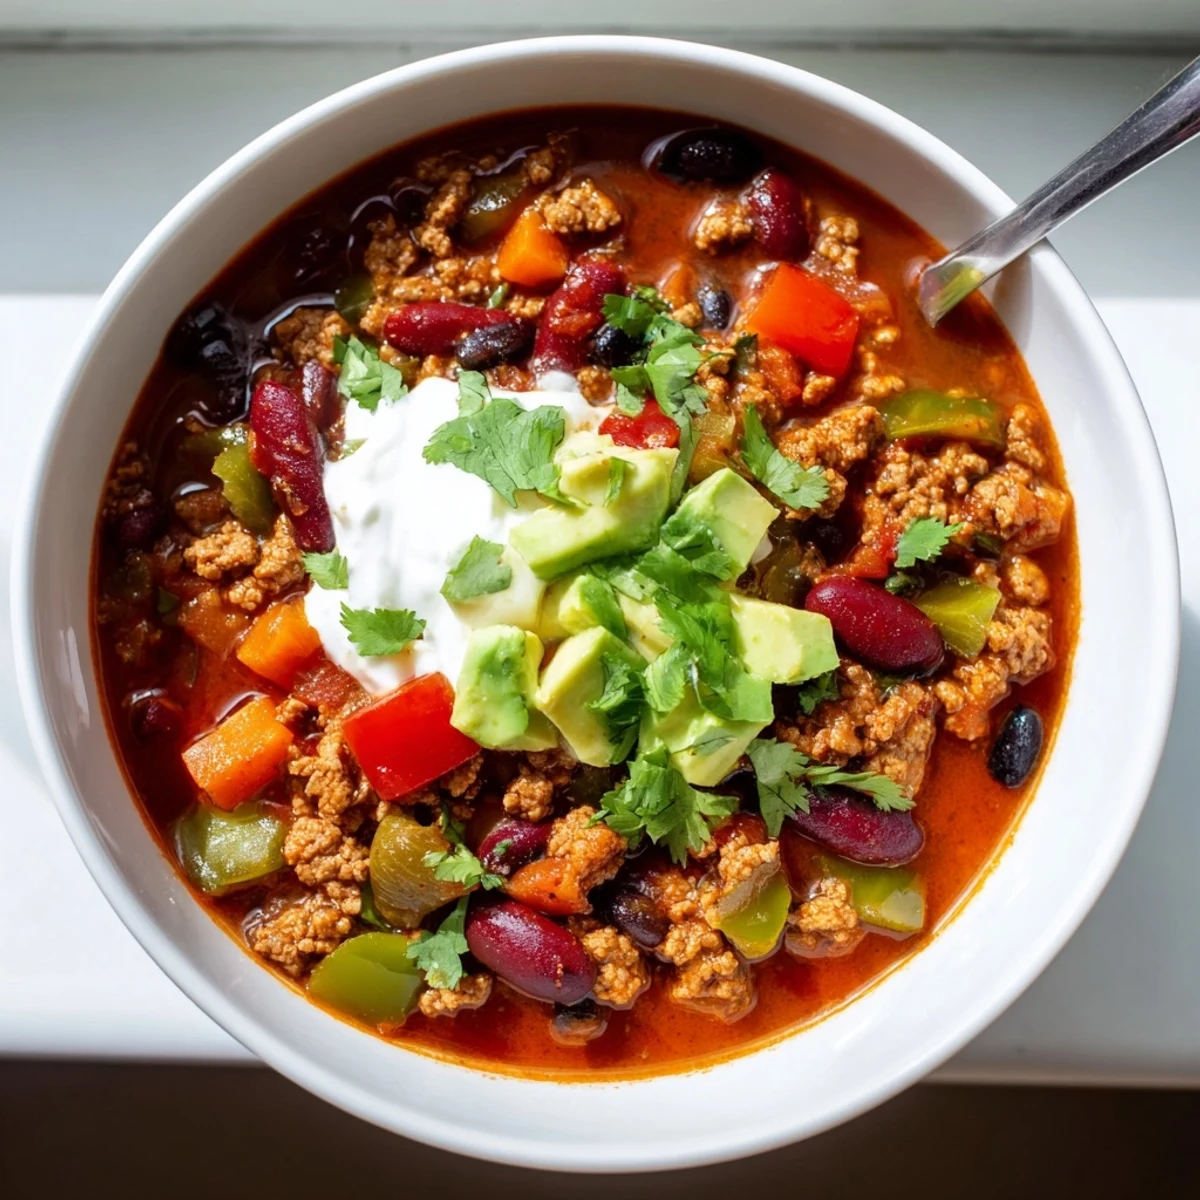
 There was a rainy Tuesday when I made this just for myself, standing over the pot with a wooden spoon, listening to the soft bubble of the simmer, and I realized that cooking for your health does not have to feel like a chore.
A Few Smart Swaps
Ground chicken works just as well as turkey, and a good plant based mince can make this entirely vegetarian without losing any heartiness. I have tossed in a handful of chopped kale during the last ten minutes of simmering more times than I can count, and it blends right in while adding extra fiber and color.
What to Serve Alongside
A simple leafy green salad with a vinaigrette dressing is all you really need next to this. The acidity of the dressing cuts through the richness of the chili in a way that feels intentional, like they were always meant to share a plate.
Storing and Reheating
This chili tastes even better the next day, after the spices have had time to settle and mingle in the fridge. It keeps well for up to four days refrigerated and freezes beautifully for up to three months in airtight containers.
- Let it cool completely before transferring to storage containers.
- Reheat gently on the stove over low heat, adding a splash of broth if it has thickened too much.
- Always give it a good stir after reheating to bring the texture back together.
 Save Pin
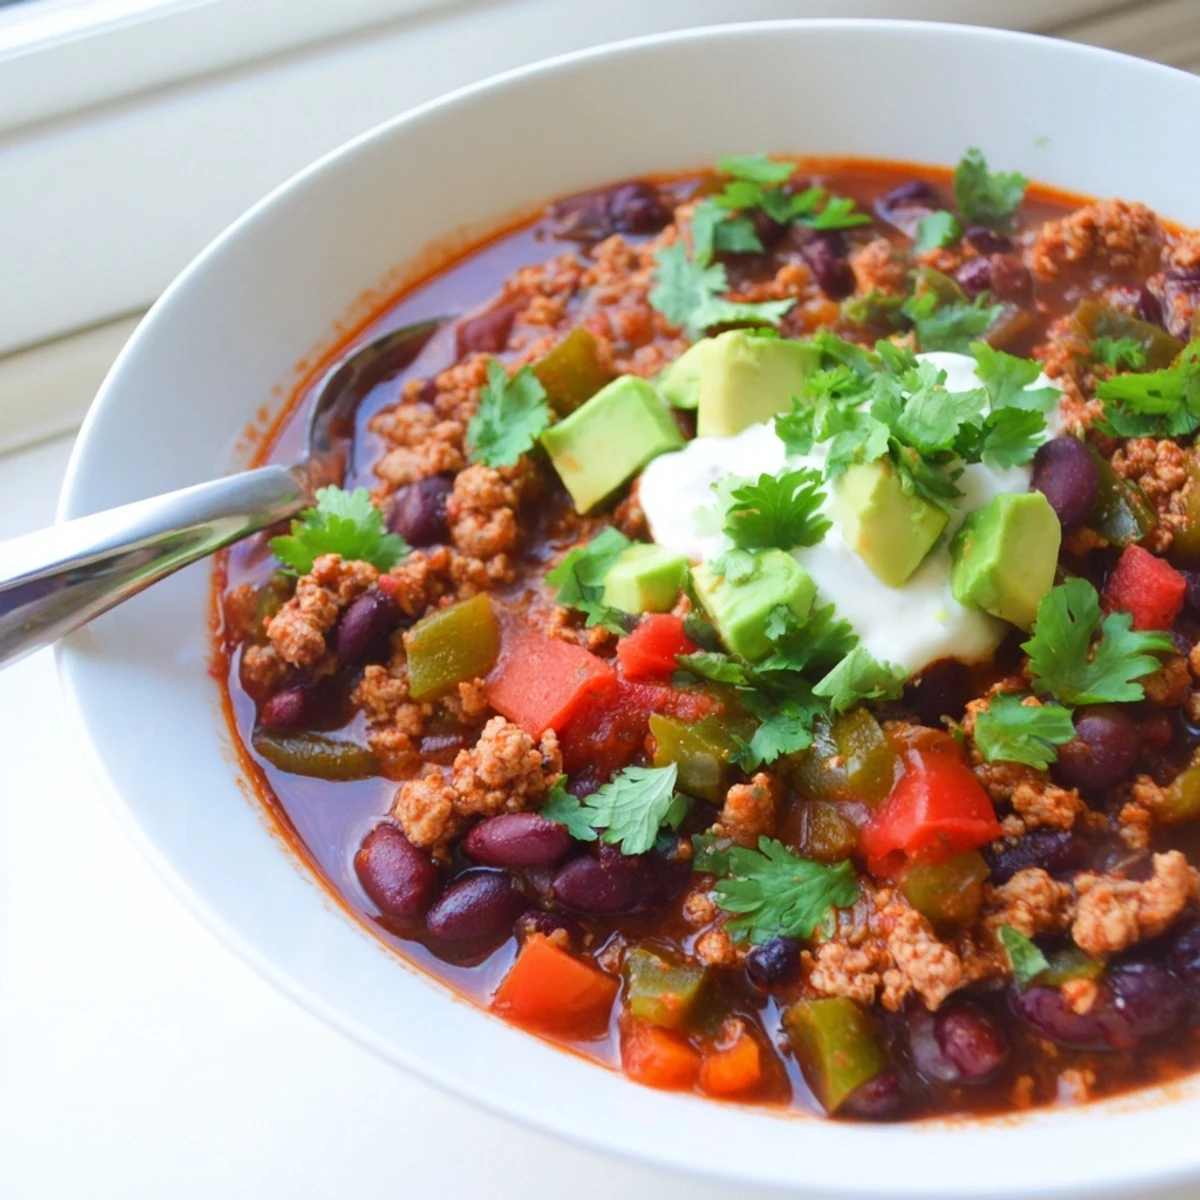
 Make a big batch, share it with someone you love, and do not be surprised when they ask for the recipe. That is really the highest compliment any chili can receive.
Recipe FAQs
- → Can I use ground beef instead of ground turkey?
-
Yes, lean ground beef works perfectly. Choose a 90% lean or higher cut, and drain any excess fat after browning to keep the dish lighter.
- → Is this chili safe for diabetics?
-
Absolutely. This chili uses no added sugars, relies on high-fiber beans and vegetables, and features lean protein. The complex carbohydrates from beans have a low glycemic impact, making it suitable for blood sugar management.
- → Can I make this chili in a slow cooker?
-
Yes. Brown the meat and sauté the vegetables first, then transfer everything to a slow cooker. Cook on low for 4 to 6 hours or on high for 2 to 3 hours until flavors meld together.
- → How should I store leftovers?
-
Let the chili cool completely, then store it in an airtight container in the refrigerator for up to 4 days. It also freezes well for up to 3 months. Reheat gently on the stovetop or in the microwave.
- → What can I serve with this chili?
-
A simple leafy green salad pairs wonderfully. You can also serve it alongside roasted vegetables, cauliflower rice, or a small portion of whole-grain bread for a balanced meal.
- → Can I make this chili vegetarian?
-
Yes. Swap the ground turkey for plant-based mince and use vegetable broth instead of chicken broth. The beans already provide plenty of plant-based protein and fiber.
