 Save Pin
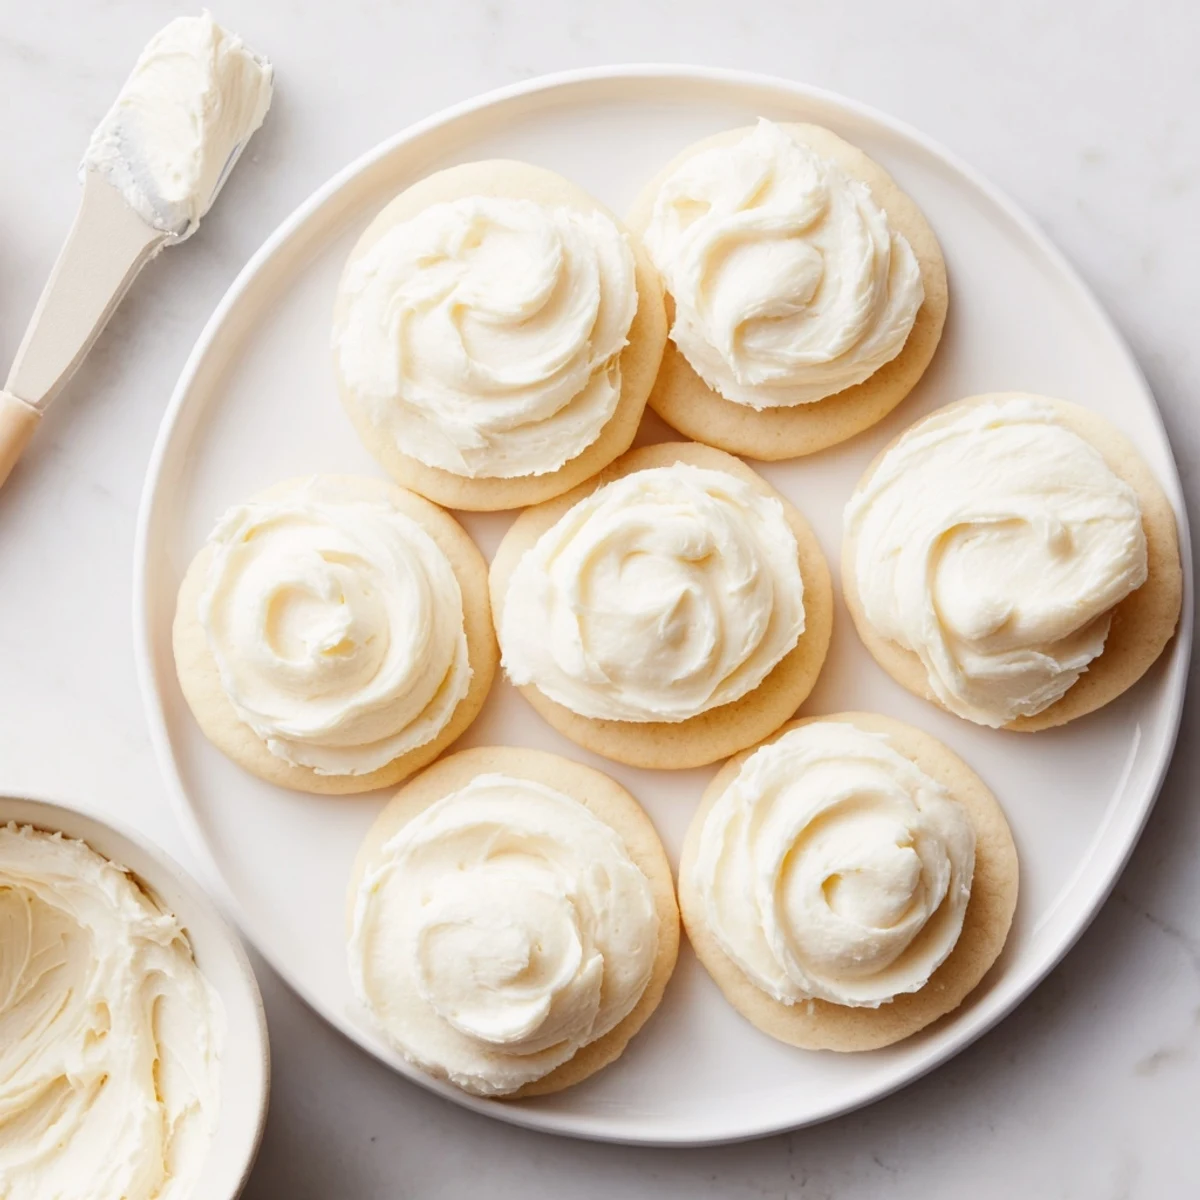
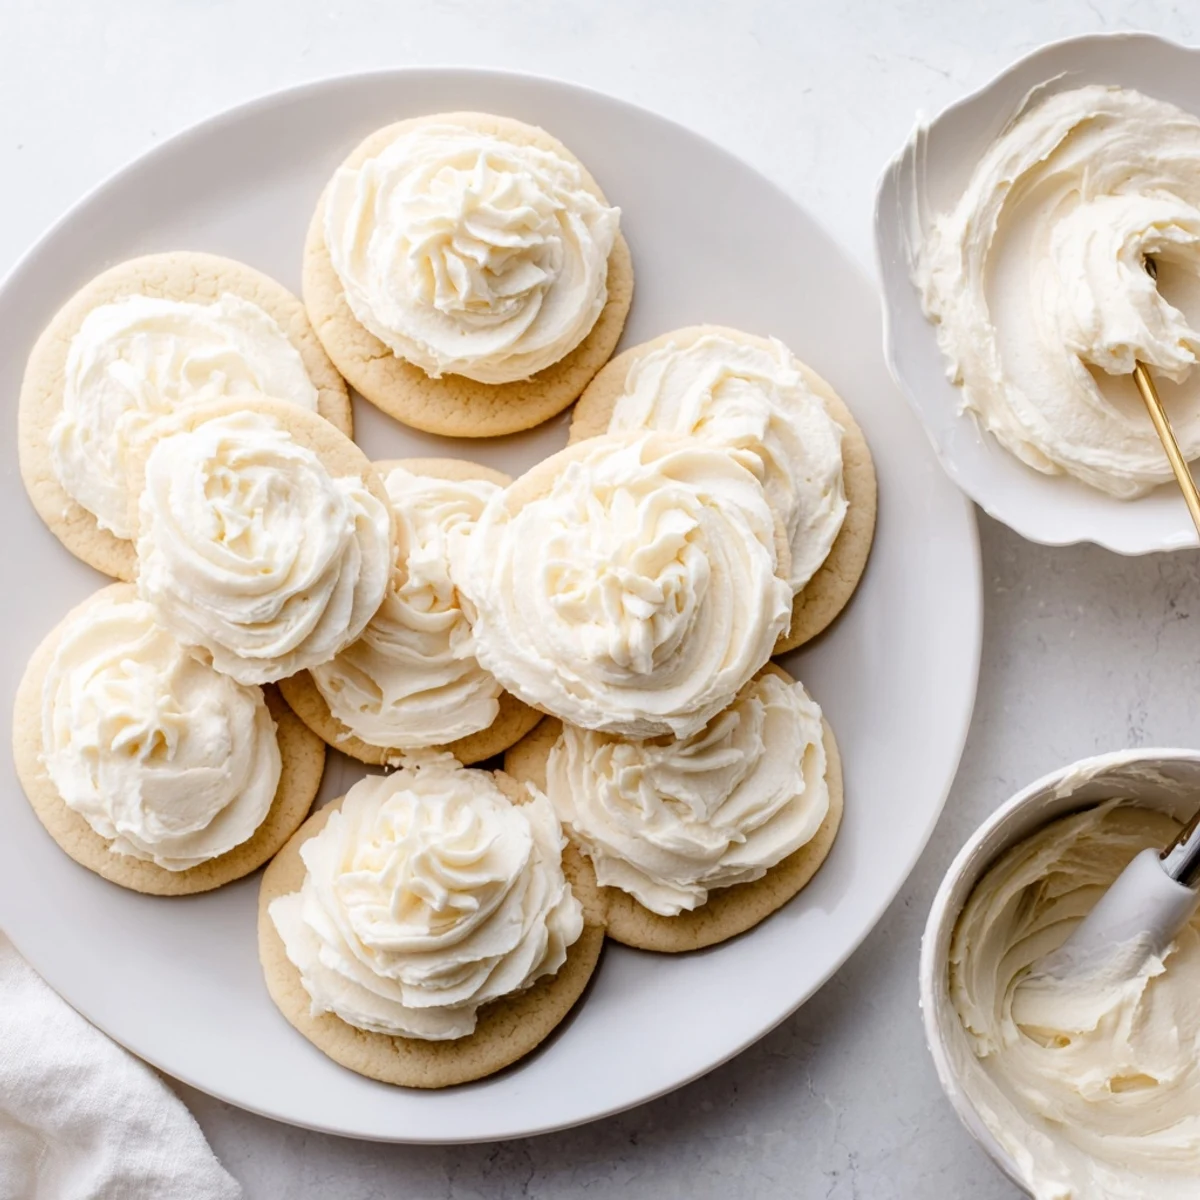
 This classic vanilla buttercream delivers the perfect balance of sweetness and creaminess for decorating sugar cookies. The frosting whips up in just 10 minutes using basic ingredients—butter, powdered sugar, milk, and pure vanilla extract.
What makes this version special is how it sets with a slight crust while remaining soft underneath, ideal for stacking and storing decorated treats. The consistency is easily adjustable—add more milk for a thinner glaze or extra powdered sugar for stiffer piping.
Perfect for holidays, birthdays, or everyday treats, this versatile topping also works wonderfully on cupcakes and brownies. The recipe yields enough to frost about 24 cookies and can be customized with gel food coloring for any occasion.
The afternoon sun hit my kitchen counter just right as I stared at three dozen plain sugar cookies, feeling like they needed something more than their naked golden state. I'd tried frosting from a tub before—it always tasted somehow hollow and sweet without depth—so I decided to whip up buttercream from scratch, armed with nothing but softened butter and powdered sugar and hope. The first batch was too stiff, the second too runny, but by the third attempt, I found that perfect middle ground where everything comes together into something silky and alive.
My daughter walked in while I was mixing and immediately demanded to help, which is how I learned that this frosting is incredibly forgiving. She dumped the vanilla extract with zero measuring, accidentally added double the salt, and still—the frosting turned out beautiful. Now it's our thing, standing at the counter with beaters whirring, taking turns licking the spatula and debating whether pink or green food coloring makes cookies taste better.
Ingredients
- Unsalted butter: Softened to room temperature is non-negotiable here—cold butter creates grainy frosting that fights you every step of the way
- Powdered sugar: Sifting it first might feel tedious but those tiny lumps will haunt your perfectly smooth finish if you skip this step
- Whole milk: This is your consistency control knob—add it drop by drop until you find your ideal spreadable texture
- Pure vanilla extract: Don't bother with imitation here since vanilla is the backbone flavor that shines through everything
- Pinch of salt: Just enough to round out the sweetness without making the frosting taste salty
Instructions
- Cream the butter until it sings:
- Beat that softened butter on medium speed for a full minute until it's pale and creamy, scraping down the bowl once halfway through so everything incorporates evenly
- Introduce the sugar gradually:
- Start your mixer on low speed and add the powdered sugar in small batches, letting each addition disappear before the next, which prevents the infamous sugar cloud from coating your entire kitchen
- Bring it to life:
- Pour in the milk, vanilla, and salt, then crank the mixer to medium-high for two to three minutes until the frosting turns light and fluffy and practically jumps off the beaters
- Find your texture:
- Add more milk one teaspoon at a time if you want a thinner glaze-like consistency, or sprinkle in additional powdered sugar for a stiffer frosting that holds detailed piping work
- Frost your cookies:
- Spread or pipe onto completely cooled cookies and let them sit at room temperature for an hour or two until the tops develop that perfect slight crust that protects against smudges
 Save Pin
 Last Christmas, I made six batches in different colors, and my kitchen looked like a rainbow explosion, but those cookies disappeared faster than any plate I've ever made. Something about homemade frosting makes people feel like they're eating something special, something made with hands that care.
Getting the Right Consistency
I've learned that humidity affects frosting more than I ever expected. On rainy days, you'll need slightly less milk to achieve the same texture, so always start with less and add gradually. The frosting should hold its shape when you drop a spoonful back into the bowl but still spread smoothly without tearing the cookie surface.
Color and Creativity
Gel food coloring is your friend here because liquid coloring can throw off your perfectly balanced consistency. Add the gel after the frosting is fully whipped, using a toothpick to transfer tiny amounts at a time—you can always add more color but you can't take it back.
Storage and Make-Ahead Tips
This frosting keeps beautifully in the refrigerator for up to a week, though I rarely manage to keep it around that long. When you're ready to use stored frosting, let it come to room temperature completely and give it a quick whip to restore that fluffy texture you remember.
- Frost your cookies on the day you plan to serve them for the freshest taste and texture
- If piping intricate designs, practice a few test shapes on parchment paper first
- This recipe doubles as an excellent cupcake frosting with absolutely no modifications needed
 Save Pin
 There's something genuinely satisfying about dipping into a bowl of frosting you made yourself, knowing exactly what went into it and how it will taste. Hope this becomes your go-to for every sugar cookie occasion.
Recipe FAQs
- → How long does the frosting need to set?
-
Allow frosted cookies to sit at room temperature for 1–2 hours. This creates a slight crust on top while keeping the inside soft and creamy. Once set, cookies can be stacked without smudging.
- → Can I make this frosting ahead of time?
-
Yes, store unused frosting in an airtight container in the refrigerator for up to 1 week. When ready to use, bring to room temperature and re-whip with an electric mixer until fluffy again.
- → How do I color the frosting?
-
Add gel food coloring a few drops at a time after step 3, mixing thoroughly between additions. Gel coloring works best as it won't thin the consistency like liquid food coloring can.
- → Can I use salted butter instead?
-
You can, but reduce or omit the added pinch of salt to avoid an overly salty taste. Unsalted butter gives you more control over the final flavor balance.
- → What's the best way to apply this frosting?
-
For a smooth look, use an offset spatula to spread evenly. For decorative swirls, pipe using a piping bag fitted with your favorite tip. Always apply to completely cooled cookies to prevent melting.
