 Save Pin
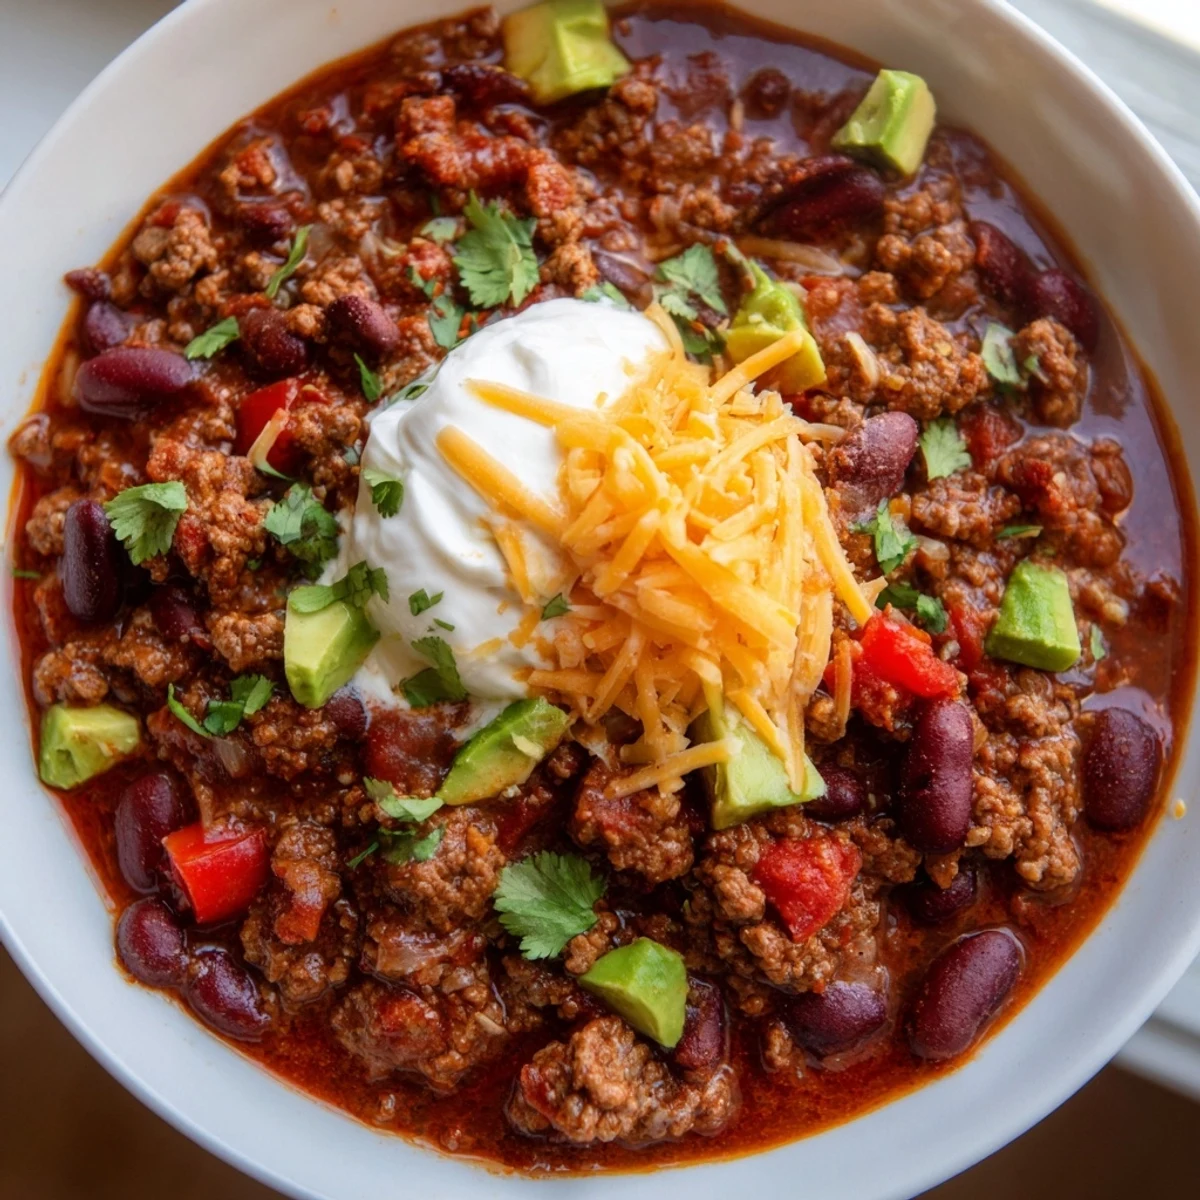
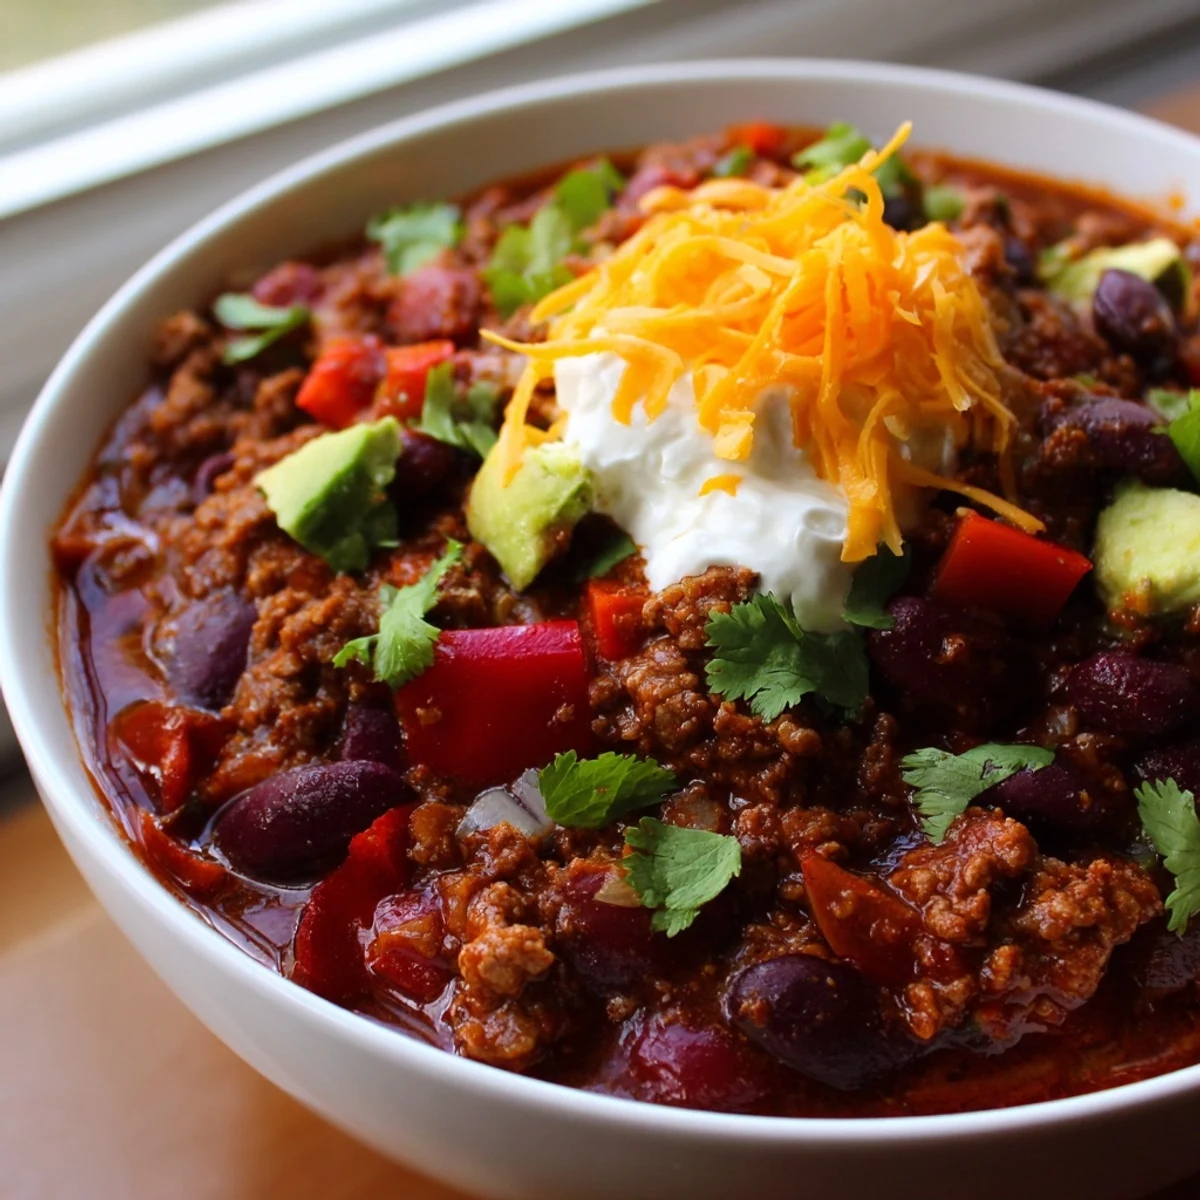
 This classic American chili combines ground beef, kidney and black beans, diced tomatoes, and a blend of chili powder, cumin, and smoked paprika into a rich, warming stew.
Ready in about an hour and 40 minutes, it feeds six and freezes beautifully for make-ahead meals.
Top each bowl with cheddar, sour cream, avocado, or fresh cilantro for a satisfying weeknight dinner.
The rain was hammering against the kitchen window and the power had been flickering for twenty minutes when I decided a pot of chili was the only reasonable response to the entire situation. There is something deeply stubborn about browning beef while the lights dance above you, daring the storm to do its worst. That pot simmered for an hour and by the time the weather broke, the house smelled like civilization had survived after all. My roommate walked in, took one breath, and said nothing, just grabbed a bowl.
I brought this chili to a neighborhood potluck in October, ladled it into paper bowls behind a folding table, and watched a line form before the nacho table even got a glance. A woman I had never met told me it reminded her of her grandmother in El Paso, which is either a genuine compliment or the nicest lie I have ever been told at a potluck. Either way, I took it.
Ingredients
- 500 g ground beef: Use a standard fat content around fifteen to twenty percent for the best flavor without excessive greasiness pooling on top.
- 1 large onion, diced: Yellow or white onion both work, but I lean toward yellow for the natural sweetness it develops during cooking.
- 2 cloves garlic, minced: Fresh garlic only, pressed or finely minced so it melts into the base rather than sitting in chunks.
- 1 red bell pepper, diced: Adds a subtle sweetness and bright color that keeps the pot from looking monotonous.
- 1 green bell pepper, diced: Slightly more bitter than red, which balances the overall sweetness of the tomatoes and onions.
- 1 jalapeño, seeded and minced: Optional but recommended, the heat is mild once seeded and it adds a fresh pepper flavor.
- 400 g kidney beans, drained and rinsed: Rinsing removes the starchy liquid from the can that can dull the broth.
- 400 g black beans, drained and rinsed: These break down slightly during simmering and help thicken the chili naturally.
- 800 g diced tomatoes: Fire roasted canned tomatoes add an extra layer of smokiness if you can find them.
- 2 tbsp tomato paste: This small amount concentrates the tomato flavor and deepens the color of the entire pot.
- 250 ml beef broth: Low sodium lets you control the salt level yourself as the chili reduces.
- 2 tbsp chili powder: This is the backbone of the flavor, so use a brand you trust and that smells fragrant when you open the jar.
- 1 tsp ground cumin: Gives the chili its characteristic earthy warmth that people recognize before they can name it.
- 1 tsp smoked paprika: Regular paprika works, but smoked paprika introduces a campfire quality that elevates everything.
- 1/2 tsp dried oregano: A quiet herb that ties the Tex-Mex spice profile together in the background.
- 1/2 tsp salt: Start here and adjust at the end, since the broth and tomatoes contribute salt already.
- 1/4 tsp black pepper: Freshly cracked is always better for a noticeable but gentle warmth.
- 1/4 tsp cayenne pepper: Entirely optional, but a quarter teaspoon adds gentle warmth rather than aggressive fire.
Instructions
- Build the aromatic base:
- Heat a splash of oil in a large pot or Dutch oven over medium heat and cook the diced onion until it turns soft and translucent, about five minutes. Add the minced garlic and stir for one minute until your kitchen smells like you are actually getting somewhere.
- Brown the beef:
- Add the ground beef and break it apart with a wooden spoon as it cooks, letting it brown deeply in spots rather than stirring it into gray pebbles. Drain excess fat if the pot looks greasy, but leave a little for flavor.
- Soften the peppers:
- Stir in the diced bell peppers and jalapeño, letting them cook for about three minutes until they soften slightly but still hold their shape. You want texture left in the final bowl, not peppers cooked to mush.
- Bloom the spices:
- Add the chili powder, cumin, smoked paprika, oregano, salt, pepper, and cayenne all at once and stir to coat everything evenly. Let the spices toast in the hot fat for about thirty seconds until you can smell them bloom, which is the moment everything changes.
- Build the stew:
- Stir in the tomato paste and cook for one minute, then pour in the diced tomatoes and beef broth. Add both cans of drained beans, stir gently, and bring the whole mixture to a rolling boil.
- Simmer and develop:
- Reduce the heat to low, cover the pot, and let it simmer for one hour, stirring every fifteen minutes or so to prevent sticking. Remove the lid for the last fifteen minutes if you prefer a thicker, more concentrated chili.
- Finish and serve:
- Taste the chili and adjust the salt and heat to your liking before ladling into bowls. Top with any combination of cilantro, sour cream, grated cheddar, and diced avocado if you want the full experience.
 Save Pin
 The first time I made this for my father, he ate two bowls in silence, then looked up and asked if there were leftovers for tomorrow. That question, from a man who never asks for seconds, told me the recipe had earned a permanent spot.
Serving Ideas That Go Beyond the Bowl
Chili is forgiving and versatile, which means you can ladle it over a baked potato, spoon it onto a hot dog, or serve it alongside a wedge of cornbread without changing a single thing about the recipe. I once poured leftovers over a plate of cheese fries at midnight and have no regrets about that decision.
Making It Your Own
Swap the ground beef for turkey if you want something lighter, or double the beans and skip the meat entirely for a vegetarian version that still holds its own at any table. The spice ratios are a starting point, not a contract, so add more cumin or dial back the cayenne to match what you actually like eating.
Storage and Reheating
This chili keeps in the refrigerator for up to four days and freezes beautifully for three months, which makes it worth cooking a double batch on a lazy Sunday afternoon. Reheat it gently on the stove or in the microwave with a splash of broth to loosen it back up.
- Freeze in individual portions so you can thaw exactly what you need withoutcommitting to the entire batch.
- Label the container with the date because every frozen container looks identical after two weeks.
- Stir well after reheating since the fat and liquid separate during storage.
 Save Pin
 Some recipes earn a place in your rotation and others earn a place in your life. This one lives in my pot from October through March and I have never once been tired of it.
Recipe FAQs
- → Can I make chili ahead of time?
-
Yes, chili actually tastes better the next day as the flavors continue to develop. Store it in an airtight container in the refrigerator for up to 4 days, or freeze for up to 3 months.
- → How do I thicken my chili?
-
Remove the lid during the last 15 minutes of simmering to let excess liquid evaporate. You can also mash a portion of the beans against the side of the pot to release their natural starches.
- → What can I substitute for ground beef?
-
Ground turkey or chicken work well for a lighter version. For a vegetarian option, swap the beef for an extra can of beans or a cup of cooked lentils, and use vegetable broth instead of beef broth.
- → How spicy is this chili?
-
The base heat is mild to moderate from chili powder and cumin. The jalapeño and cayenne are optional, so you can easily control the spice level by adjusting or omitting those ingredients.
- → What should I serve with chili?
-
Chili pairs wonderfully with cornbread, steamed rice, or tortilla chips. A side salad or roasted vegetables also complement the rich, hearty flavors nicely.
- → Is this chili gluten-free?
-
The base ingredients are naturally gluten-free. Just be sure to check labels on canned beans, broth, and any garnishes to confirm they are certified gluten-free if you have a sensitivity.
