 Save Pin
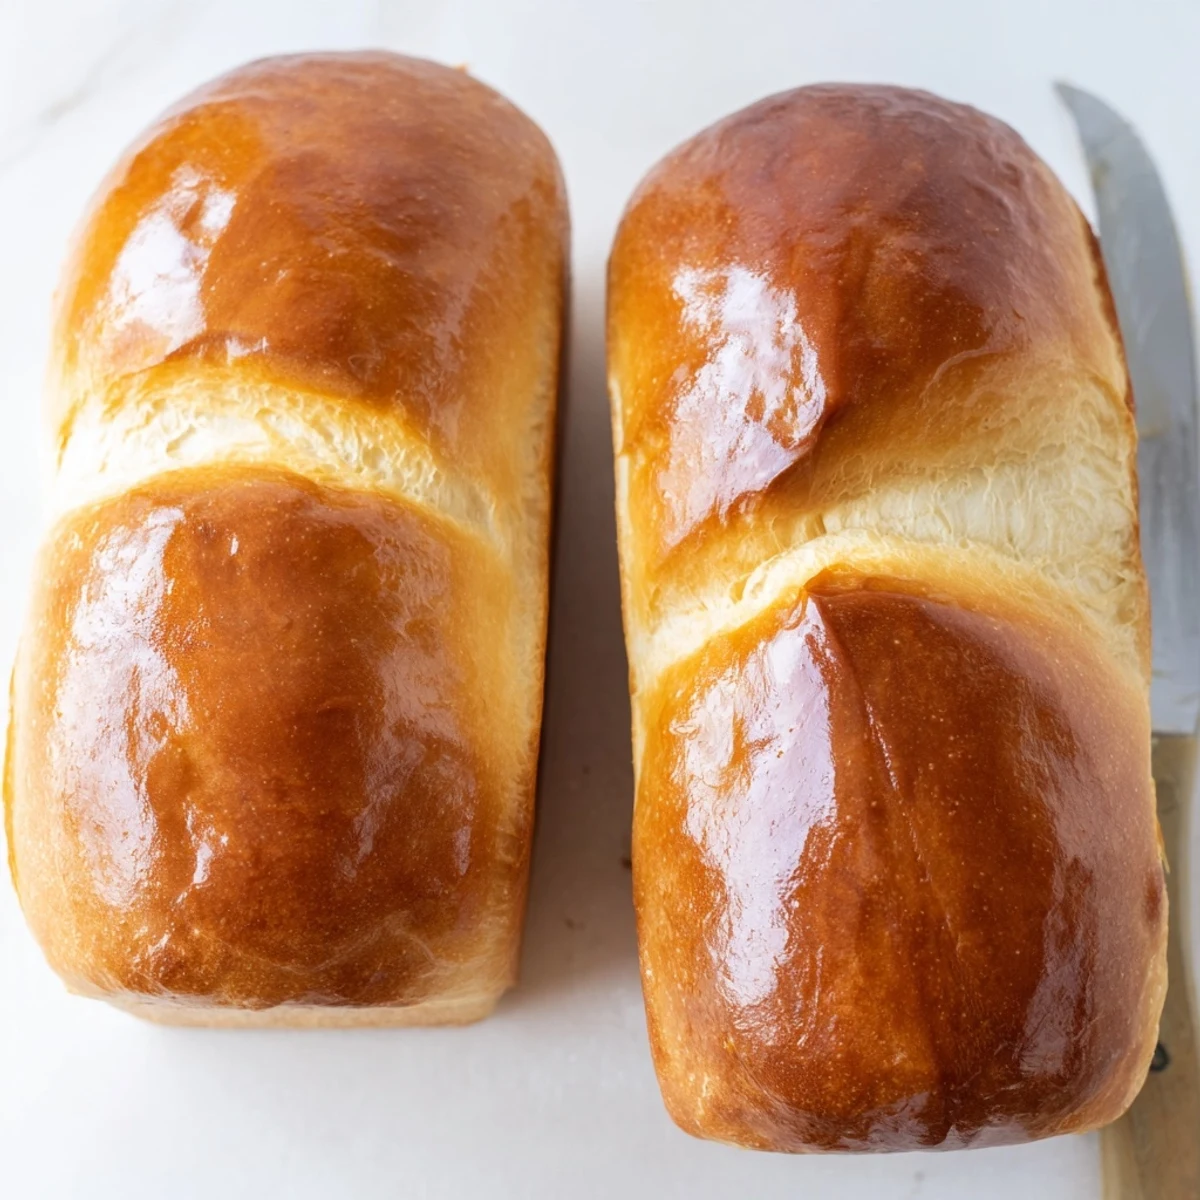
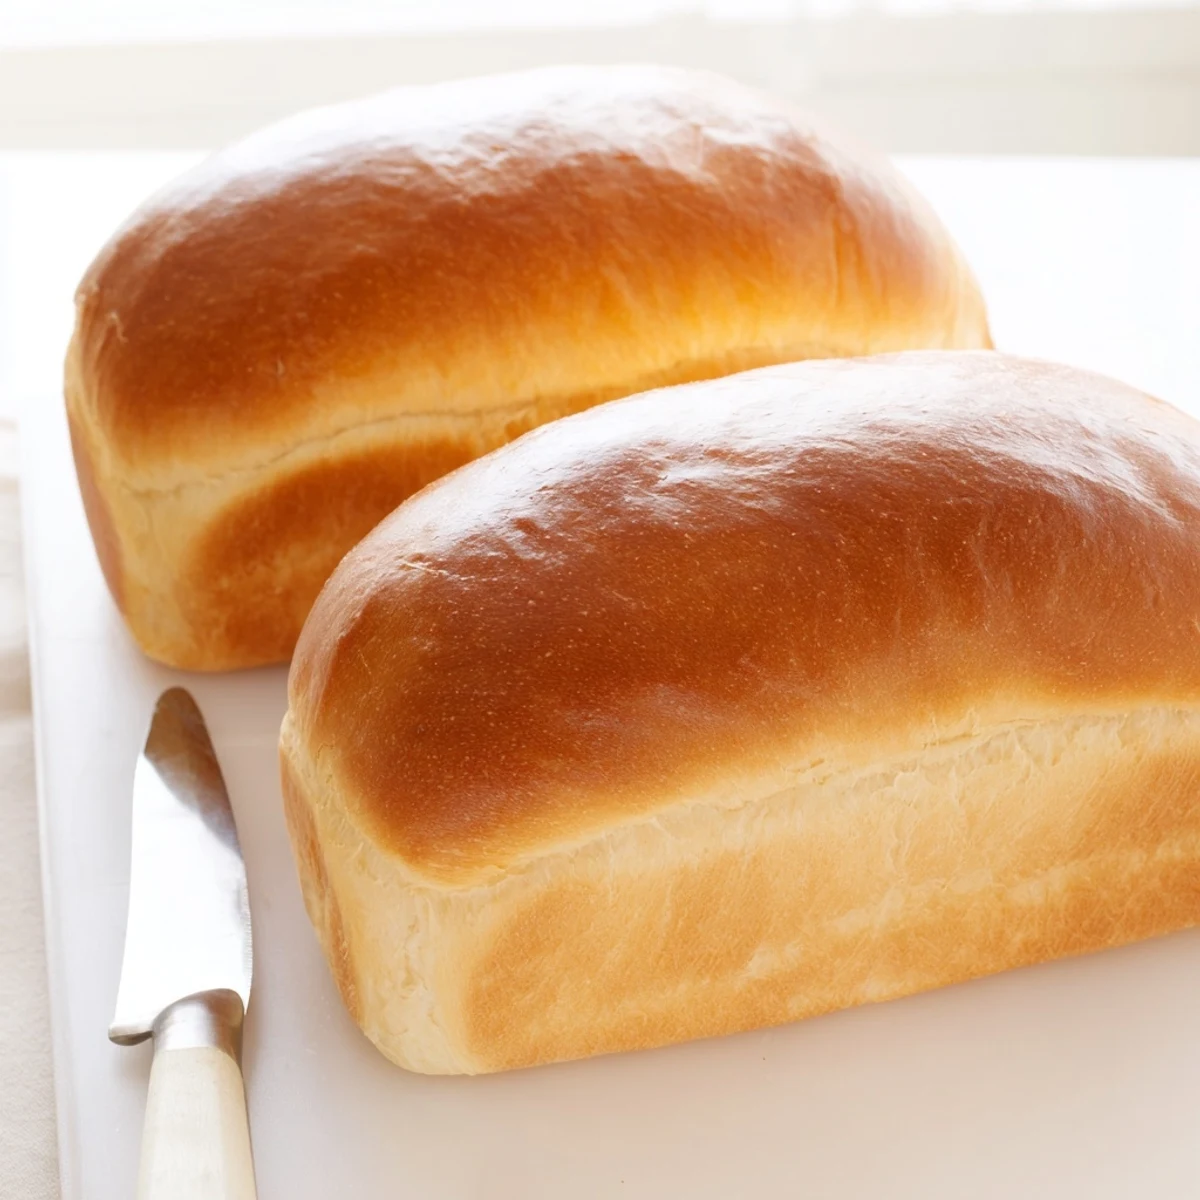
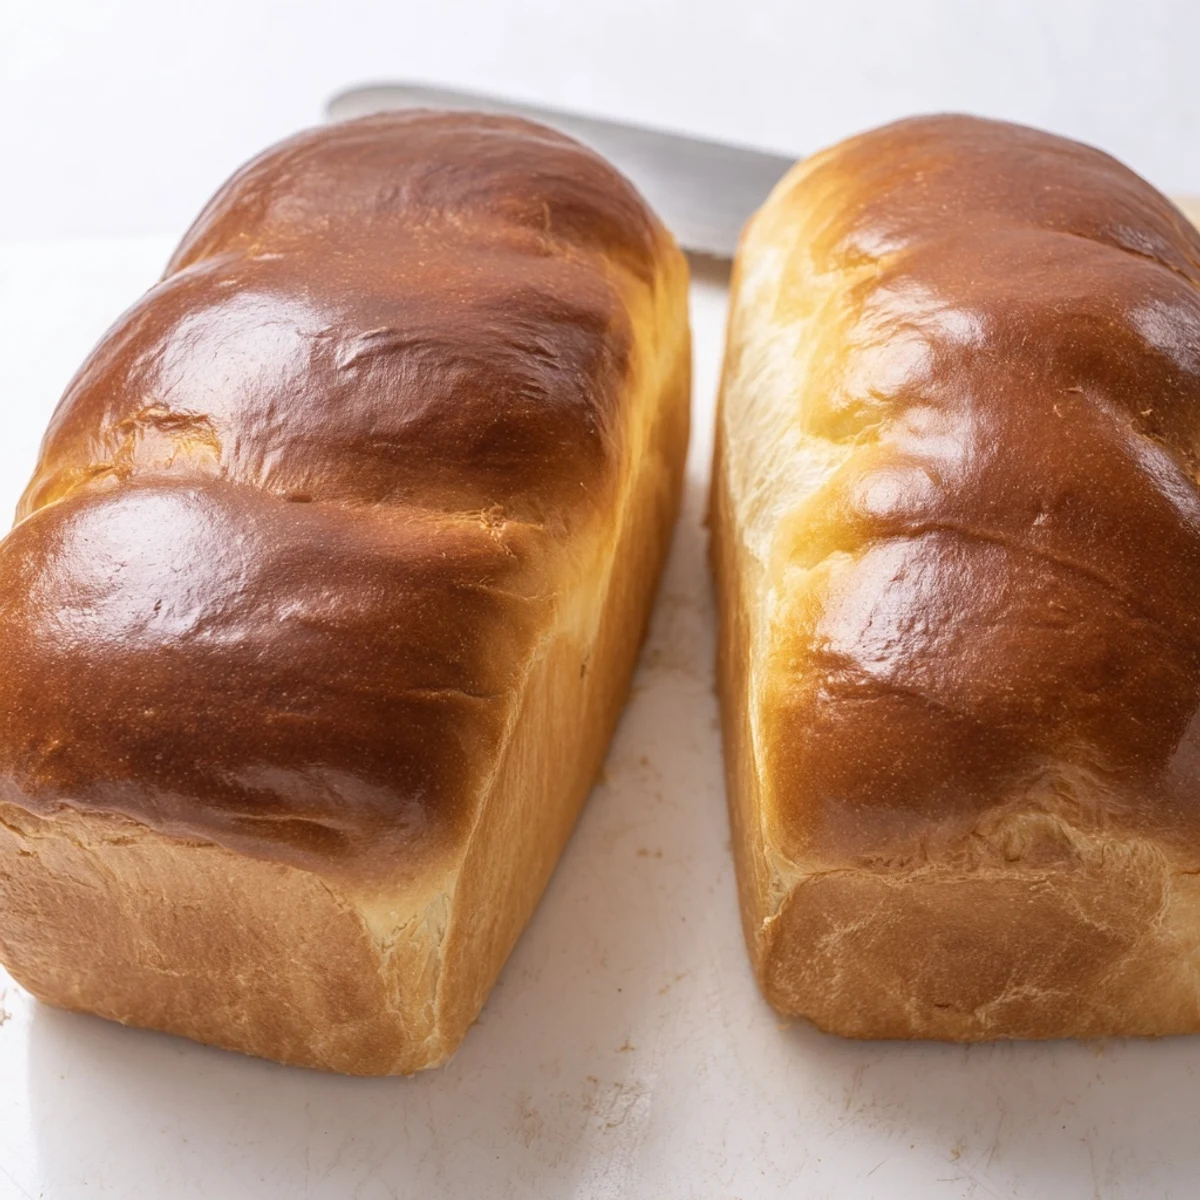
 This traditional Amish white bread yields two beautifully risen loaves with a tender crumb and subtle sweetness. The dough comes together easily with basic pantry ingredients, requiring just 20 minutes of active preparation before two rising periods develop that signature soft texture. Perfect for beginners, the foolproof method produces golden crusts that brush beautifully with melted butter for extra richness.
Each loaf bakes to a hollow-tapped golden brown in about 30 minutes, delivering approximately sixteen slices that store well for several days or freeze beautifully. The versatile dough accepts variations like partial milk substitution or honey for floral notes, making it an excellent foundation for French toast or bread pudding.
The smell of yeast blooming in warm water takes me back to my grandmother's kitchen on Sunday mornings. She'd let me stand on a chair to watch the bubbles form, explaining that this was the bread's way of waking up. Now whenever I make this Amish white bread, I find myself instinctively pulling a chair to the counter, just to be closer to that magical transformation.
I once brought a fresh loaf to a potluck, still warm from the oven, and watched it disappear within ten minutes. People kept asking where I'd bought it, not believing something this tender could come from a home kitchen. That moment taught me that the simplest recipes, made with care, often create the biggest impressions.
Ingredients
- 2 cups warm water: The temperature matters more than you think, too hot kills the yeast, too cold makes it sluggish
- 2/3 cup granulated sugar: Feeds the yeast and adds just enough sweetness to make this bread irresistible
- 1 1/2 tablespoons active dry yeast: The living heart of your bread, treat it gently and it will reward you beautifully
- 1 1/2 teaspoons salt: Essential for flavor balance and strengthening the gluten structure
- 1/4 cup vegetable oil: Keeps the crumb tender and the crust from becoming too hard
- 5 1/2 to 6 cups all-purpose flour: Start with less and add gradually, humidity affects how much flour you'll need
- 1 tablespoon melted butter for brushing: That bakery finish that makes everyone think you're a professional
Instructions
- Wake up the yeast:
- Dissolve sugar in warm water, sprinkle yeast on top, and wait patiently for that foamy proof that tells you it's alive and ready to work
- Build the dough:
- Mix in salt and oil, then gradually add flour one cup at a time until the dough pulls away from the bowl but still feels slightly tacky
- Knead with purpose:
- Work the dough on a floured surface for six to eight minutes, feeling it transform from shaggy to smooth and elastic under your hands
- First rise:
- Place dough in a greased bowl, cover, and let it double in size, about an hour, while you go about your day
- Shape the loaves:
- Punch down gently, divide in half, tuck and roll each piece into a loaf, then settle them into greased pans
- Second rise:
- Cover and let rise until they crown about an inch above the pan rim, usually thirty to forty-five minutes
- Bake to golden:
- Bake at 350°F for twenty-five to thirty minutes until deeply golden and the loaves sound hollow when tapped
- Finish with butter:
- Brush tops with melted butter immediately for a soft, inviting crust, then cool completely before slicing
 Save Pin
 My youngest daughter now pulls her own chair to the counter whenever she sees me measuring flour. She presses her tiny finger into the rising dough, watching in wonder as it slowly fills back in. Some recipes are meant to be passed down through generations, but the best ones are shared between them.
Getting The Rise Right
Drafty kitchens are the enemy of bread dough. I learned this the hard way after leaving my rising loaf near a back door one winter day. Find the warmest corner in your kitchen, or create a cozy proofing box by turning your oven light on and placing the dough inside with the door closed.
Flour Variables
Every bag of flour absorbs water differently, which is why the recipe gives you a range. On rainy days, you might need the full six cups, while dry winter baking might only require five and a half. Trust your hands over the measurements, they'll tell you when the dough has found its perfect balance.
Making It Your Own
This simple canvas welcomes creativity. Swap half the water for warm milk to add richness and extend the shelf life by a day. Mix in herbs like rosemary or thyme during the final flour addition for an aromatic bread that transforms ordinary toast into something special. Try adding a cup of shredded sharp cheddar to the dough for the ultimate grilled cheese foundation.
- Replace one cup of flour with whole wheat for more depth
- Add two tablespoons of honey instead of sugar for floral notes
- Mix in toasted seeds or nuts for texture and crunch
 Save Pin
 There's something profoundly satisfying about pulling two golden loaves from your own oven. Share one, keep one, and know that you've created something that nourishes more than just hunger.
Recipe FAQs
- → What makes Amish white bread different from regular white bread?
-
Amish white bread typically contains slightly more sugar and fat than standard white bread, creating a softer texture and subtle sweetness. The generous fat content from oil or butter contributes to a tender crumb that stays fresh longer, while the higher sugar level promotes better browning and a hint of caramel flavor during baking.
- → Can I make this dough ahead of time?
-
Yes, after the first rise, punch down the dough and refrigerate it overnight in a covered bowl. The cold fermentation develops flavor and actually improves texture. When ready to bake, let the dough come to room temperature for about 30 minutes, then shape and proceed with the second rise as directed.
- → Why is my dough too sticky or too dry?
-
Flour absorption varies based on humidity and brand. Start with 5 ½ cups and add more only until the dough pulls away from bowl sides and feels smooth but slightly tacky. If dough becomes too dry, add water one tablespoon at a time. The ideal texture should be soft and pliable, not stiff or requiring excessive force to knead.
- → How do I know when the bread is fully baked?
-
The most reliable test is the hollow sound—tap the bottom of the loaf, and it should sound hollow when done. Additionally, the crust should be golden brown, and an instant thermometer inserted into the center should read 190-200°F. Underbaked bread will have a dense, gummy texture near the center.
- → Can I freeze the baked loaves?
-
Absolutely. Cool completely, wrap tightly in plastic wrap followed by aluminum foil or place in freezer bags. Frozen loaves maintain quality for 3-6 months. Thaw overnight at room temperature, still wrapped to prevent condensation on the crust. Refresh in a 350°F oven for 10 minutes for that freshly baked warmth.
- → What's the purpose of brushing with melted butter after baking?
-
Brushing warm loaves with melted butter creates a softer, more tender crust while adding rich flavor. The butter penetrates slightly into the surface, preventing the crust from becoming hard or overly crisp. This technique is especially desirable if you prefer sandwich-friendly texture over crunchy artisan-style crusts.
