 Save Pin
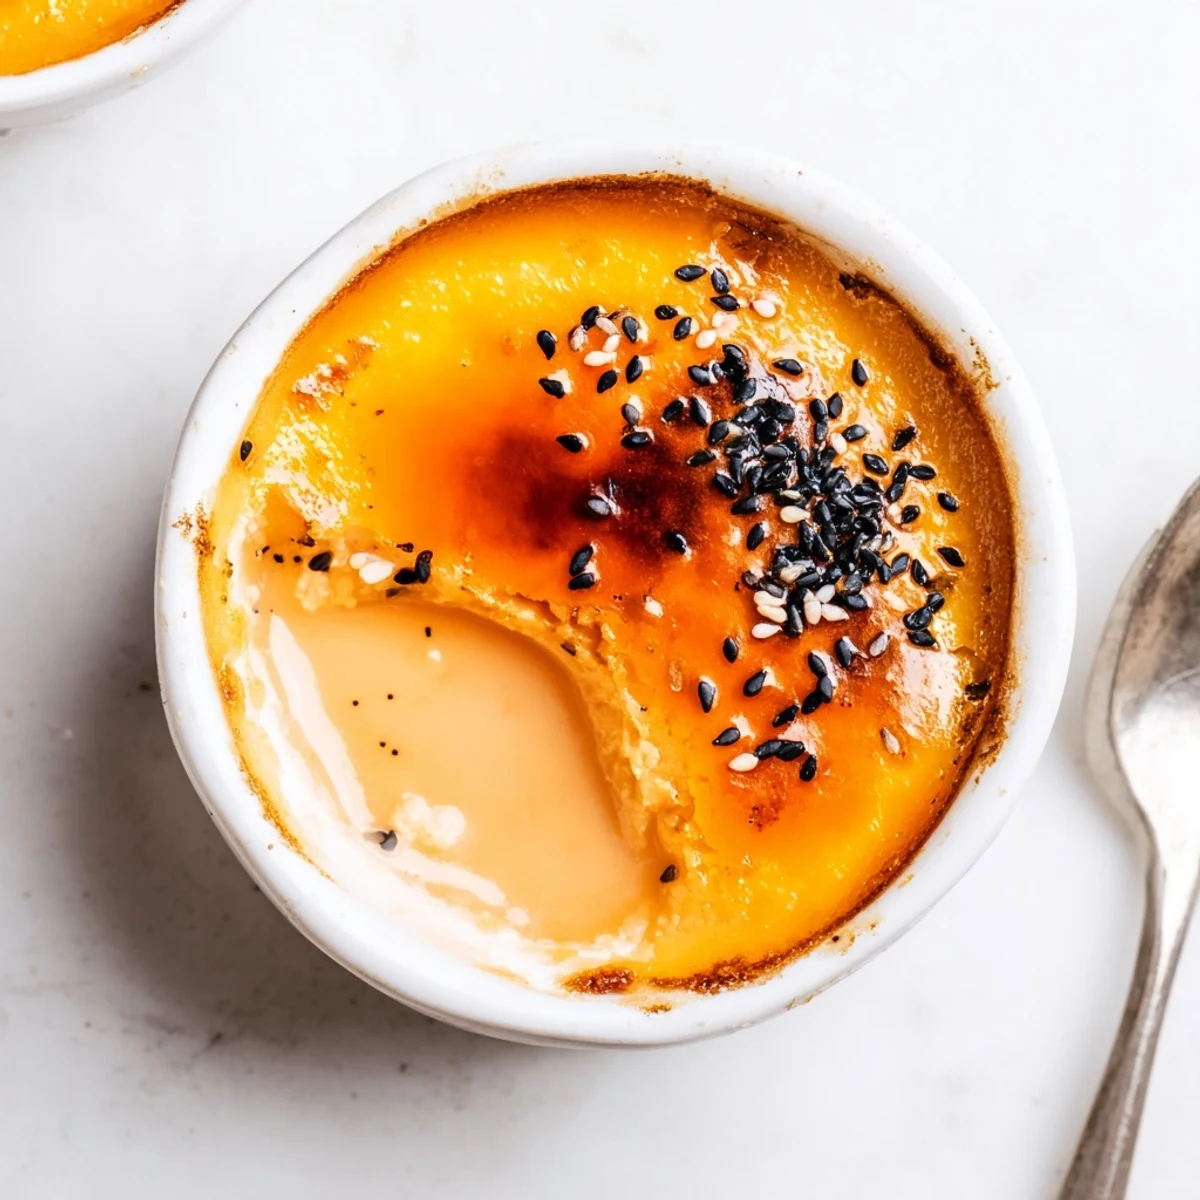
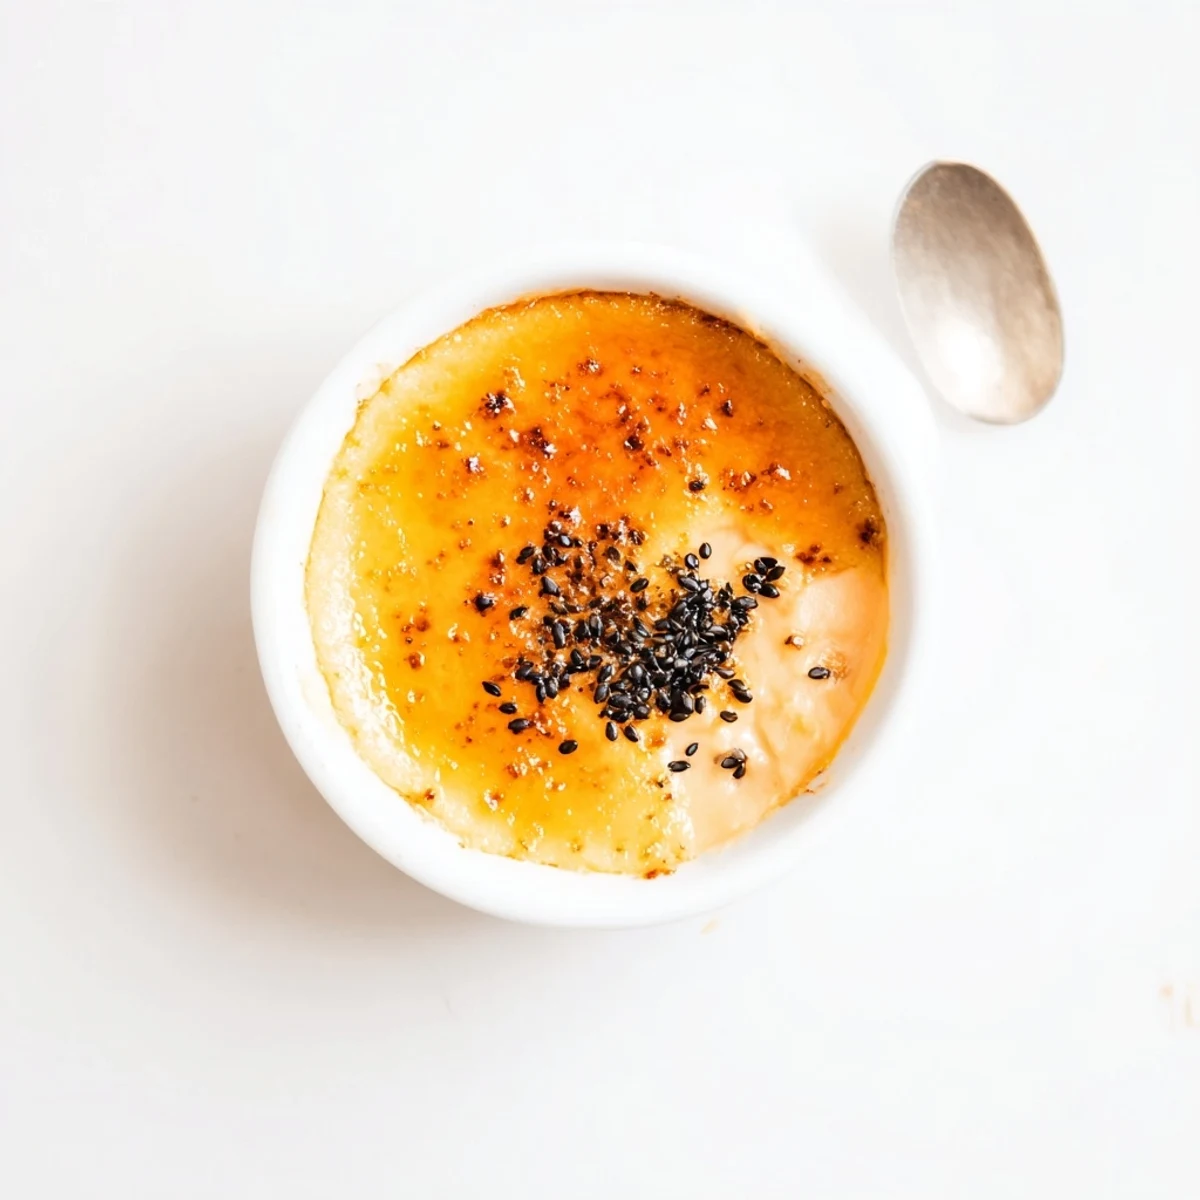
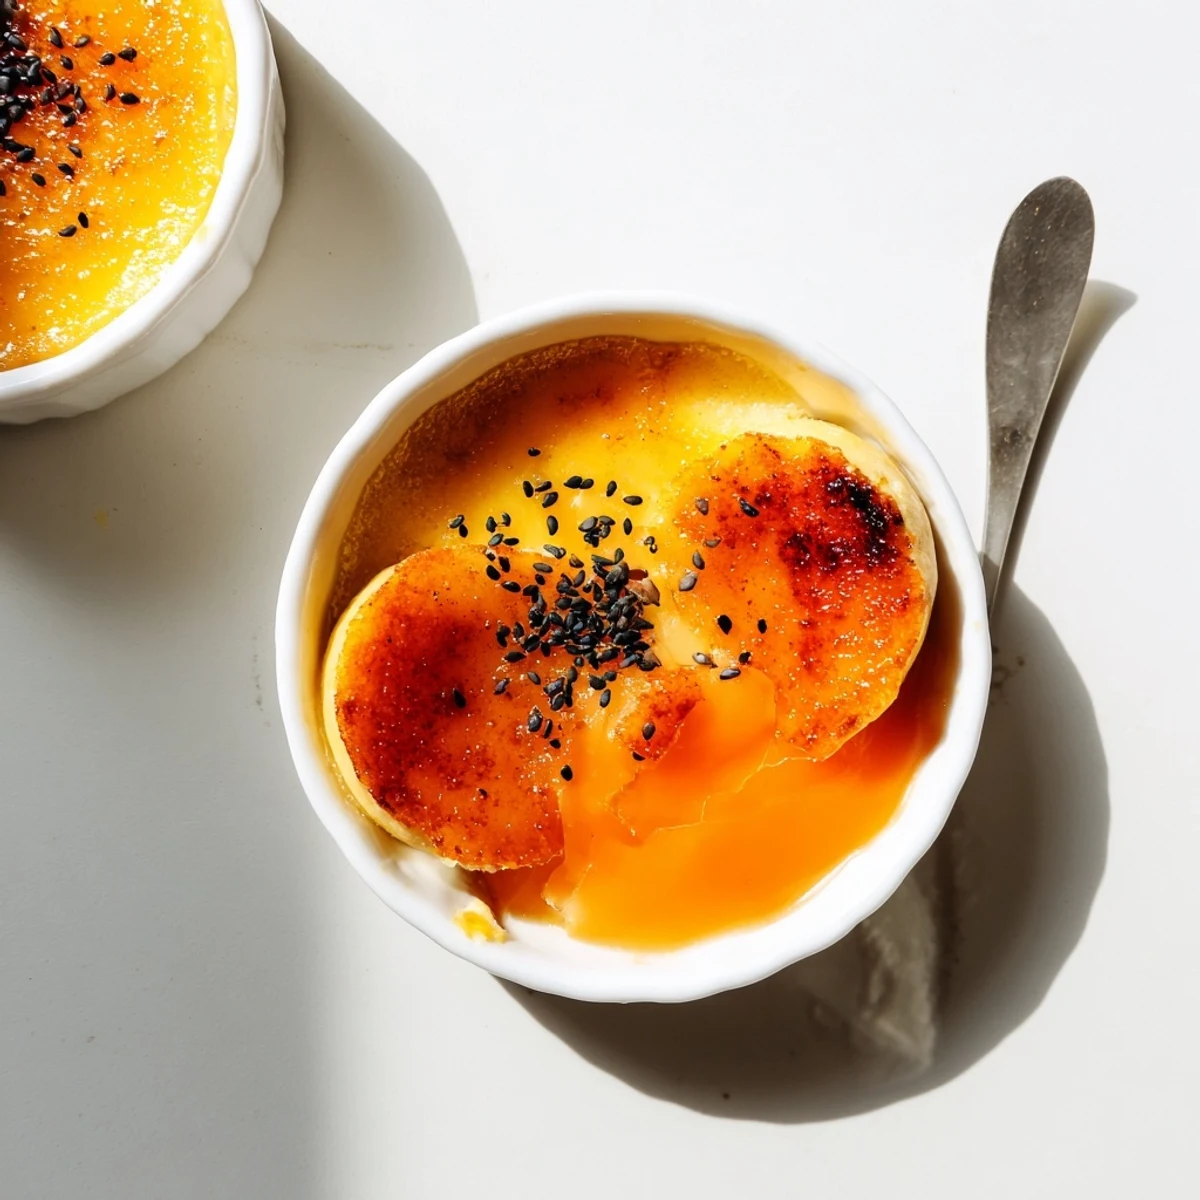
 Experience the best of both worlds with this Japanese-French fusion creation. Velvety smooth custard gets its beautiful golden hue and earthy sweetness from steamed Japanese sweet potatoes, blended seamlessly with rich cream and milk. The classic crème brûlée technique—a water bath followed by a sugar torch—creates that signature contrast between the silky interior and shattering caramelized top. Each spoonful delivers creamy custard punctuated by crisp, burnt sugar shards, while subtle vanilla enhances the potato's natural nuttiness. Perfect for dinner parties or a special weekend treat, these individual portions can be prepared ahead and finished moments before serving.
The steam from my kitchen torch still lingers in my memory from that first attempt at sweet potato crème brûlée during autumn a few years back. Something about the way that golden sugar crackled under the flame felt like magic. The vibrant purple-orange custard inside looked almost too pretty to eat.
I served these at a small dinner gathering last winter, and my friend Sarah actually stopped mid conversation to savor her first bite. She said it reminded her of something her grandmother used to make, though she could not quite place what. That is the kind of memory food should create.
Ingredients
- Japanese sweet potato: This variety is naturally sweeter and creamier than orange sweet potatoes, plus it gives the custard that gorgeous sunset color.
- Heavy cream and whole milk: The combination creates the perfect silky texture without being too heavy.
- Egg yolks: Room temperature yolks blend more smoothly into the custard base.
- Granulated sugar: Divide this between the custard and the caramelized topping for the full crème brûlée experience.
- Vanilla extract: Pure vanilla makes all the difference here.
- Salt: Just a pinch wakes up all the flavors.
Instructions
- Prep your water bath:
- Preheat oven to 150°C (300°F) and put a kettle on to boil while you prep everything else.
- Cook the sweet potato:
- Steam or boil those peeled cubes until they are fork tender, about 15 minutes, then drain well.
- Make it smooth:
- Blend the sweet potato with cream and milk until absolutely no lumps remain.
- Whisk the yolks:
- Beat egg yolks with sugar, vanilla, and salt until they turn pale and silky.
- Combine gently:
- Slowly pour the sweet potato mixture into the yolks while whisking constantly so the eggs do not scramble.
- Strain for perfection:
- Pour everything through a fine mesh sieve to catch any bits for the smoothest custard possible.
- Set up the ramekins:
- Divide the custard among 4 ramekins and place them in a deep baking pan.
- Create the water bath:
- Pour hot water into the pan until it reaches halfway up the sides of the ramekins.
- Bake until just set:
- Carefully slide into the oven and bake 30 to 35 minutes until the center still has a slight wobble.
- Chill completely:
- Cool to room temperature, then refrigerate at least 2 hours though overnight is even better.
- The moment of truth:
- Sprinkle 1 tablespoon sugar over each chilled custard and torch until golden and bubbly.
- Wait just a bit:
- Let the caramelized sugar rest for 3 minutes so it forms that perfect crackly crust.
 Save Pin
 These became my go to dessert for dinner parties after that first successful batch. There is something so satisfying about serving a dessert that feels elegant but is actually quite straightforward to make.
The Art of the Water Bath
I learned the hard way that water baths prevent the custard from curdling and create that impossibly smooth texture. Place a kitchen towel in the bottom of your pan before adding the ramekins to keep them from sliding around.
Getting That Perfect Crack
The sugar layer should be thin and even before you torch it. Move the flame in small circles rather than holding it in one spot to avoid burning the sugar before it caramelizes evenly.
Make Ahead Magic
You can prepare the custard up to two days in advance and keep them refrigerated. The brûlée topping only takes minutes to torch right before serving.
- Cold custards hold their shape better when you add the hot sugar layer.
- Leftovers actually taste better the next day as flavors meld.
- Always store without the caramelized topping for best texture.
 Save Pin
 There is something deeply satisfying about cracking through that caramelized sugar into the creamy custard below. This dessert has become one of those recipes I find myself making again and again.
Recipe FAQs
- → Can I use regular sweet potatoes instead of Japanese variety?
-
While possible, Japanese sweet potatoes (Satsumaimo) have a naturally sweeter, nuttier flavor and creamier texture compared to orange-fleshed varieties. Regular sweet potatoes may result in a less smooth custard and different flavor profile.
- → Do I need a kitchen torch for the caramelized top?
-
A kitchen torch provides the best results for that signature crackling sugar crust. However, you can use your oven's broiler—place ramekins on the top rack and broil for 1-2 minutes, watching constantly to prevent burning.
- → How long should I refrigerate before serving?
-
Refrigerate for at least 2 hours, but 3-4 hours is ideal for the custard to fully set and develop flavor. The tops can be caramelized up to 30 minutes before serving—the sugar will stay crisp.
- → Can I make these dairy-free?
-
Yes! Substitute both heavy cream and whole milk with full-fat coconut cream. The custard will have a subtle coconut flavor that pairs beautifully with the sweet potato. Ensure your coconut cream is unsweetened.
- → Why strain the custard mixture before baking?
-
Straining through a fine mesh sieve removes any fibrous sweet potato pieces or cooked egg bits, ensuring an incredibly smooth, silky texture throughout the custard. This step is essential for restaurant-quality results.
- → How do I know when the custard is properly baked?
-
The custard is done when the edges are set but the center still has a slight wobble—like gelatin when gently shaken. It will continue cooking slightly from residual heat and firm up completely during chilling.
