 Save Pin
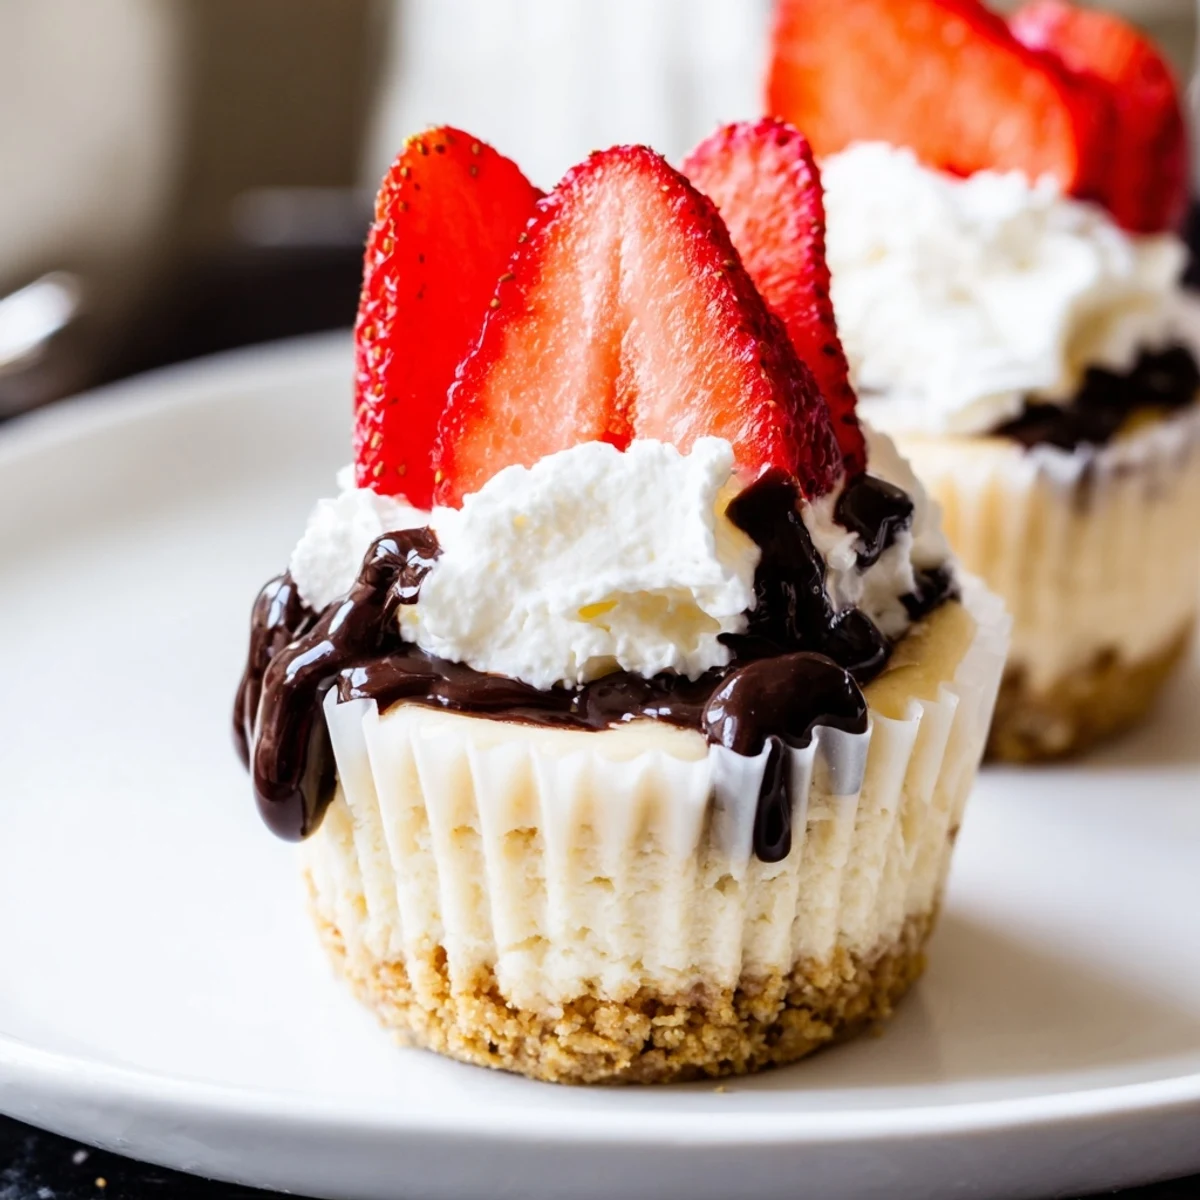
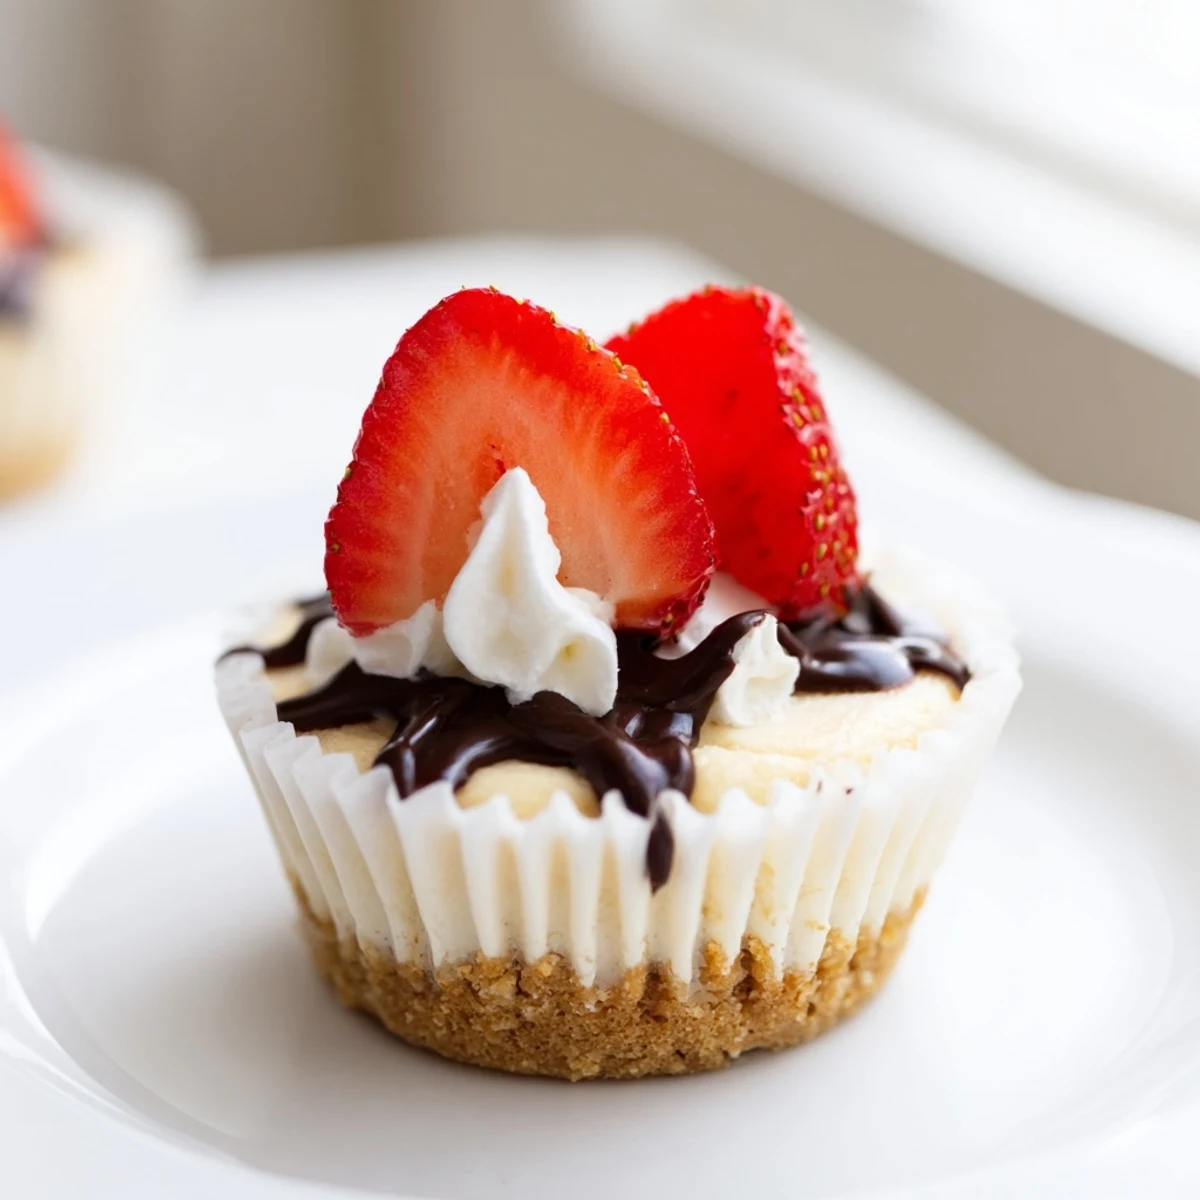
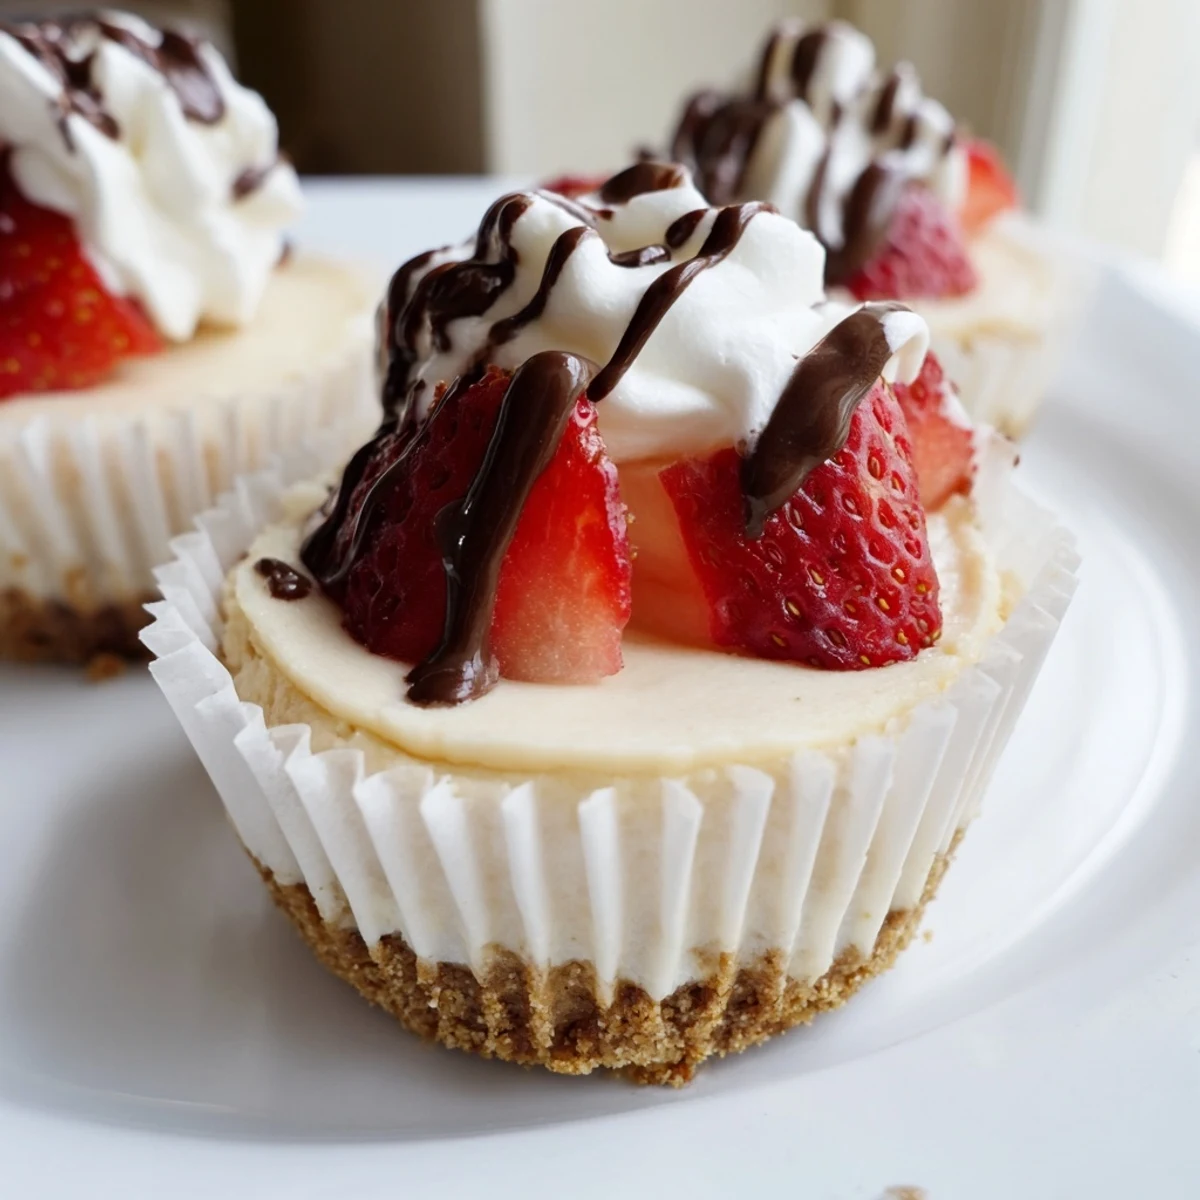
 These individually portioned mini cheesecakes feature a buttery graham cracker crust filled with a rich, creamy cream cheese mixture. Baked in a standard muffin tin, they're perfectly sized for parties, potlucks, or an everyday sweet indulgence.
Each cheesecake bakes in just 18 to 20 minutes and chills until set. The real fun begins with toppings — pile on fresh berries, drizzle with chocolate ganache or caramel, or dollop with whipped cream. You can even switch up the crust using crushed Oreos or gingersnaps for a completely different flavor profile.
The summer my neighbor brought over a basket of imperfect berries from her garden, I stared at them for twenty minutes before deciding mini cheesecakes were the only reasonable answer. Each one became a tiny canvas, some crowned with ruby strawberries, others pooled in dark chocolate ganache. The best part was watching guests hover over the tray, unable to pick just one. That is the quiet magic of a dessert that knows exactly what it is.
I brought a batch of these to a potluck once and they vanished before the main course made it to the table. Someone actually asked if I had more hidden in my car, which felt like the highest compliment a home cook can receive.
Ingredients
- Graham cracker crumbs (120 g): The foundation of a good crust, and fresher crumbs give you a noticeably better texture than the prepackaged kind.
- Unsalted butter, melted (60 g): Binds everything together and adds richness, so do not skimp on this.
- Sugar (2 tbsp, for crust): Just enough sweetness to round out the buttery crumb without making it cloying.
- Cream cheese, softened (340 g): The star of the filling, and it must be fully softened or you will fight lumps the entire time.
- Granulated sugar (100 g): Balances the tang of the cream cheese beautifully.
- Large egg (1): Gives the filling its silky set, and it should be at room temperature so it blends smoothly.
- Vanilla extract (1 tsp): A small amount that does heavy lifting in the flavor department.
- Sour cream (2 tbsp): Adds a subtle tang and keeps the texture lush rather than dense.
- Toppings of your choice: Fresh berries, chocolate ganache, caramel sauce, whipped cream, or crushed nuts all work wonderfully here.
Instructions
- Set up the oven:
- Preheat to 160 degrees C (325 degrees F) and line a standard muffin tin with 12 paper liners. This small step makes removal and serving completely stress free.
- Build the crust:
- Combine the graham cracker crumbs, melted butter, and sugar in a bowl until the mixture feels like damp sand. Spoon about one tablespoon into each liner and press down firmly with the back of a spoon until it feels compact and even.
- Whip the filling:
- Beat the softened cream cheese in a large bowl until completely smooth and no lumps remain. Add the sugar and beat again, then mix in the egg, vanilla, and sour cream just until everything is blended, stopping before you overmix.
- Fill and bake:
- Divide the filling evenly among the cups, filling each about three quarters full. Bake for 18 to 20 minutes, watching for centers that are almost set but still have a gentle wobble.
- Cool and chill:
- Let them rest in the pan for 10 minutes, then move to a wire rack until completely cool. Refrigerate for at least one hour before adding toppings so the texture firms up properly.
 Save Pin
 There is something deeply satisfying about pulling a tray of these from the refrigerator, each one neat in its paper wrapper, waiting to be dressed up. It transforms a quiet weeknight into a small celebration with almost no effort.
Crust Variations Worth Trying
Swap the graham crackers for crushed Oreos, gingersnaps, or digestive biscuits and you essentially have a new dessert. I once used chocolate wafer cookies for a dark crust and my friend declared them better than any bakery version she had ever had.
Flavor Twists for the Filling
A teaspoon of lemon zest brightens everything, while a tablespoon of espresso powder makes them taste like a miniature coffeehouse treat. Fold in mini chocolate chips if you want pockets of melty surprise in every single bite.
Serving and Pairing Ideas
These mini cheesecakes pair beautifully with a glass of Moscato dAsti or a strong cup of coffee after dinner. Set out small bowls of different toppings and let everyone customize their own, which turns dessert into an experience rather than just a course.
- Keep toppings in separate small bowls so guests can mix and match freely.
- Chill the finished cheesecakes uncovered for the first hour, then cover loosely with wrap to avoid condensation.
- Always check labels on toppings if you are serving anyone with nut or dairy allergies.
 Save Pin
 Keep things simple, trust the chill time, and enjoy the happy little ritual of topping each one. These mini cheesecakes are proof that the best desserts do not need to be complicated.
Recipe FAQs
- → Can I make mini cheesecakes ahead of time?
-
Yes, mini cheesecakes are an excellent make-ahead dessert. Store them in an airtight container in the refrigerator for up to 3 days. Add your toppings just before serving so the crust stays crisp and the presentation looks fresh.
- → How do I prevent cracks in my mini cheesecakes?
-
Avoid overbaking — the centers should still have a slight jiggle when you remove them from the oven. Let them cool gradually in the pan before transferring to the refrigerator. Using room temperature cream cheese also helps ensure a smooth, even filling.
- → Can I freeze mini cheesecakes?
-
Absolutely. Freeze them unfrosted and without toppings in an airtight container for up to 2 months. Thaw overnight in the refrigerator, then add your favorite toppings before serving.
- → What can I use instead of graham cracker crumbs for the crust?
-
Crushed Oreo cookies, digestive biscuits, gingersnaps, or vanilla wafers all make delicious alternatives. Simply crush them finely and mix with melted butter and a little sugar, just as you would with graham crackers.
- → Do I need a special pan to make mini cheesecakes?
-
No special equipment is needed. A standard 12-cup muffin tin lined with paper liners works perfectly. The liners make it easy to remove each cheesecake and also serve as a convenient wrapper for serving.
- → How long should I chill the mini cheesecakes before serving?
-
Chill them for at least 1 hour, but 2 to 4 hours yields the best texture. The longer rest allows the filling to set completely and develop that signature dense, creamy consistency.
