 Save Pin
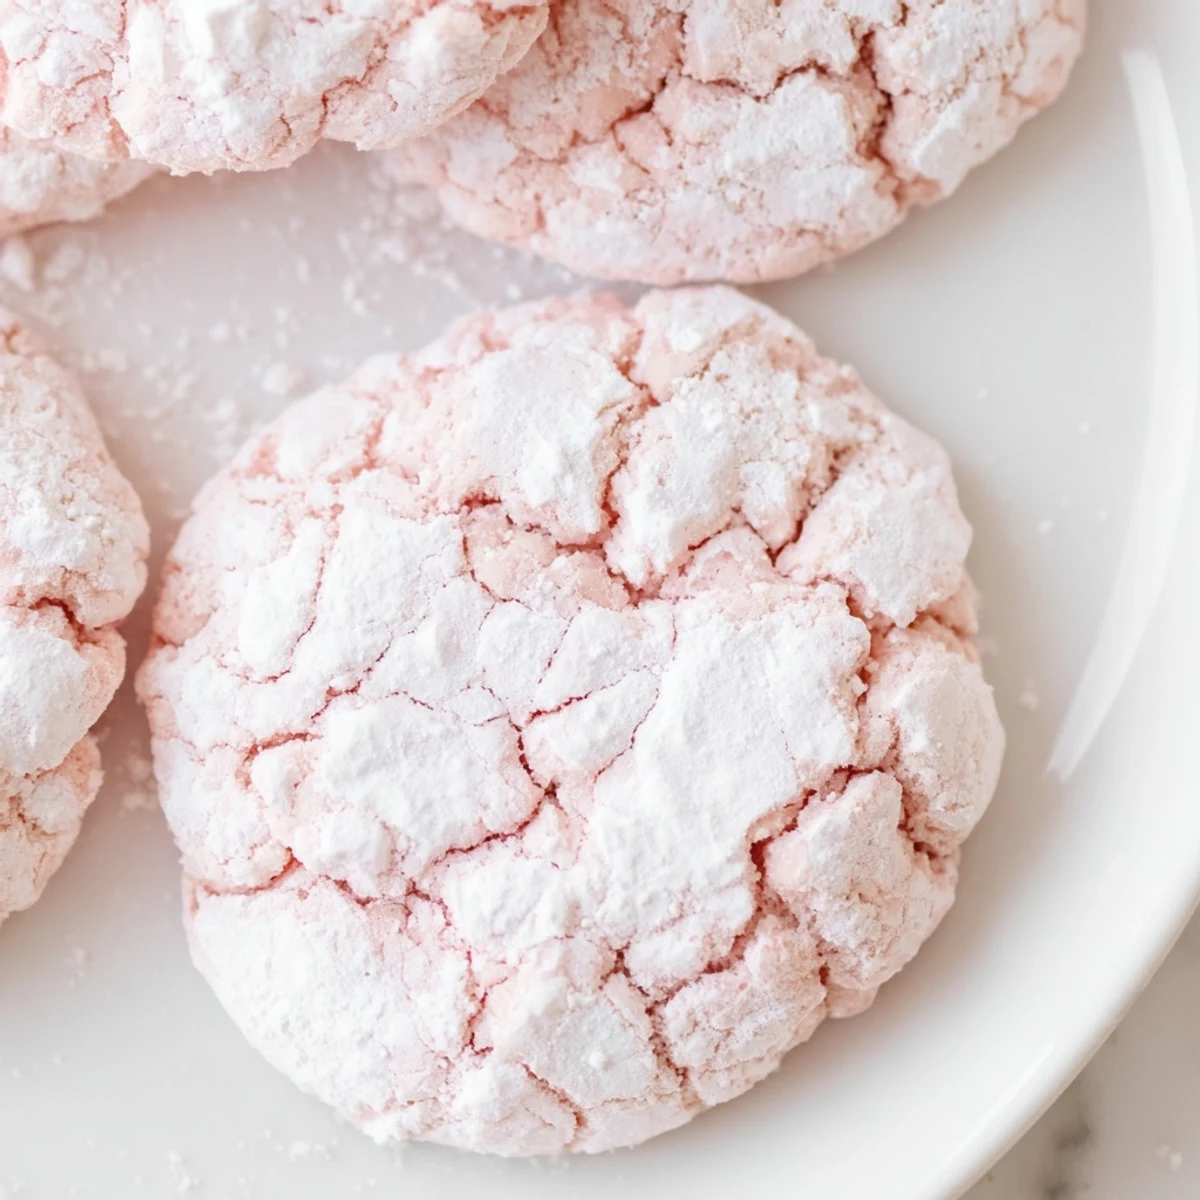
 These soft, chewy treats feature a delicate crackled exterior coated in powdered sugar, with beautiful pastel hues perfect for spring gatherings. The dough comes together quickly with basic pantry staples, then gets divided and tinted with gel food coloring in your favorite shades. A quick chill helps the dough hold its shape before rolling in sugar and baking.
The result is tender cookies with crisp, sugary edges and soft centers. The classic crinkle effect creates that signature cracked appearance while the pastel colors make them visually stunning for Easter, baby showers, birthday parties, or any festive occasion. They store well for days and can be customized with different color combinations to match your celebration theme.
The first time I made these pastel crinkle cookies, I was hosting a baby shower for my best friend on a rainy April afternoon. I wanted something that felt like edible confetti, something cheerful and delicate that would make people smile the moment they walked in. When they emerged from the oven with those gorgeous crackled tops and soft pastel centers, even I couldn't believe how beautiful they looked. Now they're my go-to whenever I need to add a little magic to an ordinary day.
Last spring, my daughter helped me make a batch for her school bake sale, and she insisted on making every color of the rainbow. We ended up with the most chaotic, beautiful plate of cookies, and they sold out in twenty minutes flat. The moms were asking for the recipe before they even finished their first bite. There's something about these cookies that turns regular moments into celebrations.
Ingredients
- 2 cups all-purpose flour: This creates the perfect tender crumb structure that holds those gorgeous crackles without spreading too much
- 1½ teaspoons baking powder: Essential for that beautiful lift and puffy texture we want in these delicate cookies
- ¼ teaspoon salt: Just enough to balance the sweetness and enhance all those lovely vanilla notes
- ½ cup unsalted butter, softened: Room temperature butter creates the perfect creamed base for that soft, chewy texture we love
- 1 cup granulated sugar: Sweetens the dough while helping create those signature crackled tops as the cookies bake
- 2 large eggs: These provide structure and richness, keeping the cookies wonderfully soft and pillowy
- 2 teaspoons vanilla extract: Pure vanilla adds that classic warmth that makes these cookies taste homemade and special
- ¼ cup whole milk: Adds moisture and tenderness, ensuring these stay soft for days
- Gel food coloring: Gel colors give you those beautiful, concentrated pastel shades without thinning out your dough like liquid coloring can
- ¾ cup powdered sugar: This creates that snowy coating that cracks beautifully and adds the perfect sweet finish
Instructions
- Getting Ready:
- Preheat your oven to 350°F and line two baking sheets with parchment paper, preparing your kitchen for a cozy baking session.
- Whisk the Dry Goods:
- In a medium bowl, combine the flour, baking powder, and salt until everything is evenly distributed.
- Cream the Butter and Sugar:
- Beat the softened butter and granulated sugar together until the mixture looks pale and fluffy, about 2 to 3 minutes of patience.
- Add Eggs and Vanilla:
- Add the eggs one at a time, beating well after each one, then stir in that lovely vanilla extract.
- Combine Everything Gently:
- Add the flour mixture in two parts, alternating with the milk, mixing just until everything comes together into a soft dough.
- Create Your Pastels:
- Divide the dough into 3 or 4 bowls and tint each portion with gel food coloring, mixing gently until you reach those dreamy pastel shades.
- Chill if Needed:
- If the dough feels too soft to handle, pop it in the fridge for 20 minutes to firm up slightly.
- Coat in Sugar:
- Scoop tablespoon sized balls and roll them generously in powdered sugar until they look like little snowballs ready for the oven.
- Bake to Perfection:
- Place them 2 inches apart on your prepared sheets and bake for 10 to 12 minutes, until edges are set but centers still look soft.
- Let Them Rest:
- Cool on the baking sheet for 5 minutes to set those crackles, then move them to a wire rack to cool completely.
 Save Pin
 My grandmother always said that cookies colored like Easter eggs were made for sharing, and I've found that to be true every single time. People gravitate toward these colorful treats like they're little edible works of art, and the conversation that flows around a platter of pastel crinkle cookies is always the sweetest part.
Making Ahead
You can prepare the dough up to two days in advance and keep it refrigerated in separate bowls for each color. I love doing this because it means I can bake fresh cookies the morning of an event, filling the whole house with that incredible vanilla aroma right before guests arrive.
Color Variations
While I stick to pastel pink, yellow, green and blue for spring, you could absolutely do red and green for Christmas or orange and yellow for autumn. The key is using gel coloring sparingly, building up the color gradually until you hit that perfect soft, dreamy shade.
Storage Secrets
These cookies stay remarkably soft when stored properly, and I've learned that layering them between pieces of parchment paper in an airtight container keeps that powdered sugar coating from getting smudged. They're actually better on day two, when the flavors have had time to meld and develop.
- Place a piece of white bread in the container if they start to firm up after a few days
- Freeze the unbaked dough balls on a baking sheet, then transfer to a bag for fresh cookies anytime
- Bring frozen dough balls to room temperature for 15 minutes before rolling in sugar and baking
 Save Pin
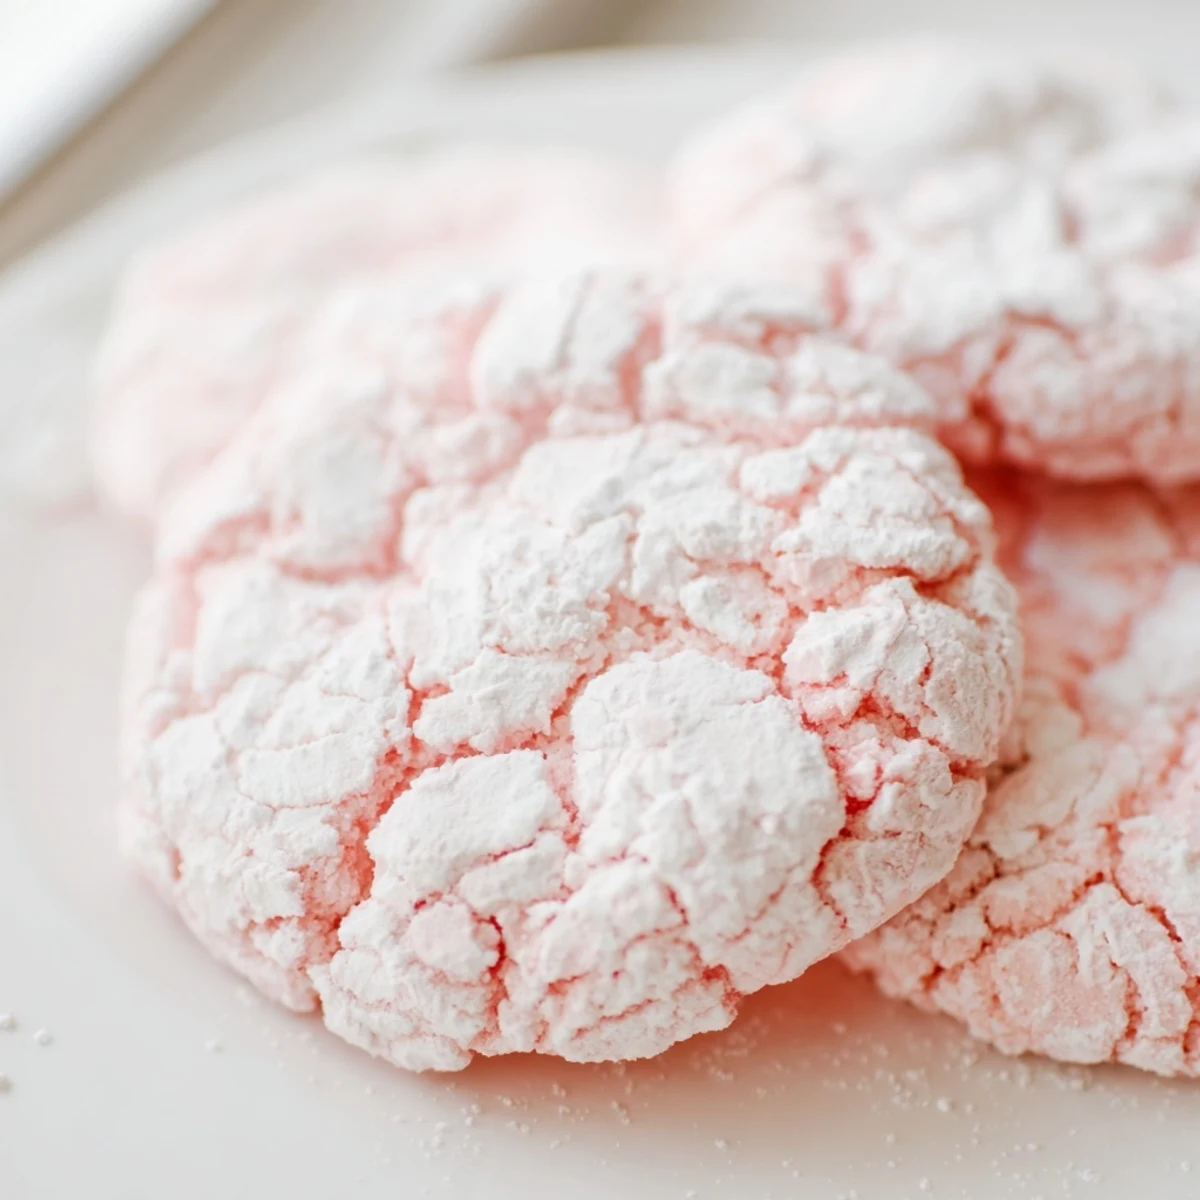
 There's something so joyful about pulling a tray of these colorful, crackled cookies from the oven and watching faces light up. They're proof that the simplest touches of color can transform an ordinary afternoon into something worth celebrating.
Recipe FAQs
- → Why do these cookies crackle?
-
The crackled effect happens because the powdered sugar coating creates a dry outer layer that splits apart as the dough spreads and bakes. The contrast between the sugary exterior and moist interior creates the signature crinkle pattern.
- → Can I use liquid food coloring instead of gel?
-
Gel food coloring works best because it adds vibrant color without making the dough too wet. Liquid coloring can alter the dough consistency, potentially affecting texture and bake time. If using liquid, add just a few drops at a time and chill the dough longer to compensate.
- → How long should I chill the dough?
-
Twenty minutes in the refrigerator helps firm the dough for easier rolling, but it's not strictly necessary. If your kitchen is warm or the dough feels very sticky, chill for 30-60 minutes. You can also freeze the dough balls for 15 minutes for faster prep.
- → Why did my cookies lose their color?
-
Pastel colors can appear muted after baking. For more vibrant results, use slightly more gel coloring than you think necessary, as colors fade slightly in the oven. Avoid overmixing the colored dough, which can incorporate too much air and dull the final hue.
- → Can I make these ahead of time?
-
Yes! You can prepare the dough, tint it, and refrigerate for up to 24 hours before rolling and baking. Alternatively, freeze unbaked dough balls for up to 3 months—bake from frozen, adding 1-2 minutes to the baking time. Finished cookies stay fresh in an airtight container for 5 days.
- → What if I don't want to use food coloring?
-
Skip the coloring entirely for classic white crinkle cookies, or use natural alternatives like freeze-dried fruit powder (strawberry, raspberry, blueberry), matcha powder for green, or turmeric for yellow. These will add subtle flavor along with gentle color.
