 Save Pin
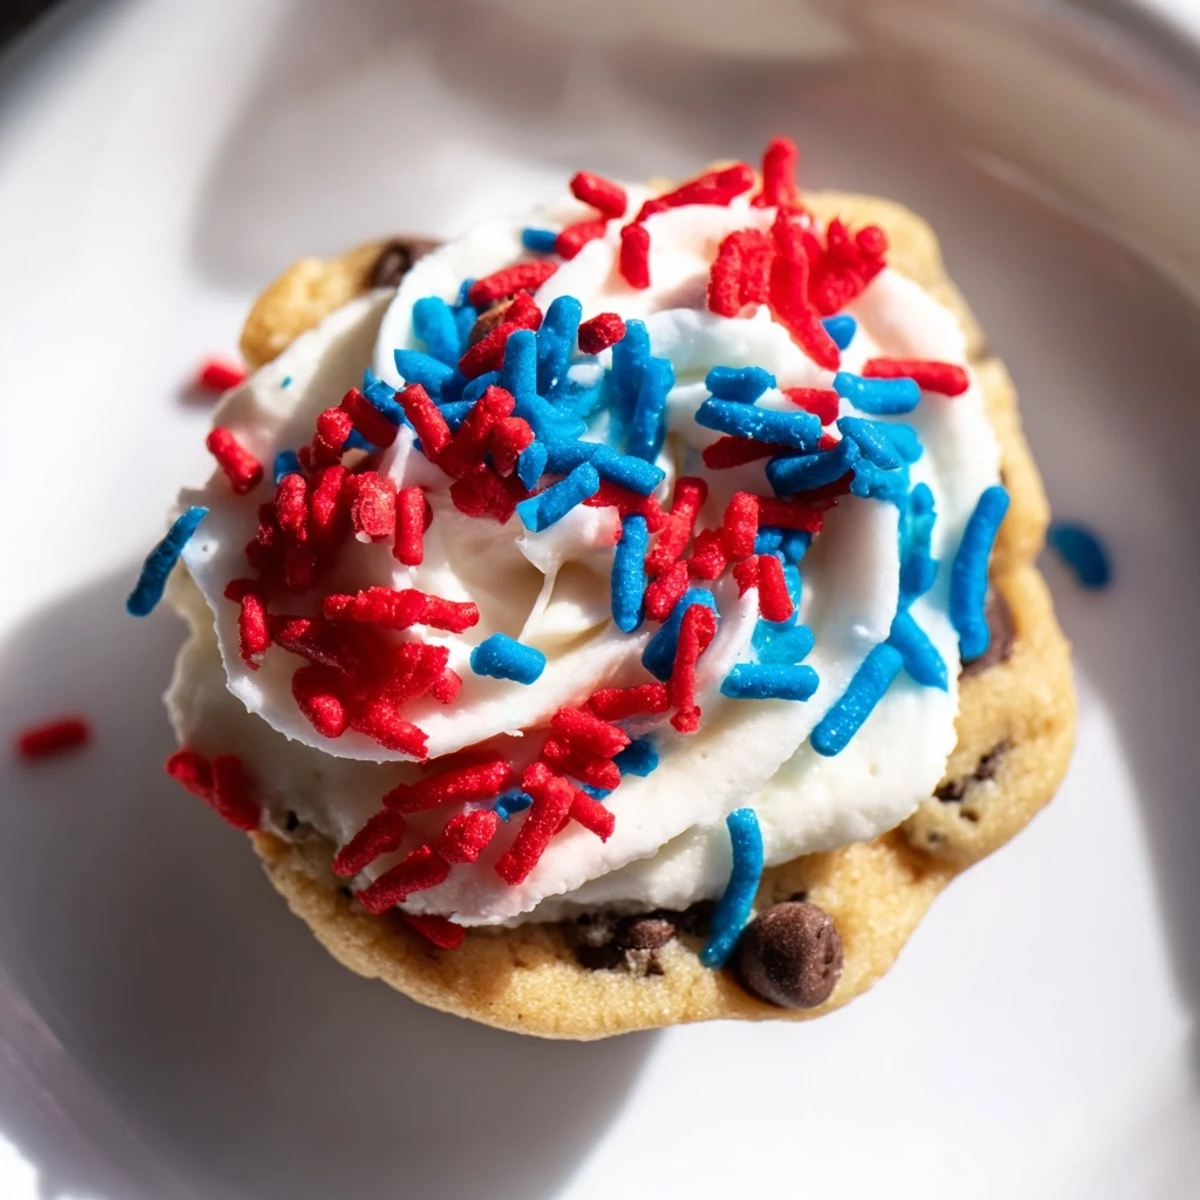
 These patriotic chocolate chip cookie cups are a fun, bite-sized dessert for summer celebrations. Soft, chewy cookie dough is baked in a mini muffin tin, then filled with fluffy red, white, and blue frosting and topped with sprinkles. Easy to make and perfect for sharing!
The kitchen counter was a chaotic mess of blue and red dye, but the smell of butter and sugar baking in the oven made everything feel right.
I remember making these for a Fourth of July block party last year and watching them disappear within minutes.
Ingredients
- Unsalted butter: Make sure it is softened to room temperature for easy mixing.
- Brown sugar: Packed tight to ensure moisture and a rich flavor.
- Granulated sugar: Helps create the perfect crisp edge on the cookie cups.
- Eggs: Large eggs bind the dough together for structure.
- Vanilla extract: A splash enhances the sweetness of the chocolate.
- All-purpose flour: The base of the dough, providing the perfect texture.
- Baking soda: Ensures the cups rise and hold their shape.
- Salt: Balances the sweetness and brings out the chocolate flavor.
- Semisweet chocolate chips: Melts slightly in the oven for gooey pockets of chocolate.
- Butter for frosting: Softened butter creates a smooth and creamy base.
- Powdered sugar: Gives the frosting sweetness and structure.
- Milk: Adjust the amount to reach your desired frosting consistency.
- Red and blue gel food coloring: Gel colors provide vibrant hues without thinning the frosting.
- Red, white, and blue sprinkles: Adds a festive crunch and visual appeal.
Instructions
- Preheat and Prepare:
- Get your oven to 350°F (175°C) and grease your 24-cup mini muffin tin well.
- Cream the Butter and Sugars:
- In a large bowl, beat the butter, brown sugar, and granulated sugar until the mixture is light and fluffy.
- Add Eggs and Vanilla:
- Beat in the eggs one at a time, ensuring each is fully incorporated before adding the vanilla.
- Mix Dry Ingredients:
- Whisk the flour, baking soda, and salt in a separate bowl, then gradually mix into the wet ingredients.
- Fold in Chocolate Chips:
- Gently stir the chocolate chips into the dough until evenly distributed.
- Fill the Muffin Cups:
- Scoop about one tablespoon of dough into each cup, pressing down slightly to form a cup shape.
- Bake to Perfection:
- Bake for 10-12 minutes until lightly golden, then immediately press the centers down with a spoon.
- Cool Completely:
- Let the cookie cups cool in the pan for 10 minutes before moving them to a wire rack.
- Prepare the Frosting:
- Beat the butter until smooth, then gradually add powdered sugar and milk until fluffy.
- Color the Frosting:
- Divide the frosting into three portions, leaving one white and tinting the others red and blue.
- Decorate and Serve:
- Pipe or spoon the colorful frosting into the cooled cups and top with sprinkles.
 Save Pin
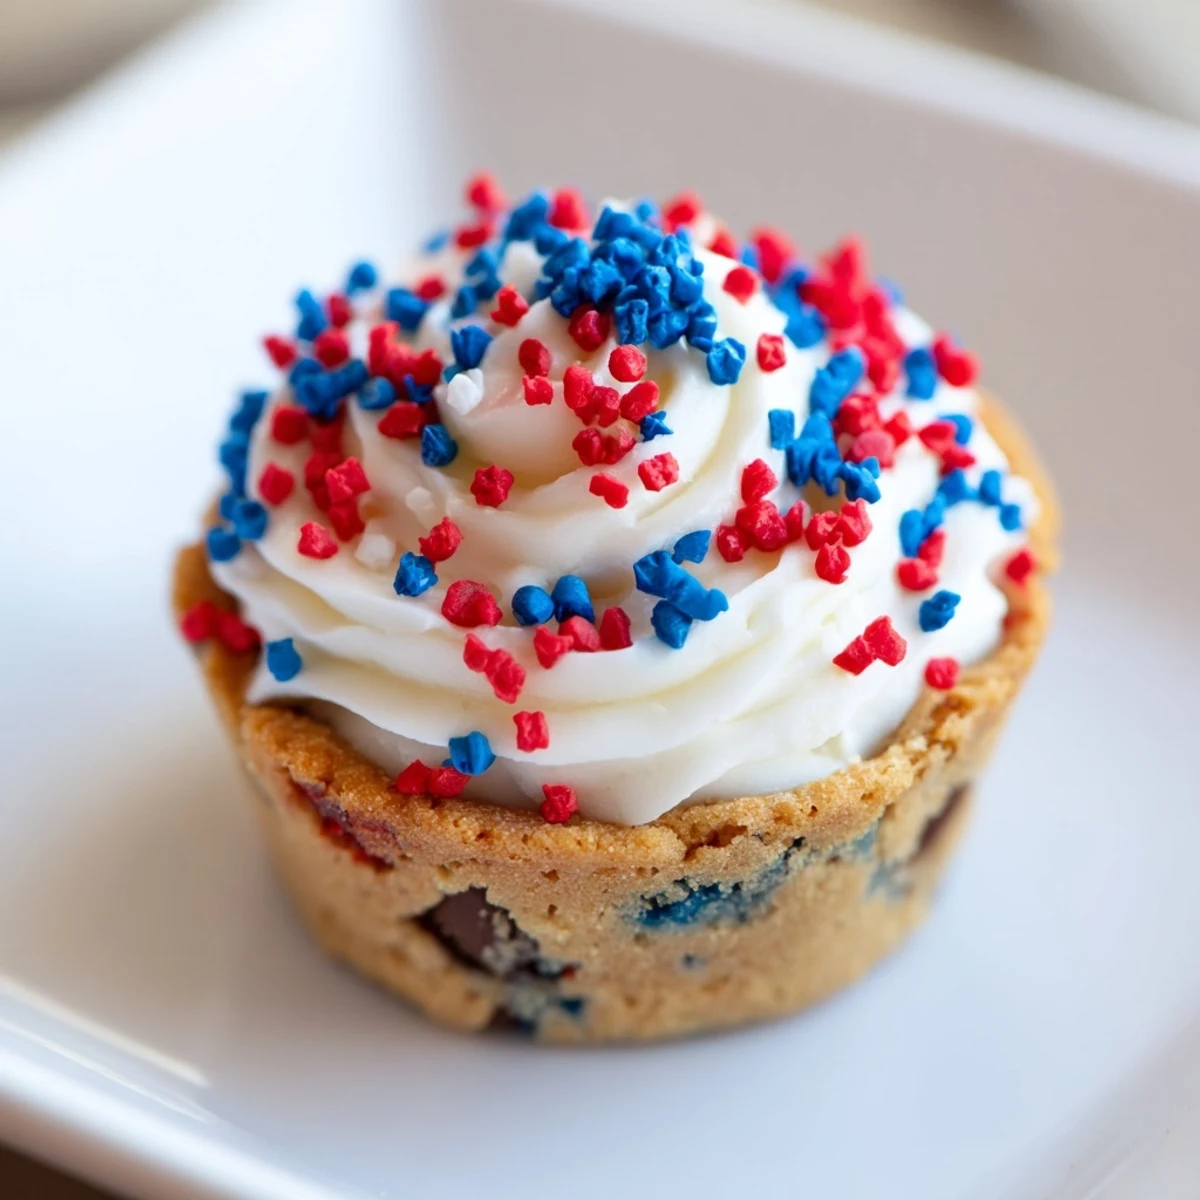
 These treats became an instant favorite at our family gatherings, bringing smiles to everyone who tried them.
Choosing the Right Chocolate
High-quality chocolate chips make a noticeable difference in the final taste.
Frosting Techniques
Use a piping bag for a neat look or a spoon for a more rustic finish.
Storage and Serving
Keep these cookie cups fresh by storing them in an airtight container.
- Refrigerate if your kitchen is particularly warm.
- Let them come to room temperature before serving for the best texture.
- They stay fresh for up to three days.
 Save Pin
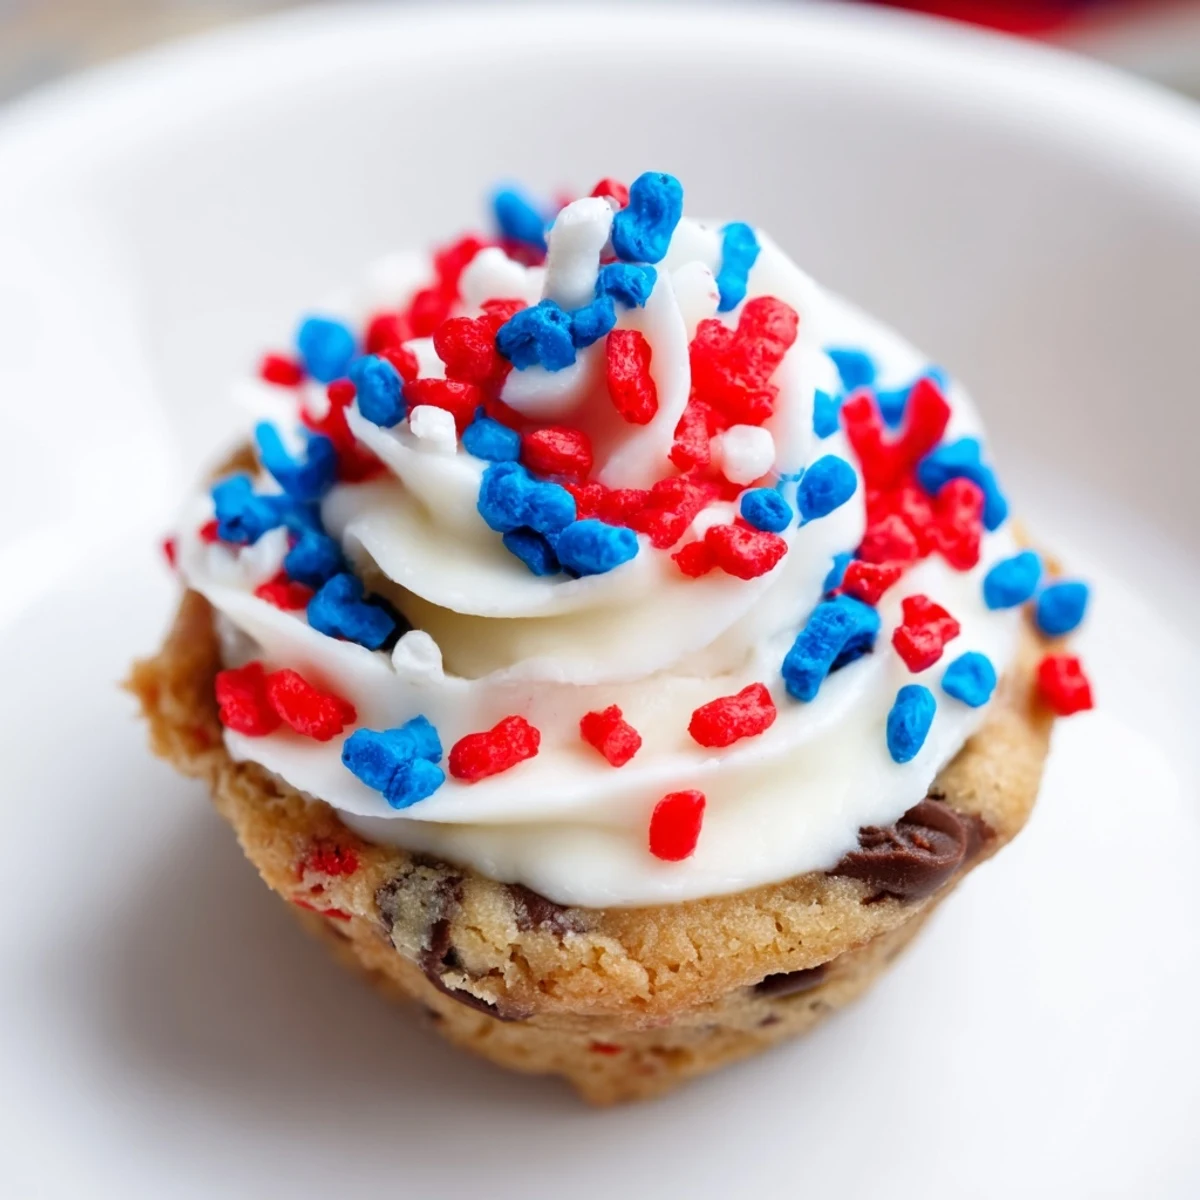
 Enjoy baking and sharing these delightful treats with your loved ones!
Recipe FAQs
- → How do I store these cookie cups?
-
Store in an airtight container at room temperature for up to 3 days. For longer storage, refrigerate for up to a week.
- → Can I freeze the cookie cups?
-
Yes, freeze unfrosted cookie cups in a sealed container for up to 3 months. Thaw before frosting and serving.
- → Can I use different frosting flavors?
-
Absolutely! Swap vanilla extract for almond or lemon extract, or use cream cheese frosting instead of buttercream.
- → How do I get the cup shape?
-
After baking, gently press the center of each cookie with the back of a spoon while still warm to create a well for the frosting.
- → Can I make these ahead of time?
-
Bake the cups a day ahead and store them. Frost and decorate shortly before serving for the freshest look.
