 Save Pin
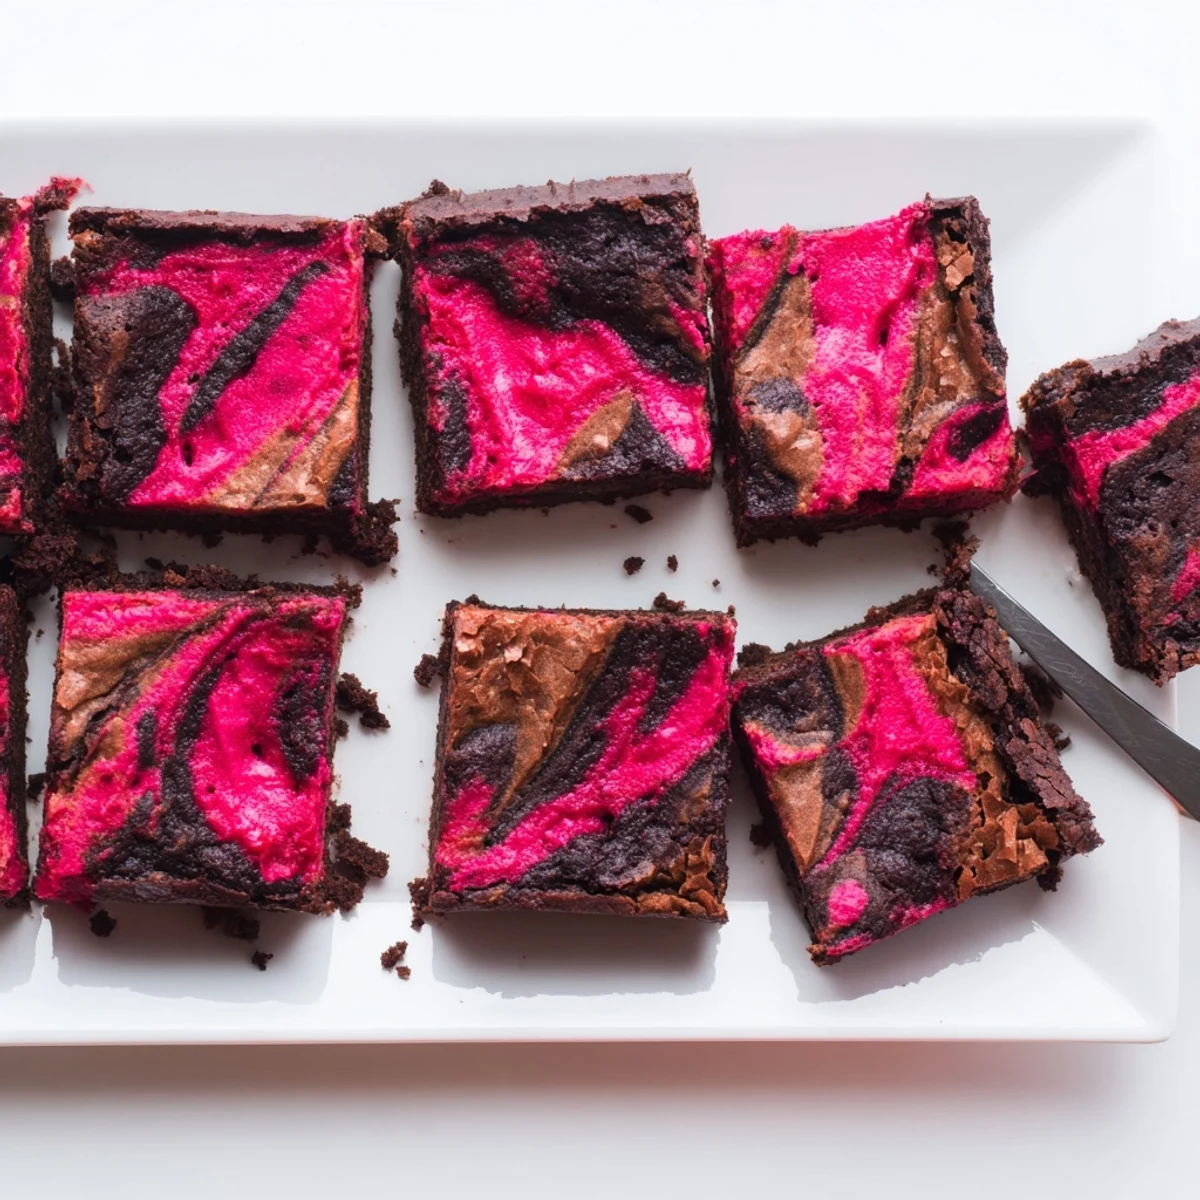
 These indulgent brownies feature a rich, fudgy chocolate base that's beautifully marbled with homemade raspberry puree. The contrast between bittersweet chocolate and bright, tangy raspberries creates a sophisticated flavor profile that satisfies both chocolate and fruit lovers alike.
The technique involves melting quality bittersweet chocolate with butter, then gently folding in flour and cocoa powder to maintain that dense, fudgy texture we love. Fresh raspberries are cooked down with sugar and lemon juice, strained for smoothness, then swirled generously over the batter before baking.
What makes these special is how the raspberry swirl creates pockets of tart fruitiness throughout each bite, cutting through the richness of the chocolate. The result is a visually stunning treat with a marbled pattern that hints at the delightful flavor combination within.
The first time I made these was for a dinner party where I completely forgot to buy dessert ingredients until an hour before guests arrived. I had frozen raspberries and basic baking staples, so I decided to wing it. When everyone went quiet after that first bite, I knew I had stumbled onto something unexpectedly perfect.
My sister grabbed one straight from the cooling rack last summer and burned her fingers because she could not wait. She stood there eating it over the sink, raspberry smeared on her chin, telling me I needed to open a bakery. That is the kind of dessert this is.
Ingredients
- Fresh or frozen raspberries: Frozen work perfectly here and actually break down faster into a thick swirl
- Bittersweet chocolate: The higher cocoa percentage balances the sweet raspberry beautifully
- Unsalted butter: Room temperature butter melts more evenly with the chocolate
- Granulated sugar: Creates that crackly top crust we all love on brownies
- Large eggs: Room temperature eggs incorporate better for a fudgier texture
- Pure vanilla extract: Do not skip this even though it seems like a small amount
- All-purpose flour: Just enough to hold everything together without making them cakey
- Unsweetened cocoa powder: Dutch process gives an even deeper chocolate flavor
- Salt: Enhances both the chocolate and raspberry flavors
Instructions
- Prepare your pan and oven:
- Preheat oven to 350 degrees F and line an 8 inch square pan with parchment paper letting it overhang the sides. This makes lifting the brownies out so much easier later.
- Make the raspberry swirl:
- Combine raspberries sugar and lemon juice in a small saucepan over medium heat. Stir occasionally for about 5 minutes until the berries completely break down and thicken. Press through a fine mesh sieve to remove seeds then set aside to cool.
- Melt the chocolate base:
- Set a heatproof bowl over a pan of simmering water. Add butter and chopped chocolate stirring constantly until completely smooth and glossy. Remove from heat and let it cool slightly.
- Build the batter:
- Whisk sugar into the warm chocolate mixture then add eggs one at a time beating well after each. Stir in vanilla then sift in flour cocoa powder and salt. Fold gently until just combined.
- Swirl and bake:
- Spread batter evenly in your prepared pan. Drop spoonfuls of raspberry puree over the surface then use a knife to create marble patterns. Bake 30 to 35 minutes until a toothpick comes out with moist crumbs.
- Cool completely:
- Let the brownies cool completely in the pan before lifting them out. Cutting them while warm is tempting but they hold their shape much better when fully cooled.
 Save Pin
 Last winter I made a batch during a snowstorm and my neighbor texted asking what smelled so good. I sent her home with a warm square wrapped in a paper towel and she showed up at my door an hour later asking for the recipe.
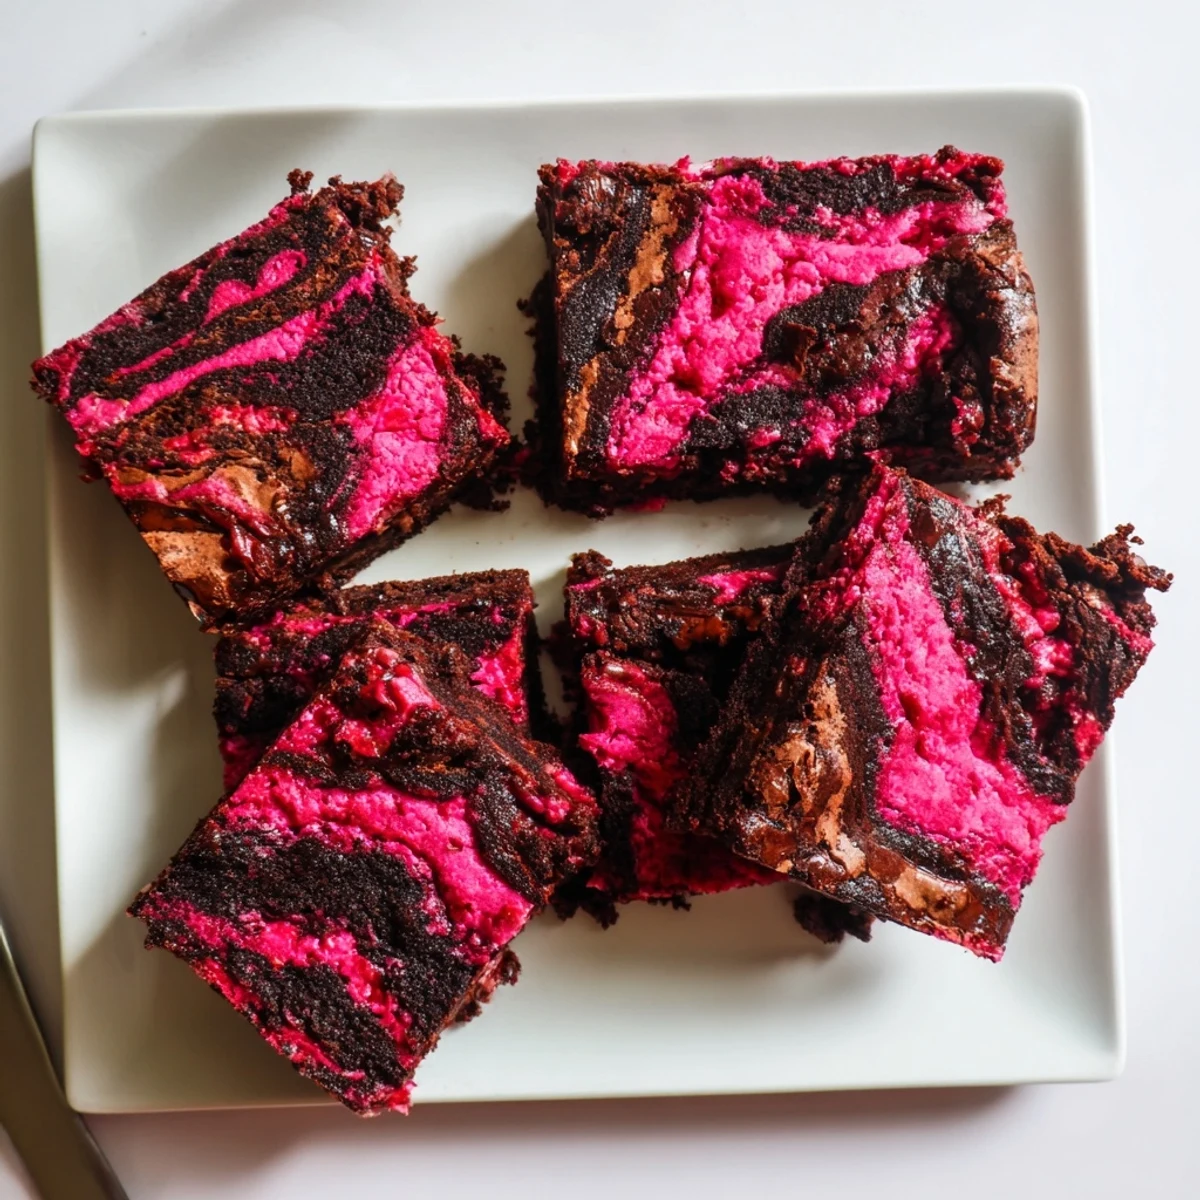
Getting The Perfect Marble
The swirling technique looks intimidating but it is actually very forgiving. I usually drop about six small spoonfuls of raspberry puree evenly spaced over the batter then run a butter knife through in a figure eight pattern. Do not overthink it or over swirl the beautiful contrast will get muddy.
Storage And Serving
These brownies keep remarkably well in an airtight container for up to four days though they rarely last that long in my house. You can also wrap individual squares in plastic and freeze them for up to three months.
Making Them Your Own
Once you master the basic technique you can start playing with variations. I have tried different fruit combinations and some tweaks that genuinely work. The trick is keeping that sweet tart balance against the dark chocolate.
- Add a handful of dark chocolate chips to the batter before swirling
- Try blackberry or strawberry puree instead of raspberry
- Serve warm with vanilla ice cream for an elegant dessert
 Save Pin
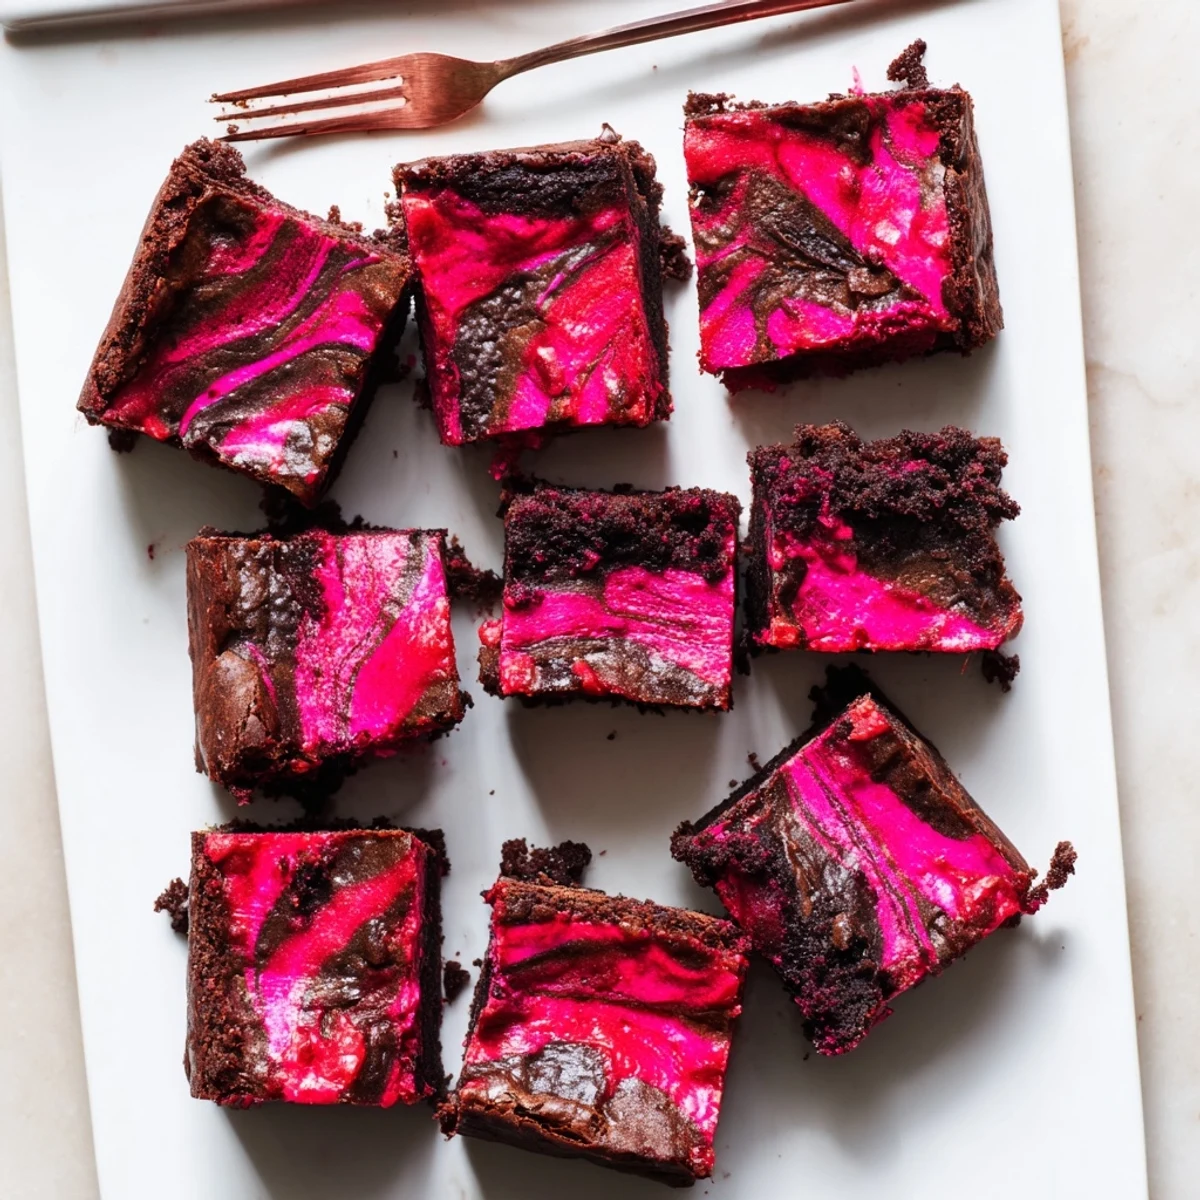
 There is something about cutting into that first square and seeing the ruby swirl against the dark chocolate that still makes me pause every single time.
Recipe FAQs
- → How do I achieve the perfect marbled swirl pattern?
-
Drop spoonfuls of cooled raspberry puree randomly over the brownie batter. Use a knife or skewer to gently drag through the puree and batter in circular or figure-eight motions. Don't over-swirl or you'll lose the distinct marbled effect and blend the flavors too much.
- → Can I use frozen raspberries instead of fresh?
-
Absolutely. Frozen raspberries work perfectly for the puree since they'll be cooked down and strained anyway. Thaw them slightly before cooking to reduce the simmering time needed to break them down completely.
- → Why must the raspberry puree cool before swirling?
-
Hot puree would begin cooking the egg proteins in the batter immediately, affecting the final texture. Cooling it to room temperature prevents this issue and also makes it thicker, which helps maintain distinct swirl patterns rather than blending into the batter.
- → How do I know when the brownies are done baking?
-
Insert a toothpick into the center—it should come out with a few moist crumbs but not wet batter. The edges should be set and slightly pulling away from the pan. Remember that brownies continue cooking as they cool, so slightly underbaked is better than overbaked for fudgy results.
- → Can I make these gluten-free?
-
Yes. Substitute the all-purpose flour with a 1:1 gluten-free flour blend that includes xanthan gum. The texture will remain similarly fudgy, though you might notice a slight difference in crumb structure. Ensure your other ingredients, particularly chocolate, are certified gluten-free.
- → How should I store these brownies?
-
Keep them in an airtight container at room temperature for up to 3 days. For longer storage, refrigerate for up to a week—the cold actually enhances the fudgy texture. You can also freeze individually wrapped squares for up to 3 months; thaw at room temperature before serving.
