 Save Pin
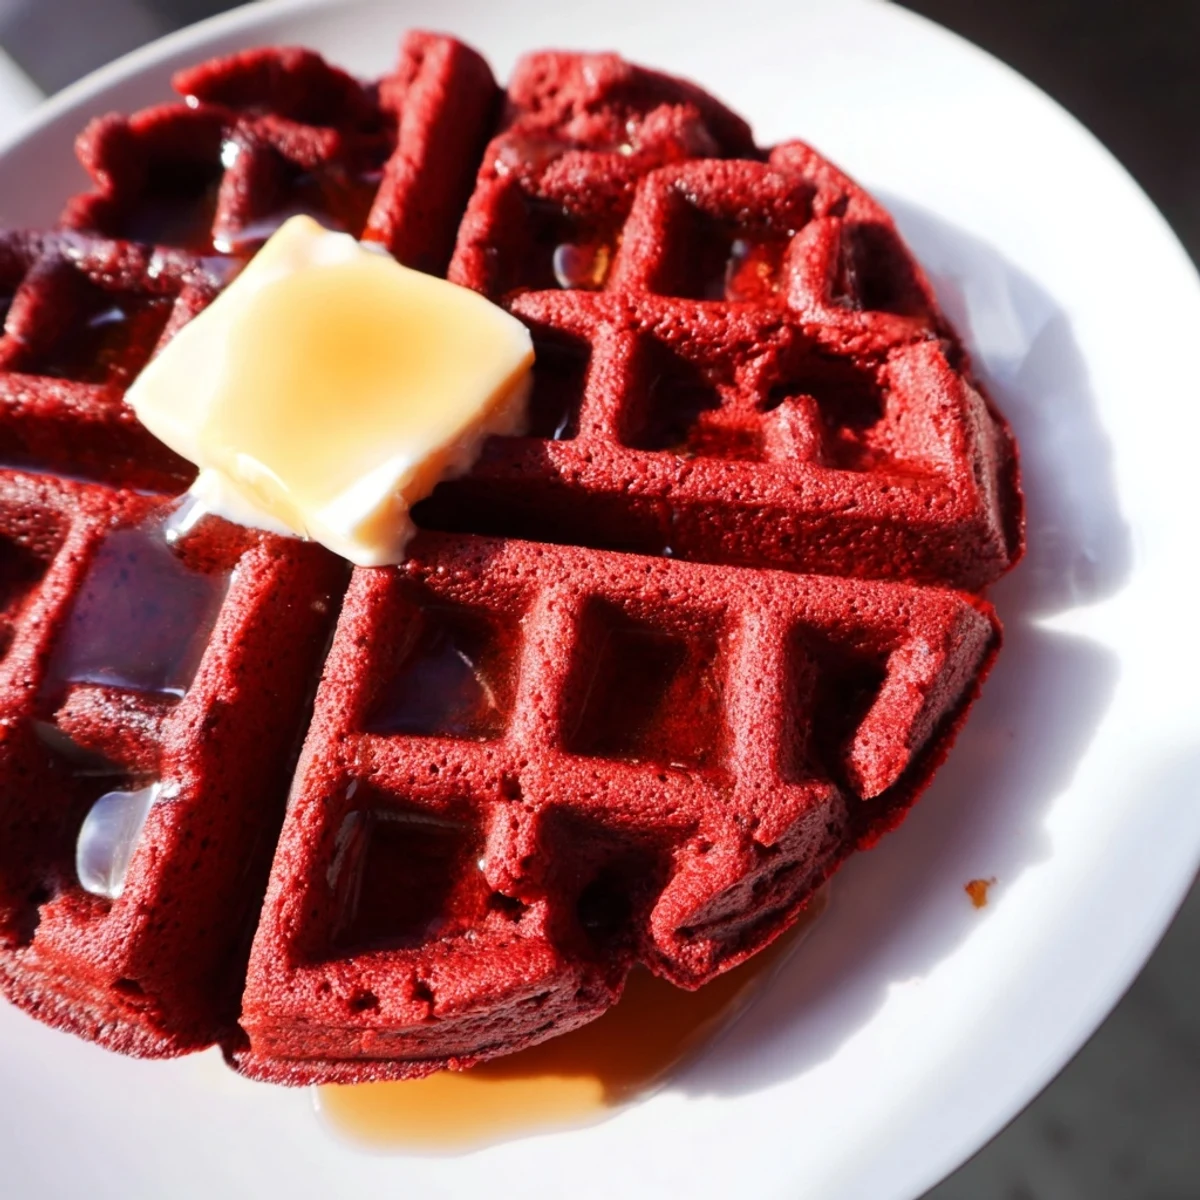
 These red velvet waffles combine a light, fluffy texture with a subtle cocoa flavor enhanced by a vibrant red hue. The batter blends buttermilk, eggs, and melted butter, resulting in tender waffles crisped perfectly in your waffle iron. Served warm with melting butter and a drizzle of sweet maple syrup, they make a delightful breakfast or brunch treat. Simple to prepare and customizable with chocolate chips or fresh berries, they cater to a comforting, indulgent morning experience.
The Sunday my youngest discovered red food coloring in the baking aisle changed our weekend breakfast routine forever. She stood there holding that tiny bottle, declaring we needed something dramatic for breakfast, something that would make the neighbors jealous. I remember laughing at her theatrical ambition while secretly plotting how to make waffles worthy of such enthusiasm. These ruby-hued wonders became our answer to rainy weekend mornings when ordinary pancakes simply would not suffice.
Last Valentine's Day, I made a double batch for our whole family. My brother took one look at the plates and asked if I had started a bakery in my sleep. Watching everyone reach for syrup simultaneously, talking over each other about who got the crispiest edge—that kitchen chatter is the real magic here. These waffles turned a random Tuesday morning into something worth celebrating.
Ingredients
- 2 cups all-purpose flour: The backbone of your waffle structure, providing just enough gluten to hold everything together without becoming tough
- 2 tbsp unsweetened cocoa powder: This subtle chocolate note is what transforms these from merely red waffles into genuine red velvet perfection
- 1/4 cup granulated sugar: Just enough sweetness to balance the tang of buttermilk without making these dessert-like
- 2 tsp baking powder: Essential for those gorgeous rises that create all those crispy little nooks and crannies
- 1/2 tsp baking soda: Works with the acidic buttermilk to create extra lift and tenderness
- 1/2 tsp salt: Never skip salt in baked goods—it wakes up all the other flavors
- 1 3/4 cups buttermilk: The secret ingredient for tanginess and tenderness, worth every penny of the special trip to the store
- 2 large eggs: Room temperature eggs incorporate better and help create that perfect structure
- 1/4 cup unsalted butter, melted: Butter for serving is non-negotiable here, but melted butter in the batter adds richness
- 2 tsp vanilla extract: Use the good stuff if you have it—this flavor shines through the cocoa
- 1 tbsp red food coloring: Gel coloring gives a deeper hue with less liquid, but liquid works perfectly fine too
Instructions
- Get your iron ready:
- Preheat that waffle iron while you mix everything else. A hot iron is the difference between crispy edges and sad, floppy waffles that steam in their own heat.
- Whisk your dry team:
- In a big bowl, combine flour, cocoa powder, sugar, baking powder, baking soda, and salt until they are one harmonious mixture.
- Round up the wet players:
- In another bowl, whisk buttermilk, eggs, melted butter, vanilla, and that dramatic red food coloring until everything is beautifully incorporated.
- The gentle fold:
- Pour wet ingredients into dry and stir until just combined. Those lumps are your friends—overmixing makes tough, chewy waffles nobody wants.
- Prepare for launch:
- Give your waffle iron a quick swipe of nonstick spray or melted butter between batches to ensure perfect release every time.
- Pour and wait:
- Scoop about 1/2 to 3/4 cup batter onto the hot iron, close the lid, and let it work its magic for 3 to 5 minutes until crisp.
- Repeat and feast:
- Keep going until all batter is used, stacking those beauties on a warm plate while you finish the batch.
- The grand finale:
- Serve immediately with butter that melts into every crater and warm maple syrup that finds its way into all the crispy corners.
 Save Pin
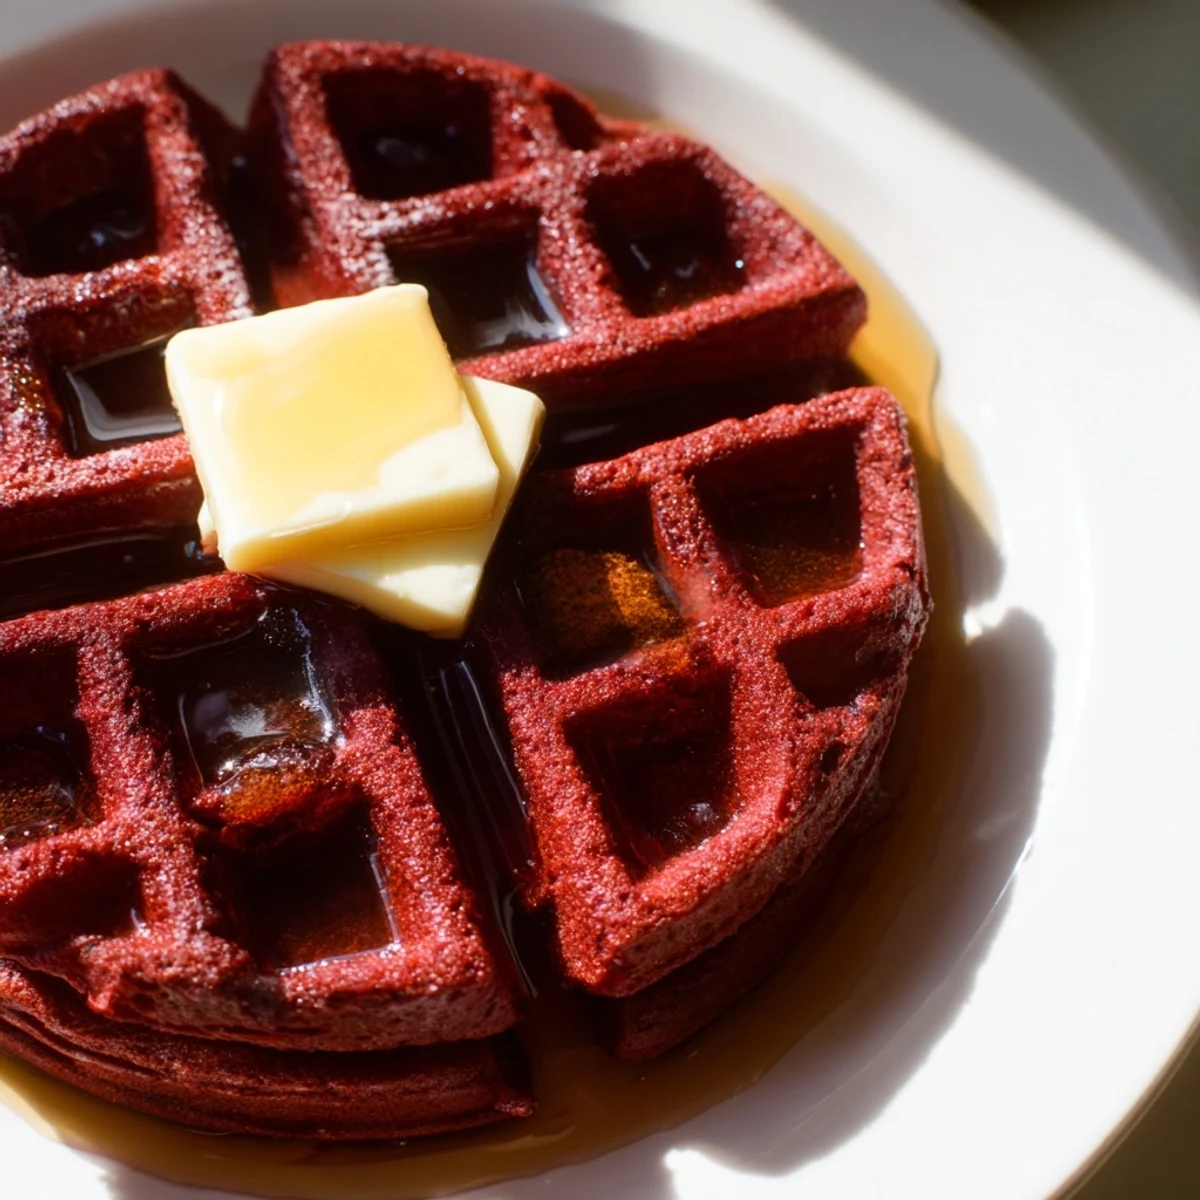
 These waffles have become my go-to when friends stay over. There is something about cutting into a bright red waffle that makes people feel like kids again. The way butter pools in those little square pockets always sparks conversation about childhood breakfasts and weekend traditions.
Getting That Perfect Crisp
I learned that the secret to restaurant-style crispiness is patience. Letting the waffle iron do its complete cycle without peeking creates that exterior crunch while keeping the inside impossibly tender. Sometimes I pop them in a warm oven for a minute if I am making a big batch to keep everyone eating together.
Make It Your Own
My neighbor adds crushed raspberries to her version for a double dose of red and tartness. I have tried swirling in cream cheese frosting for birthdays, which feels excessive until you take that first bite. The basic batter is forgiving enough to handle whatever creative direction you want to take it.
Leftovers and Storage
Though I rarely have leftovers, these waffles freeze beautifully. I let them cool completely, then stack them with parchment paper between each layer before freezing. They crisp up beautifully in the toaster oven for those weekday mornings when you want weekend magic without the effort.
- Freeze up to one month in an airtight container
- Reheat at 350°F for 5 minutes for that fresh-made texture
- Avoid microwaving unless you prefer soft waffles over crispy ones
 Save Pin
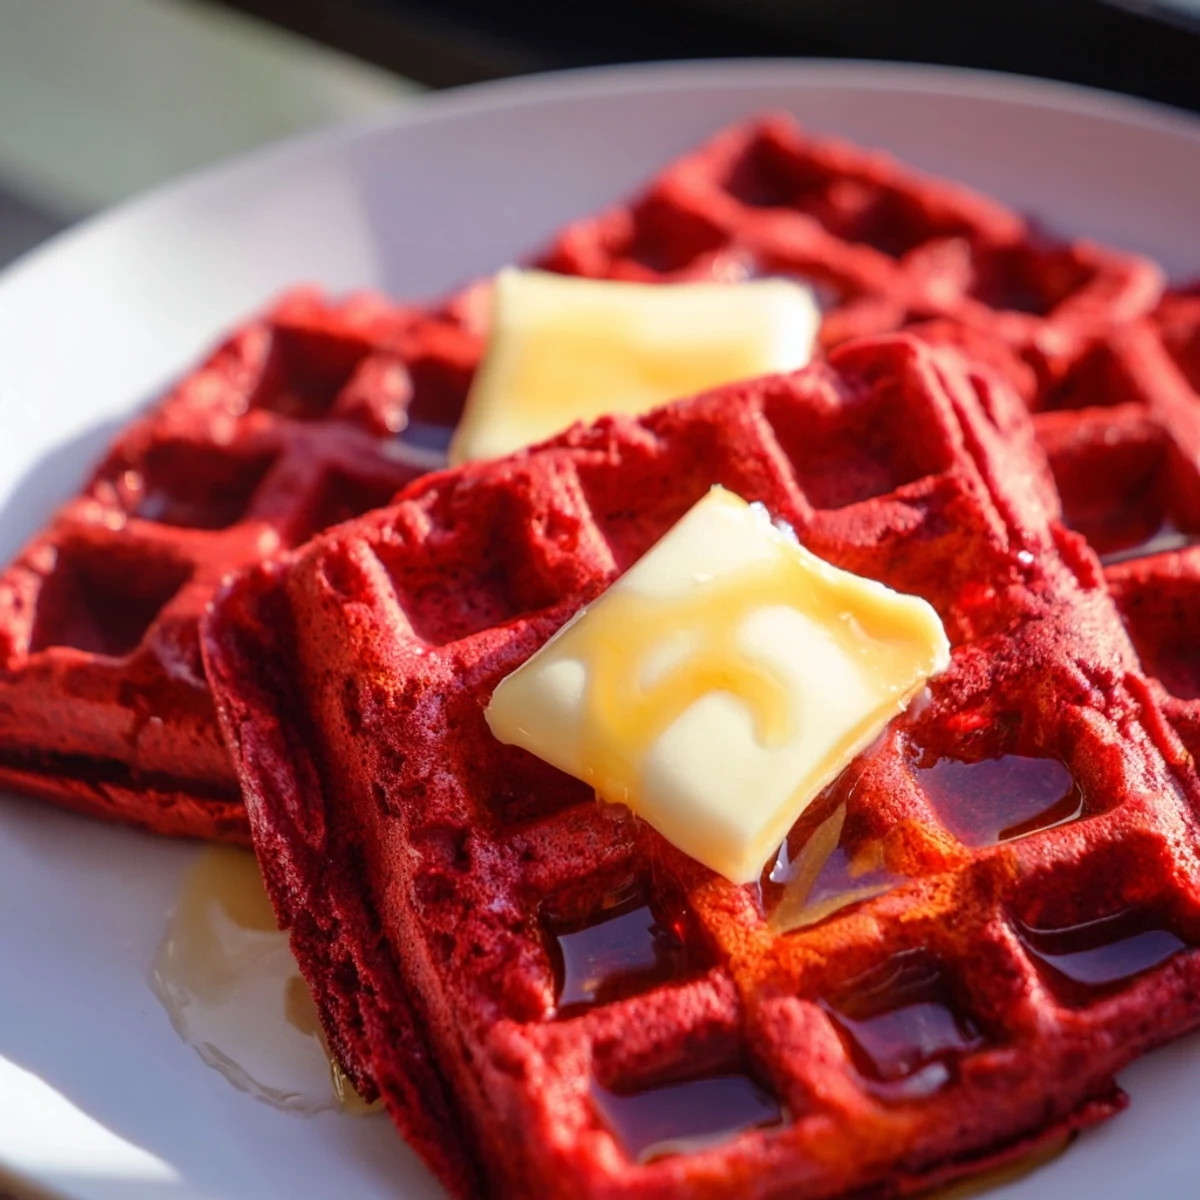
 There is something joyful about starting your day with food this vibrant and inviting. Make them for someone you love.
Recipe FAQs
- → What gives these waffles their red color?
-
Liquid or gel red food coloring is added to the batter, giving the waffles their vibrant red hue without altering the flavor.
- → Can I substitute buttermilk in the batter?
-
Yes, you can replace buttermilk with milk combined with lemon juice or vinegar to achieve similar acidity and texture.
- → How do I achieve a crispy waffle exterior?
-
Preheat the waffle iron well and cook the batter until the edges turn crisp, usually 3-5 minutes depending on your appliance.
- → Is it okay if the batter has lumps?
-
Yes, gently mixing the batter without overmixing keeps some lumps, which helps maintain a tender waffle texture.
- → What toppings pair well with these waffles?
-
Butter and maple syrup are classic, but whipped cream, fresh berries, or mini chocolate chips provide festive and delicious alternatives.
