 Save Pin
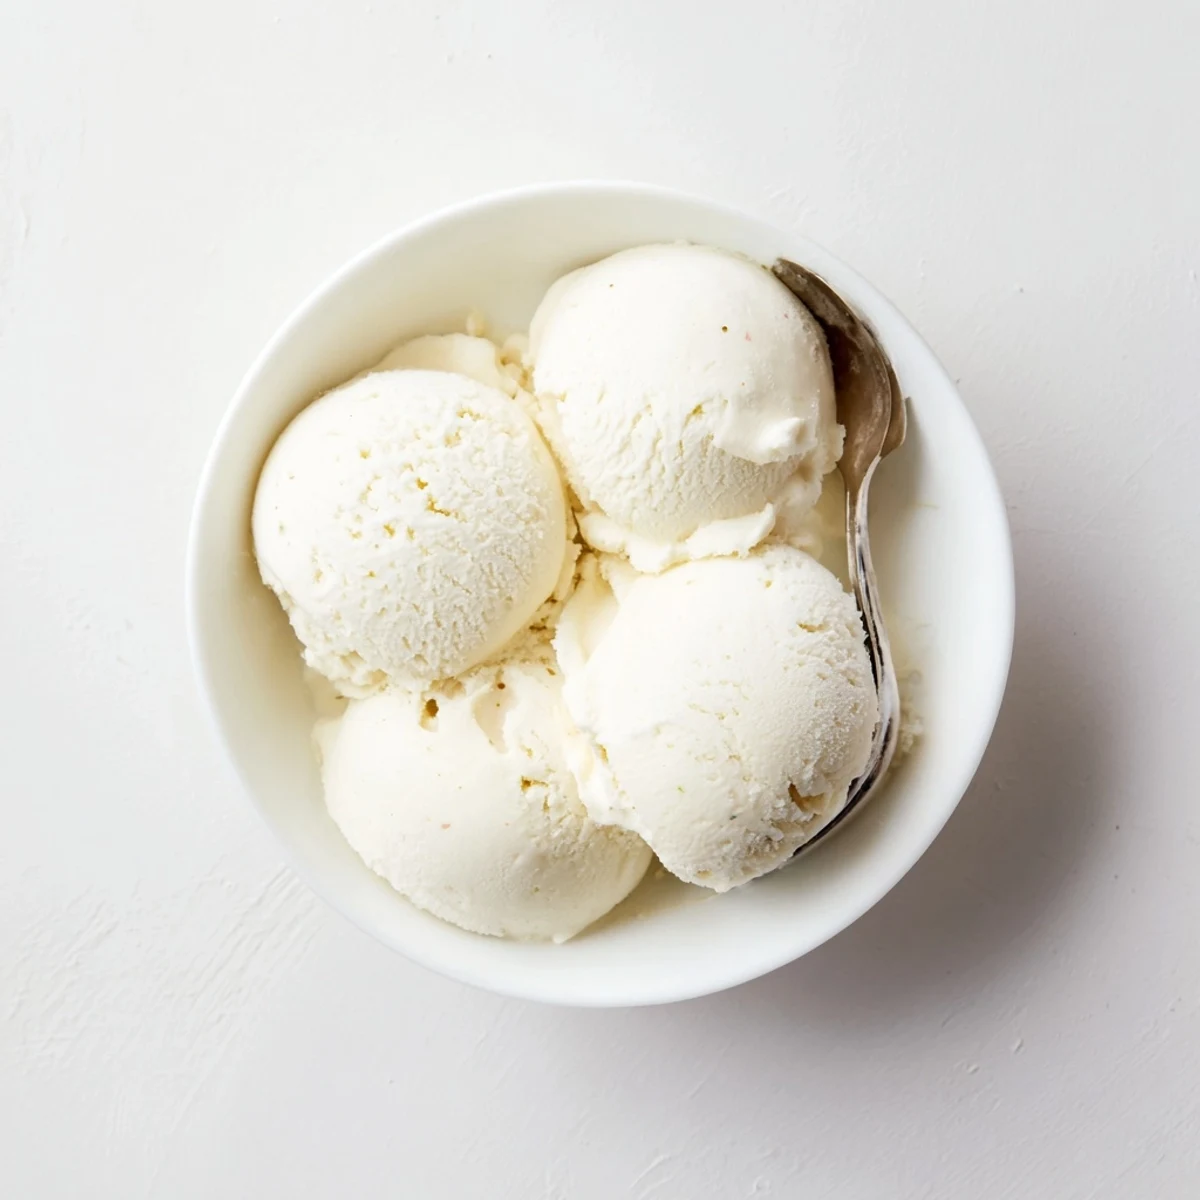
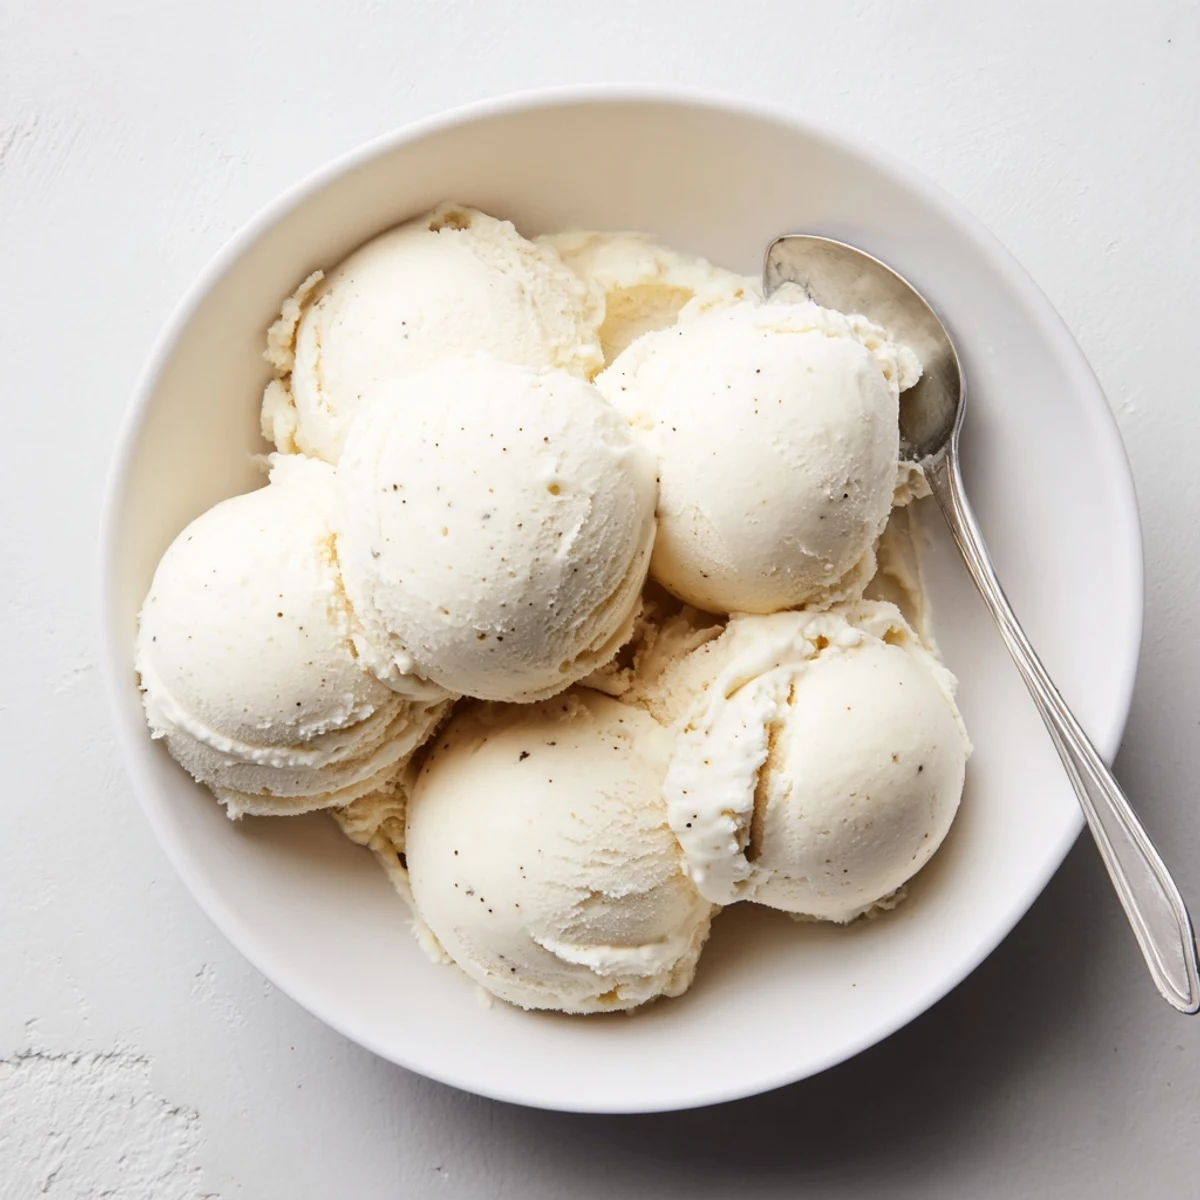
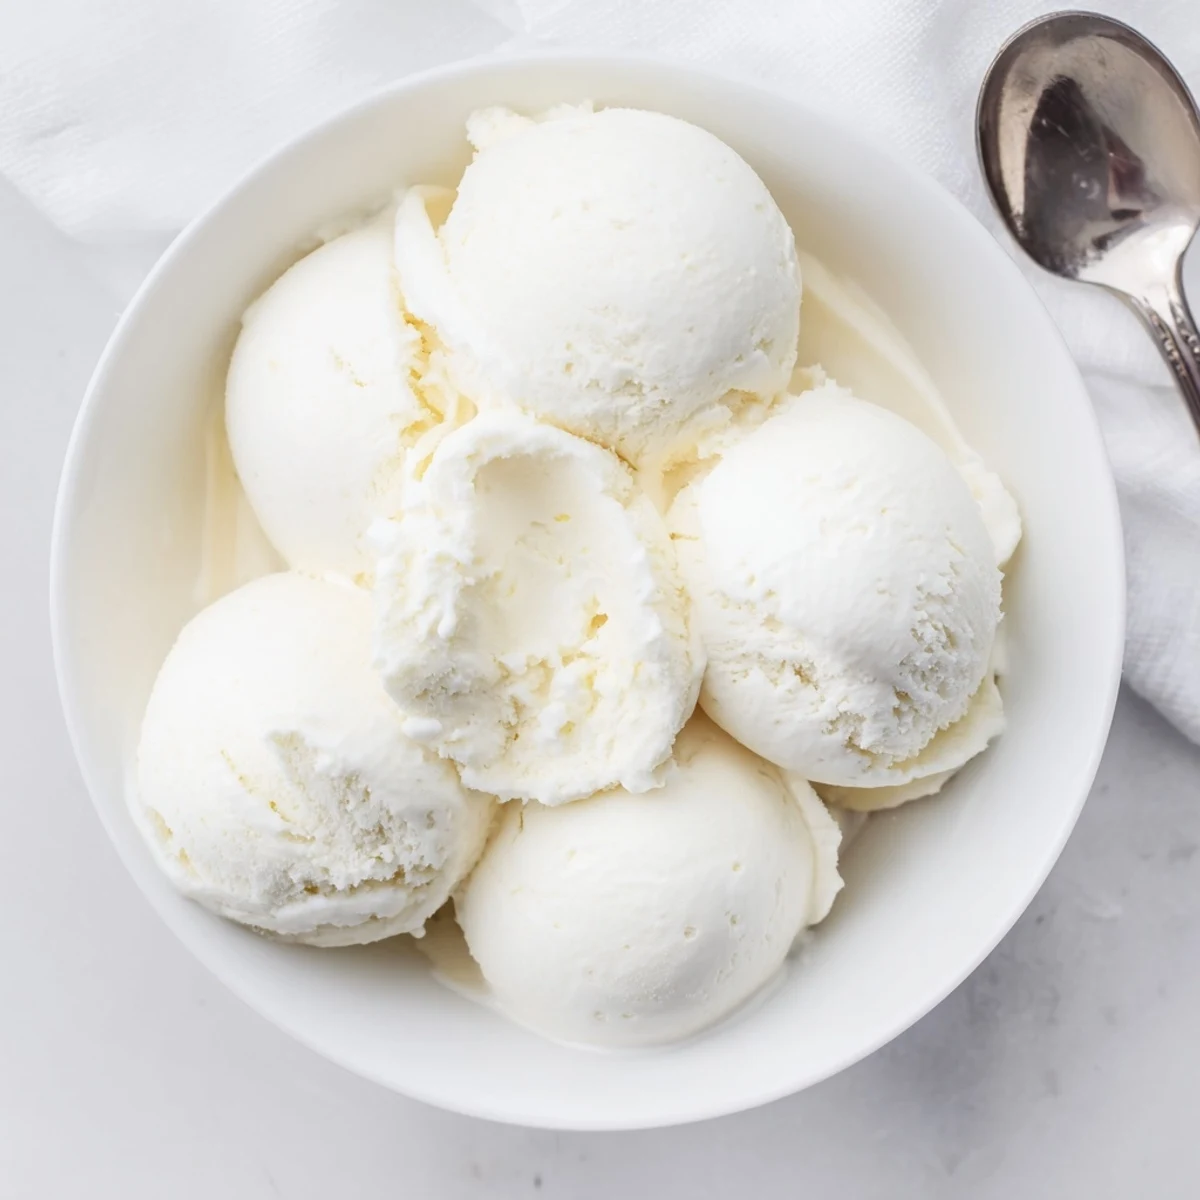
 Create a luxurious frozen treat combining heavy cream, whole milk, and premium vanilla. This classic custard-based method delivers silky smooth texture with deep vanilla flavor. The process involves tempering egg yolks into warm cream, cooking until thickened, then churning to perfection. After proper chilling and freezing time, you'll enjoy scoops of restaurant-quality vanilla goodness ideal for serving alone or topped with your favorite additions.
My ice cream maker sat untouched for three years before a scorching July afternoon pushed me to finally use it. The custard nearly scrambled on my first attempt because I rushed the tempering step, but the second batch turned out so silky that my neighbor across the fence actually stopped mowing his lawn to ask what smelled so good. That batch disappeared within two days, and I have been making this vanilla ice cream every summer since.
I served this at a backyard dinner party where three grown adults silently abandoned their conversation to focus entirely on their bowls. My friend David, who claims he does not have a sweet tooth, came back for a second helping and then quietly asked if there was any left in the freezer before he left.
Ingredients
- Heavy cream (2 cups): The foundation of richness, so buy the freshest cream you can find and avoid ultra pasteurized if possible.
- Whole milk (1 cup): Balances the fat content so the final texture is creamy rather than greasy.
- Granulated sugar (3/4 cup): Sweetens the base and also lowers the freezing point for a softer scoop.
- Salt (pinch): A small amount makes the vanilla flavor noticeably deeper and more complex.
- Pure vanilla extract (1 tablespoon): Splurge on real extract here because it is the star flavor and anything artificial will taste flat.
- Large egg yolks (5): These create the custard body and give the ice cream that luxuriously smooth mouthfeel.
Instructions
- Warm the base:
- Combine the cream, milk, sugar, and salt in a saucepan over medium heat, stirring gently until the sugar dissolves and you see small bubbles forming around the edges, but never let it reach a full boil.
- Prepare the yolks:
- Lightly whisk the egg yolks in a separate bowl just until broken up and slightly pale.
- Temper carefully:
- Slowly drizzle about one cup of the hot cream mixture into the yolks while whisking constantly, which gently raises their temperature so they do not scramble.
- Cook the custard:
- Pour the tempered yolk mixture back into the saucepan and stir continuously over medium low heat until the custard thickens enough to coat the back of a spoon, reaching between 76 and 80 degrees on a thermometer.
- Add vanilla and strain:
- Remove from heat, stir in the vanilla extract, then push the custard through a fine mesh sieve to catch any stray bits of cooked egg.
- Chill thoroughly:
- Let the custard cool to room temperature, then cover it directly against the surface with plastic wrap and refrigerate for at least four hours or overnight for the best texture.
- Churn to perfection:
- Pour the cold custard into your ice cream maker and churn following the manufacturer directions until it looks like soft serve and has doubled in volume.
- Freeze and serve:
- Transfer the churned ice cream into a freezer safe container, press a piece of parchment against the surface, cover tightly, and freeze for at least two hours before scooping.
 Save Pin
 The moment this recipe stopped being just a dessert and became a tradition was when my niece stood on a stool in my kitchen, barely tall enough to see into the machine, and watched the custard transform into ice cream with wide eyes.
Getting the Custard Right Every Time
The hardest part of making ice cream is knowing when the custard is done cooking because it happens gradually and then all at once. I rely on the spoon coating test where I dip a wooden spoon in, run my finger across the back, and if the trail stays clean the custard is ready. A thermometer removes all guesswork, but your finger and a spoon work almost as well once you develop the feel for it.
Mix Ins and Flavor Twists
Once the base vanilla recipe feels comfortable, the possibilities for customization become honestly overwhelming in the best way. Fold in chocolate chips or toasted nuts during the last minute of churning so they distribute evenly without sinking to the bottom. Swirls of caramel, fudge, or fruit compote should be layered in by hand after churning for those beautiful ribbons that make every scoop different.
Storage and Serving Suggestions
Homemade ice cream lacks the stabilizers found in commercial brands, so it is best eaten within a week for optimal texture and flavor. Let it sit at room temperature for about five minutes before scooping because straight from the freezer it will be very firm.
- Pressing parchment directly against the surface prevents ice crystals from forming on top.
- A shallow wide container freezes faster and more evenly than a deep narrow one.
- Always label your container with the date so you know when it was made.
 Save Pin
 There is something deeply satisfying about scooping ice cream you made from scratch and knowing exactly what went into it. Share it generously, because watching someone close their eyes after the first bite is the real reward.
Recipe FAQs
- → Why do I need to temper the egg yolks?
-
Tempering prevents the eggs from scrambling when added to hot liquid. Slowly incorporating warm cream into yolks while whisking raises their temperature gradually, creating a smooth custard base without cooked egg bits.
- → Can I make this without an ice cream maker?
-
Yes. Pour the chilled custard into a shallow container and freeze. Every 30-45 minutes, stir vigorously with a fork to break up ice crystals. Repeat 3-4 times until firm. The texture will be slightly denser but still delicious.
- → How long does this keep in the freezer?
-
Properly stored in an airtight container, this maintains best quality for 1-2 weeks. For optimal texture, place a piece of parchment paper directly on the surface before covering to prevent ice crystal formation.
- → Why must the custard chill thoroughly before churning?
-
Cold custard freezes faster and more evenly during churning. If the mixture is warm, ice crystals become too large, resulting in gritty texture rather than smooth, creamy consistency.
- → What's the purpose of straining the custard?
-
Straining removes any bits of cooked egg and ensures a perfectly smooth base. It also catches any vanilla bean seeds if using whole beans instead of extract, distributing them evenly.
