 Save Pin
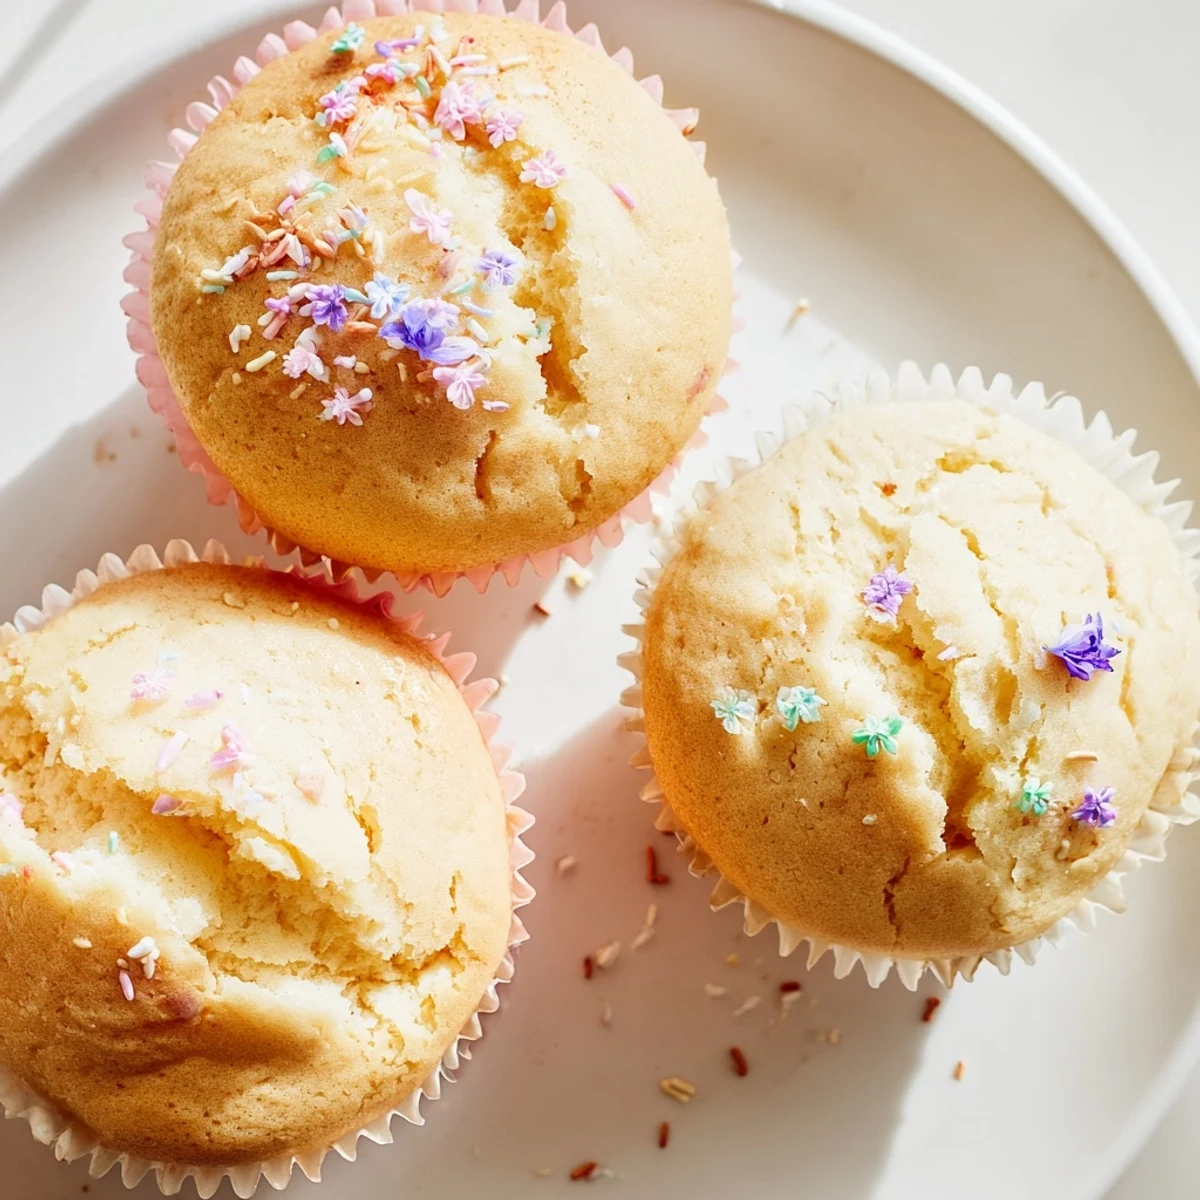
 These tender steamed cupcakes feature a signature "blooming" cracked top and incredibly fluffy texture. The stovetop method eliminates the need for an oven while producing moist, tender treats in just 15 minutes of cooking time.
The secret lies in properly folding ingredients and maintaining consistent steam heat. As they cook, the cupcakes rise and crack open naturally, creating that signature blooming appearance that makes them visually stunning.
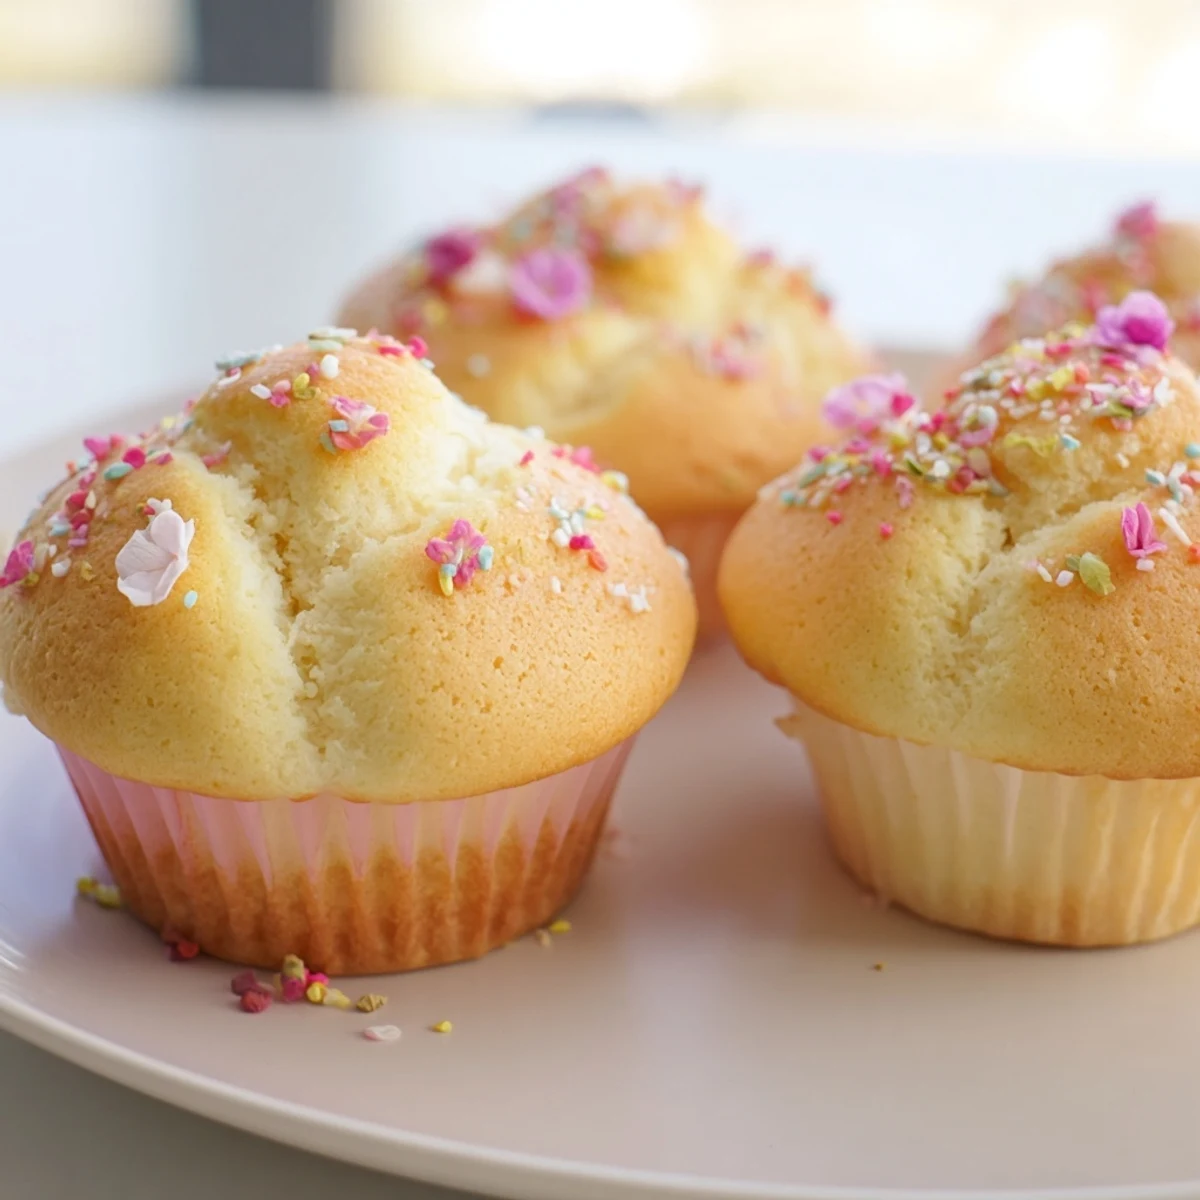
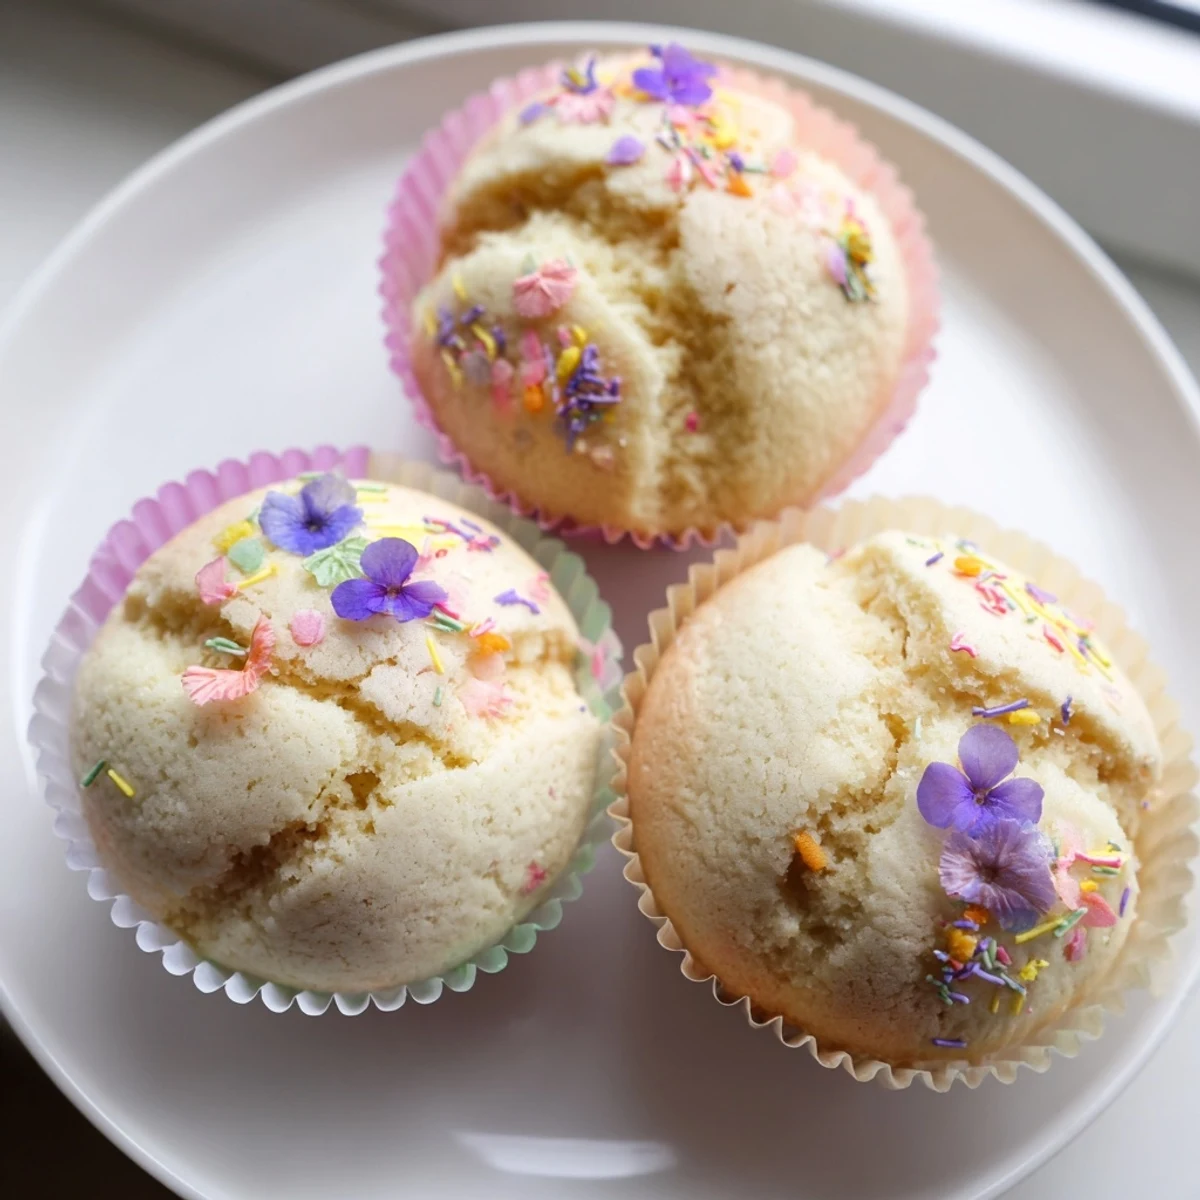
Customize with natural food coloring, swirl designs, or keep them classic vanilla. The steam-infusion method ensures exceptional moisture retention, resulting in cupcakes that stay fresh longer than traditional baked versions.
The afternoon sun was streaming through my kitchen window when I decided to attempt steamed cupcakes for the first time. My tiny apartment oven had died the week before, and I was determined not to let that stop me from baking something beautiful. What I didn't expect was how utterly magical these blooming cupcakes would turn out to be.
I brought a batch to my friend Emily's birthday dinner, still warm from the steamer, and watched her eyes light up when she saw those pretty cracked tops. She couldn't believe they hadn't been baked in an oven, and honestly, neither could I. Now they're my go-to when I need to impress someone without turning on my oven.
Ingredients
- All-purpose flour: The foundation that gives these cupcakes their delicate structure and perfect rise
- Baking powder and baking soda: This powerful duo works together to create that beautiful blooming effect on top
- Salt: Just a pinch enhances all the flavors and balances the sweetness
- Granulated sugar: Sweetens while helping create that tender, moist crumb we all love
- Large eggs: Room temperature eggs incorporate better and provide structure for the steaming process
- Whole milk: Adds richness and keeps the cupcakes incredibly moist
- Melted unsalted butter: Butter gives superior flavor, though neutral oil works perfectly too
- Vanilla extract: Pure vanilla makes everything taste like home
Instructions
- Set up your steaming station:
- Fill your steamer with water and bring it to a gentle simmer while you line cupcake molds with paper liners
- Whisk together the dry ingredients:
- Combine flour, baking powder, baking soda, and salt in a medium bowl
- Prepare the wet mixture:
- Beat eggs and sugar until pale and thick, then mix in milk, melted butter, and vanilla extract until well combined
- Bring batter together:
- Gently fold the dry ingredients into the wet mixture until just combined, being careful not to overmix
- Add color if desired:
- Divide batter and fold in food coloring, then layer or swirl for a marbled blooming effect
- Fill your molds:
- Spoon batter into prepared cupcake molds, filling each about three quarters full
- Steam to perfection:
- Place molds in steamer with space between them, cover lid with a clean cloth, and steam over medium heat for 12 to 15 minutes
- Finish and decorate:
- Remove from heat, let cool slightly, then add sprinkles, edible flowers, or chocolate chips
 Save Pin
 My niece calls these fairy cakes because of how they open up like little flowers. Seeing her face light up when she pulls apart a freshly steamed cupcake has become one of my favorite kitchen memories. These treats have a way of making ordinary moments feel special.
Getting That Perfect Bloom
The blooming effect happens when steam creates rapid rise in the batter, causing the tops to crack open beautifully. I've found that filling the molds to exactly three quarters full gives the most dramatic results. Too little and they won't bloom enough, too much and they might overflow.
Flavor Variations That Work
Citrus zest adds a bright twist that pairs wonderfully with the tender crumb. Almond extract creates a sophisticated version that tastes like something from a fancy bakery. Matcha powder gives a stunning green color and subtle earthiness that surprises everyone who tries it.
Serving and Storage
These cupcakes are best enjoyed the same day they're made, while still slightly warm from the steamer. The texture is incomparably soft and delicate, unlike anything that comes from an oven. Store any leftovers in an airtight container and rebriefly steam to refresh.
- They freeze beautifully if you want to make a batch ahead
- Serve with a cup of tea for the perfect afternoon treat
- The blooming tops make them gorgeous without any decoration needed
 Save Pin
 There's something deeply satisfying about creating such beautiful treats with such simple equipment. These blooming cupcakes have taught me that some of the best things in life don't require fancy tools at all.
Recipe FAQs
- → Why do the cupcakes crack and bloom on top?
-
The beautiful blooming occurs as steam rapidly expands within the batter, causing the tops to crack open naturally. This signature appearance creates light, airy texture while indicating proper steaming technique.
- → Can I make these without a traditional steamer?
-
Yes. Place a heat-safe plate or rack inside a large pot with simmering water, ensuring water doesn't touch the cupcakes. Cover tightly with a lid wrapped in a kitchen towel to catch condensation.
- → How do I prevent water from dripping onto my cupcakes?
-
Wrap your steamer lid with a clean kitchen towel before covering. The cloth absorbs condensation, preventing water droplets from falling onto the cupcakes and affecting their texture or appearance.
- → What's the best way to achieve vibrant swirl colors?
-
Divide batter into separate bowls and tint each portion with gel food coloring for concentrated hues. Pour colored batters in layers or gently swirl with a toothpick for marbled effects before steaming.
- → Can I substitute ingredients for dietary restrictions?
-
Use gluten-free flour blends for wheat-free versions. Replace dairy milk with almond, oat, or soy milk. For vegan options, substitute eggs with flax eggs and use plant-based butter or coconut oil.
- → How should I store steamed cupcakes?
-
Keep in an airtight container at room temperature for 2 days, or refrigerate for up to 5 days. The steaming method retains moisture well, but avoid stacking until completely cooled to prevent sticking.
