 Save Pin
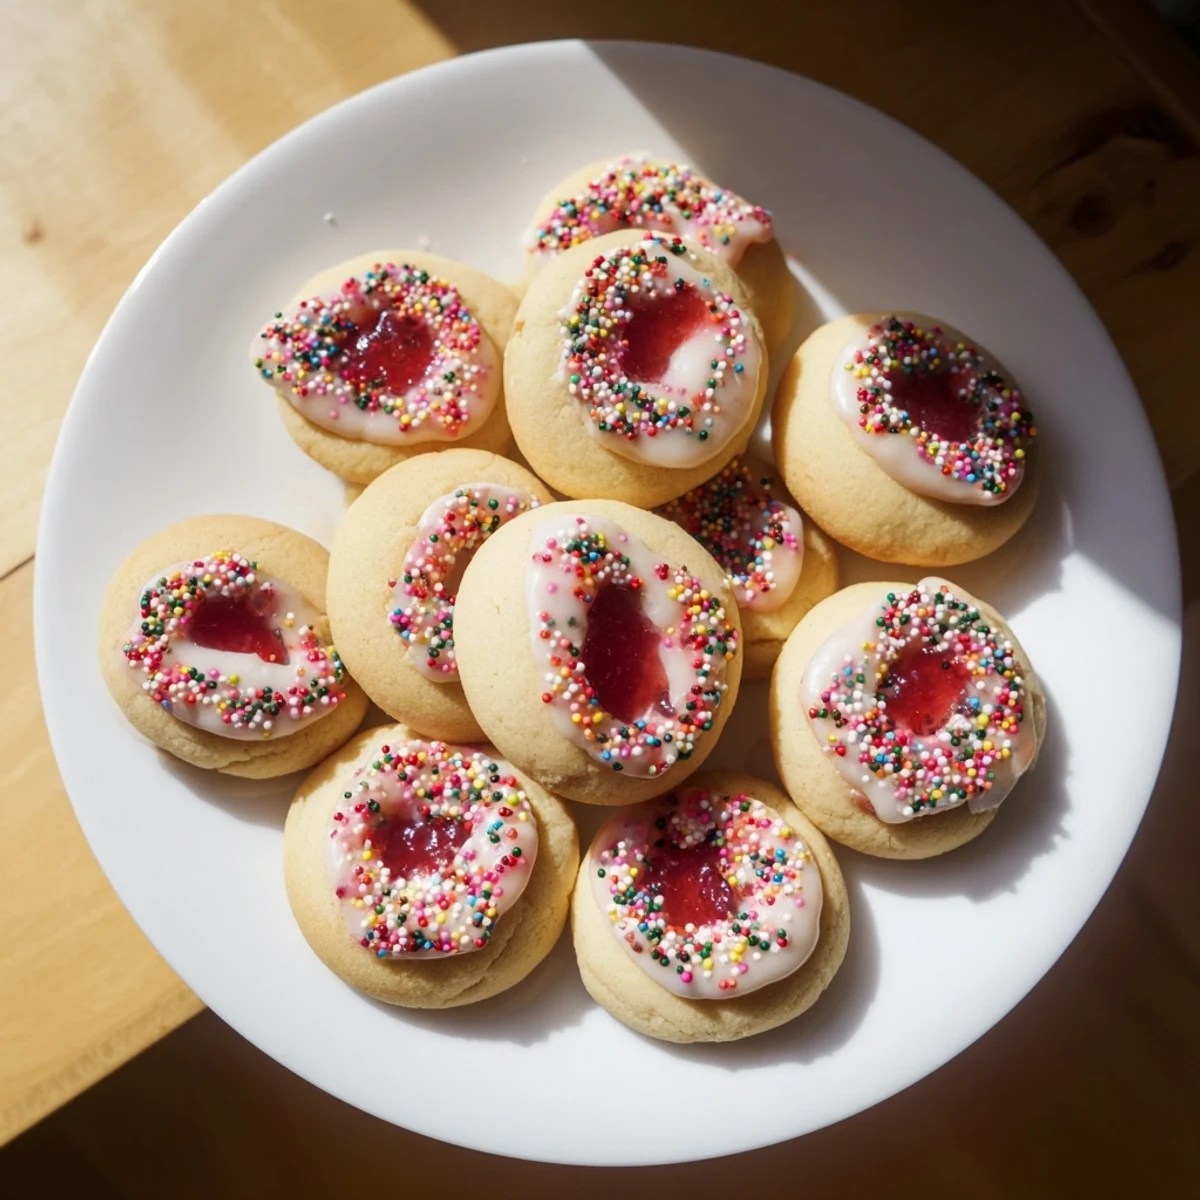
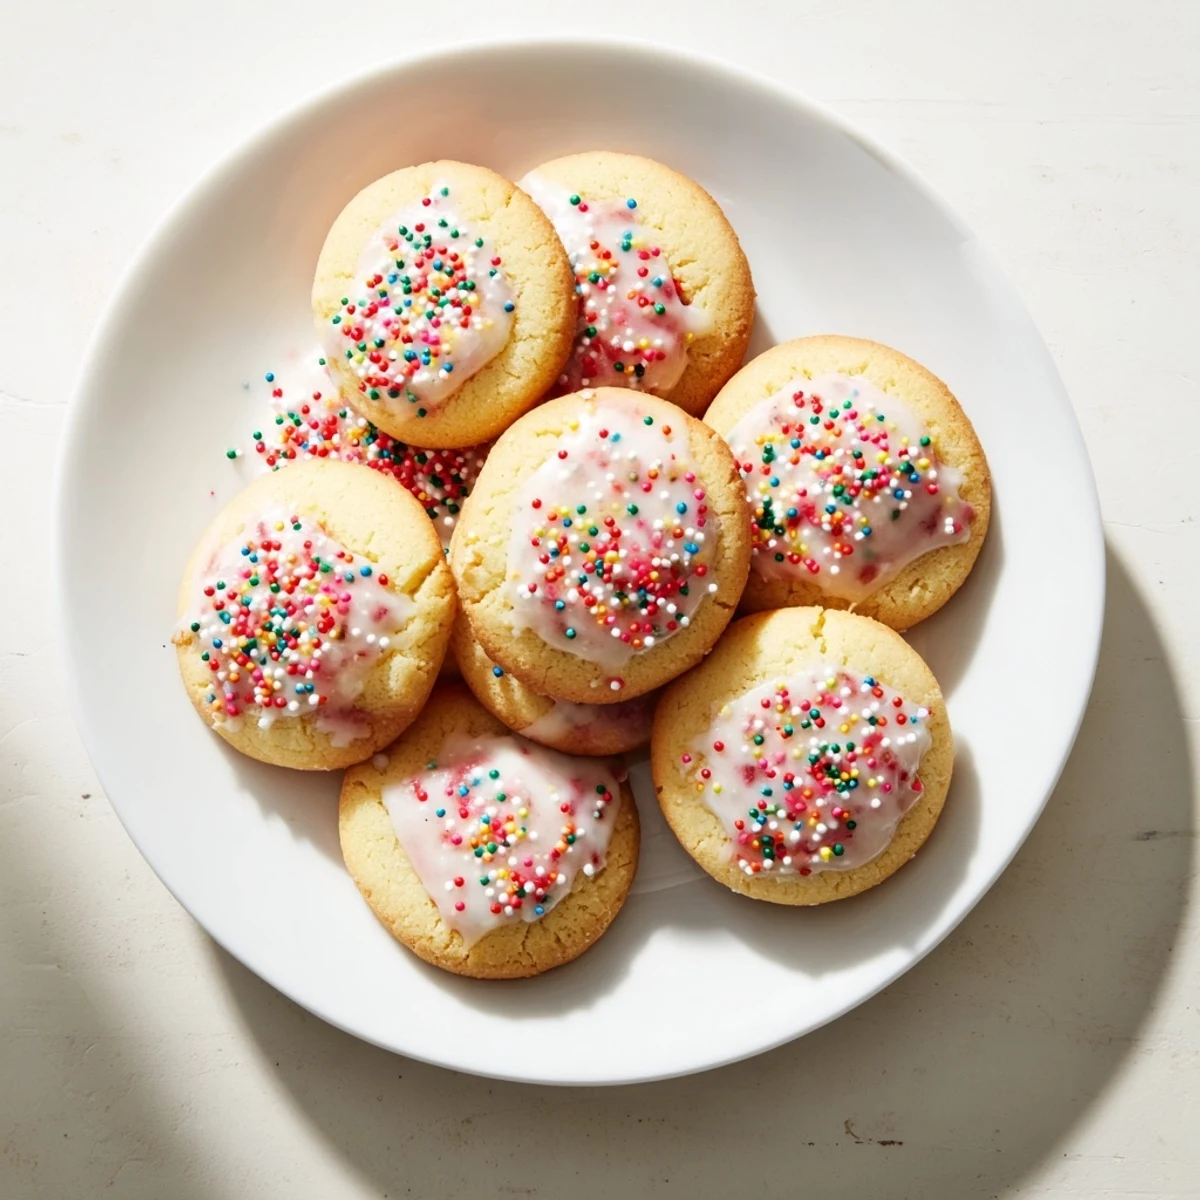
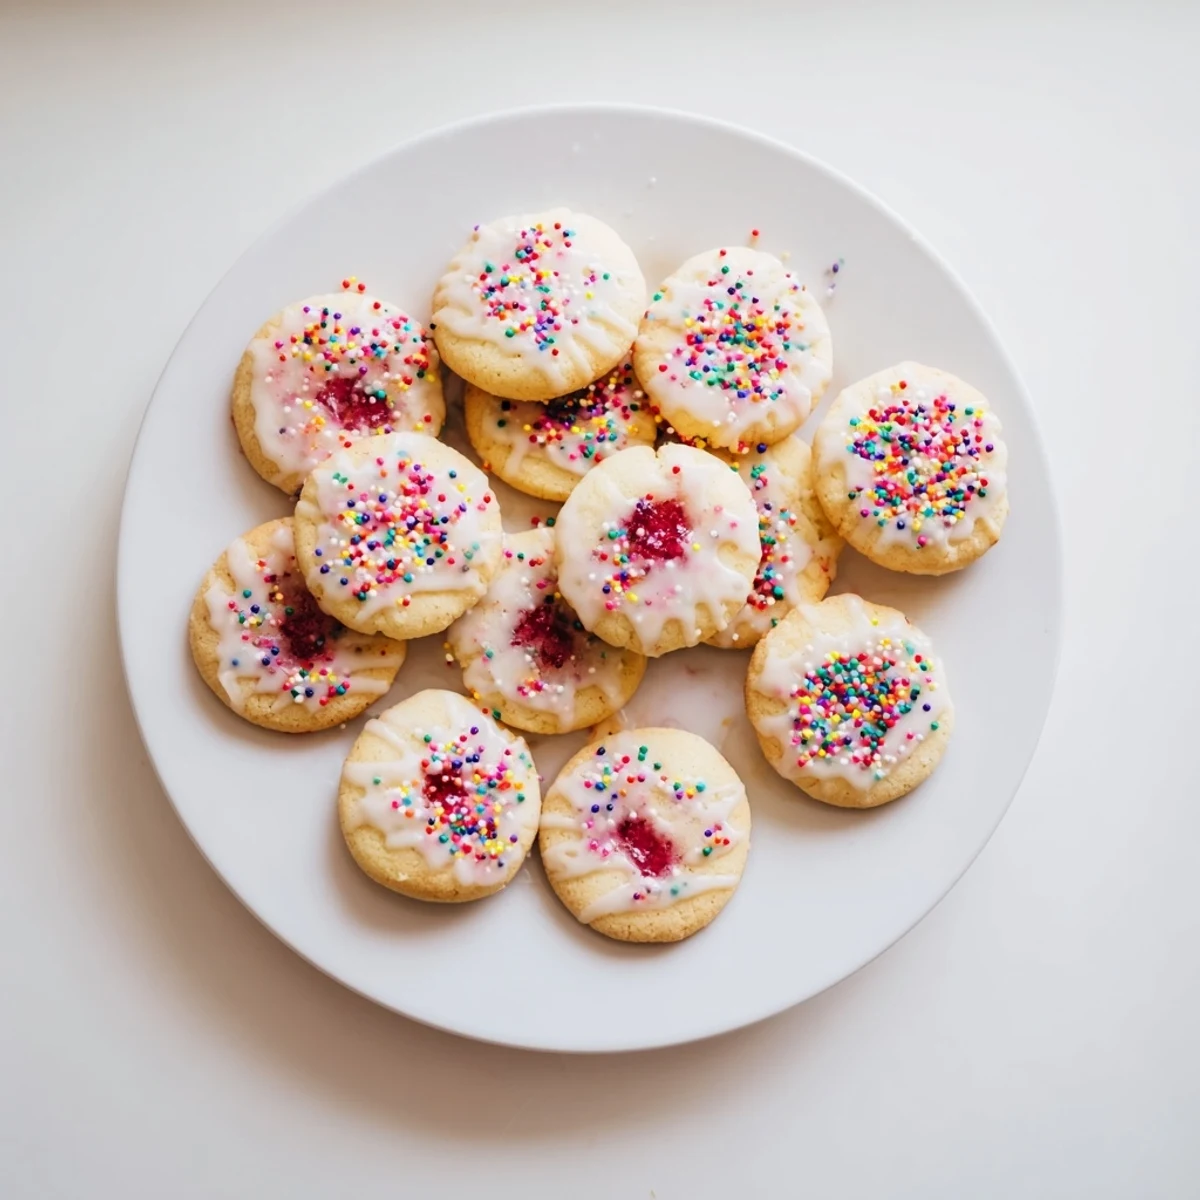
 These soft, buttery cookies capture all the nostalgic flavors of strawberry Pop-Tarts in a homemade treat. The dough comes together quickly and gets wrapped around sweet strawberry jam centers, creating that beloved filled pastry experience. A simple vanilla glaze tinted pink and topped with colorful sprinkles adds the perfect finishing touch. These bake up in just 12 minutes and yield 20 cookies, making them ideal for sharing.
The toaster pastry aisle at the grocery store has always had a magnetic pull on me, but lately I have been thinking about what happens when you take those jammy, frosted flavors and tuck them inside a soft homemade cookie instead of a foil wrapper.
I brought a batch of these to a potluck last summer and watched a normally reserved friend eat three in a row without saying a word, which told me everything I needed to know.
Ingredients
- All-purpose flour (2 1/4 cups or 280 g): Provides the sturdy yet soft structure these cookies need to hold their jam filling without falling apart.
- Baking powder (1/2 teaspoon): Just enough lift to keep the cookies from turning into dense little hockey pucks.
- Salt (1/2 teaspoon): Balances the sweetness and makes the butter flavor pop in a way you will notice immediately.
- Unsalted butter, softened (3/4 cup or 170 g): The real foundation here, so use good butter and let it come to room temperature naturally for the creamiest texture.
- Granulated sugar (3/4 cup or 150 g): Gives the edges a subtle crispness while keeping the centers soft and chewy.
- Light brown sugar (1/4 cup or 50 g): Adds a whisper of caramel depth that plain white sugar cannot manage on its own.
- Large eggs (2): Bind everything together and contribute richness to the dough.
- Vanilla extract (2 teaspoons): Do not skimp on this, because the vanilla rounds out the sweetness and makes the whole cookie taste warmer.
- Strawberry jam or preserves (3/4 cup or 210 g): The star of the filling, and a good quality jam with real fruit pieces makes a noticeable difference.
- Powdered sugar (1 cup or 120 g): Creates the smooth glaze that makes these look as fun as they taste.
- Milk (2 tablespoons): Thins the glaze to the perfect drizzling consistency.
- Vanilla extract for glaze (1/2 teaspoon): A small amount that keeps the frosting from tasting like plain sugar paste.
- Pink or red food coloring (optional): Purely for that playful pop of color that nods to the original toaster pastry.
- Sprinkles: The finishing touch that makes every cookie look like a tiny celebration.
Instructions
- Preheat and prepare your pans:
- Set your oven to 350 degrees Fahrenheit and line two baking sheets with parchment paper so nothing sticks.
- Whisk the dry ingredients:
- In a medium bowl, whisk together the flour, baking powder, and salt until evenly blended.
- Cream the butter and sugars:
- Beat the softened butter with both sugars in a large bowl until the mixture turns pale, light, and fluffy, which usually takes two to three minutes.
- Add eggs and vanilla:
- Drop in one egg at a time, beating after each addition, then pour in the vanilla and mix until everything looks smooth and cohesive.
- Combine wet and dry:
- Gradually stir the flour mixture into the butter mixture, mixing just until the last streak of flour disappears so the dough stays tender.
- Stuff with jam:
- Scoop two tablespoons of dough, flatten it into a disc in your palm, and place a teaspoon of strawberry jam in the center before folding the edges over, pinching to seal, and gently rolling it into a ball.
- Arrange on baking sheets:
- Set each filled dough ball on the prepared sheets about two inches apart to give them room to spread.
- Bake to golden perfection:
- Bake for eleven to thirteen minutes until the edges look set but the centers still appear slightly underbaked, then let them rest on the pan for five minutes before moving to a wire rack.
- Glaze and decorate:
- Whisk the powdered sugar, milk, vanilla, and a drop of food coloring until smooth, then drizzle over completely cooled cookies and scatter sprinkles on top before the glaze sets.
 Save Pin
 One rainy afternoon I made these with my niece, and she got so excited about the sprinkles that she dumped the entire container over the last batch while laughing so hard she could barely stand.
Storing Your Cookies
Keep these in an airtight container at room temperature and they stay soft and delicious for up to four days, though in my house they rarely last past day two.
Jam Swaps and Variations
Raspberry, blueberry, or apricot jam all work beautifully in place of strawberry, and each one gives the cookies a completely different personality without changing anything else about the recipe.
What to Watch For
There are a few small things that make a big difference between a good batch and a great one, and most of them come down to timing and temperature.
- Use softened butter, not melted, because melted butter makes the dough spread too thin in the oven.
- Check cookies at the eleven minute mark since every oven runs a little differently.
- Always let the cookies cool fully on the wire rack before adding any glaze.
 Save Pin
 These cookies are pure joy in the most unpretentious way possible, and sharing them with someone who needs a little sweetness in their day is honestly the best part.
Recipe FAQs
- → Can I use different jam flavors?
-
Absolutely! Raspberry, blueberry, or apricot jam work wonderfully as substitutes. Each variation creates a unique twist on the classic strawberry flavor while maintaining the same nostalgic charm.
- → How do I prevent the jam from leaking during baking?
-
Ensure the dough completely seals around the jam filling by pinching the edges together firmly. Roll gently between your palms to smooth any seams. Proper sealing keeps the filling contained while baking.
- → Can I freeze the cookie dough?
-
Yes, scoop and fill the dough balls, then freeze them on a baking sheet before transferring to a freezer bag. Bake from frozen, adding 1-2 minutes to the baking time. This method gives you fresh-baked treats anytime.
- → Why should cookies cool completely before glazing?
-
Warm cookies will cause the glaze to melt and slide off rather than set properly. Letting them cool completely ensures the glaze adheres beautifully and sets with that signature glossy finish.
- → How should I store these cookies?
-
Keep them in an airtight container at room temperature for up to 4 days. Place parchment paper between layers to prevent the glaze from sticking to other cookies. The glaze may soften slightly over time but remains delicious.
- → Can I make these without a stand mixer?
-
Certainly! Use a sturdy mixing bowl and wooden spoon or hand mixer to cream the butter and sugars. The process takes slightly more effort but yields the same soft, buttery results.
