 Save Pin
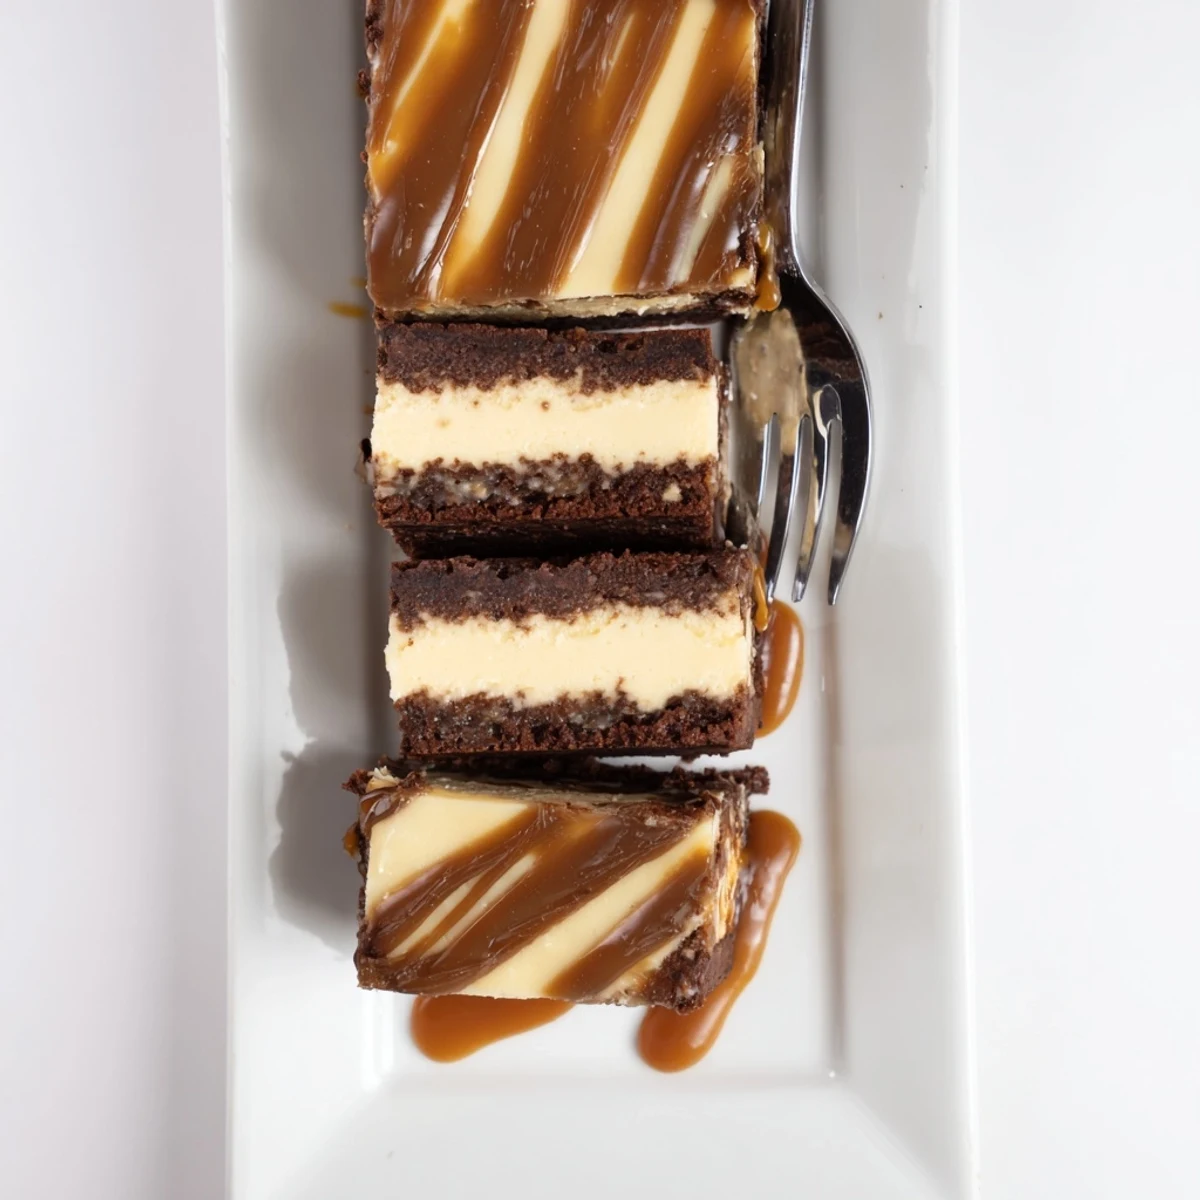
 This indulgent dessert brings together three beloved treats in one incredible creation. A rich, fudgy brownie base forms the foundation, topped with a velvety smooth cheesecake layer that bakes to creamy perfection. The finishing touch comes from a buttery caramel topping that adds the perfect amount of sweetness and sophistication.
The preparation involves creating the brownie mixture first, followed by the cheesecake layer, which gets poured directly on top. After baking until just set, the entire pan chills to develop the ideal texture. Finally, melted caramels mixed with cream create the signature glossy topping.
This impressive dessert serves twelve and requires about 30 minutes of active preparation plus chilling time. The result is a showstopping treat that combines chocolate, cream cheese, and caramel in perfect harmony.
My sister called me at 11 PM one Tuesday, voice hushed like she was sharing classified intel. She had just tasted something life changing at a dinner party and demanded we recreate it immediately. Three failed attempts later, we finally nailed the perfect balance of fudgy brownie and cloud like cheesecake with that caramel ribbon running through it.
I brought this to a neighborhood potluck last summer and watched three different people ask for the recipe within ten minutes of cutting into it. My neighbor Sarah actually followed me home just to write down the ingredients before she forgot them.
Ingredients
- 115 g unsalted butter: Melt this slowly and let it cool slightly before mixing so you do not scramble the eggs
- 150 g granulated sugar: This amount creates the perfect crackly top on the brownie layer
- 2 large eggs: Room temperature eggs incorporate better and prevent that weird eggy texture
- 1 tsp vanilla extract: Do not skip this even though it seems like a small amount
- 60 g all purpose flour: Measure this by weight if you can for consistent results
- 30 g unsweetened cocoa powder: Sifting this prevents lumps in your brownie batter
- ¼ tsp salt: This little pinch makes all the chocolate flavors pop
- 450 g cream cheese: Make sure this is properly softened or you will end up with lumps
- 100 g granulated sugar: This sweetness balances the tang of the cream cheese perfectly
- 2 large eggs: Add these one at a time and really let each one incorporate
- 1 tsp vanilla extract: Pure vanilla extract makes a noticeable difference here
- 60 ml sour cream: This gives the cheesecake layer that silky restaurant texture
- 180 g soft caramels: Unwrap these while the oven works its magic
- 2 tbsp heavy cream: This thins the caramel just enough so it pours beautifully
Instructions
- Get your oven ready:
- Preheat to 175°C and line a 23 cm square pan with parchment letting the paper hang over the sides like little handles
- Make the brownie magic:
- Melt butter in the microwave then whisk in sugar until it looks glossy and smooth before adding eggs and vanilla
- Add the dry ingredients:
- Sift flour cocoa and salt right into the bowl and fold gently until just combined do not overmix
- Layer one complete:
- Spread the brownie batter evenly in your prepared pan using an offset spatula if you have one
- Beat the cream cheese:
- Mix softened cream cheese and sugar until completely smooth and no lumps remain
- Add cheesecake fillings:
- Beat in eggs one at a time then add vanilla and sour cream until everything is incorporated
- Layer two:
- Pour the cheesecake mixture over the brownie base carefully so the layers do not mix
- Bake time:
- Bake for 45 to 50 minutes until the center is just set and edges are lightly golden
- The waiting game:
- Cool completely at room temperature then chill for at least 2 hours until firm
- Caramel moment:
- Melt caramels with cream in the microwave stirring every 20 seconds until smooth
- Final assembly:
- Pour caramel over the chilled bars and spread gently then chill 30 more minutes
- Slice and serve:
- Use a warm knife for clean squares and serve slightly chilled
 Save Pin
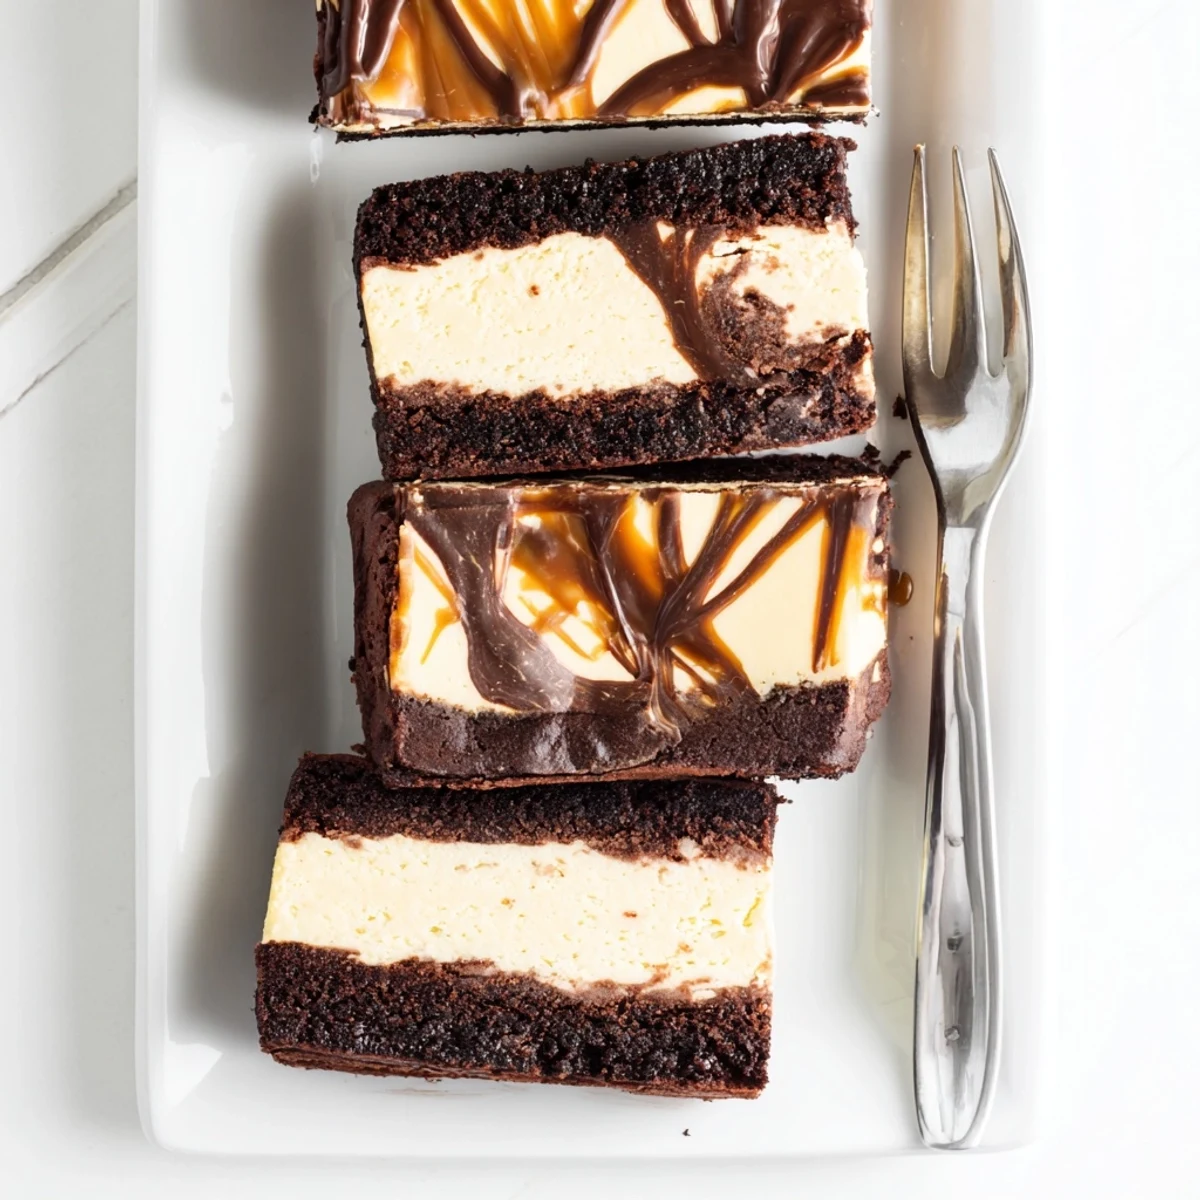
 This became my go to birthday dessert after my mom declared it better than any bakery cake she had ever tasted. Now every family celebration feels incomplete without these caramel topped squares making an appearance on the dessert table.
Making It Ahead
I have learned that this dessert actually tastes better after sitting overnight in the refrigerator. The flavors meld together and the texture becomes even more fudgy and creamy.
Serving Suggestions
A warm slice with vanilla ice cream is absolute perfection. The cold cream against the still slightly warm fudge creates this temperature contrast that makes people close their eyes involuntarily.
Storage Secrets
Keep these covered in the refrigerator where they stay perfect for up to five days though they have never lasted that long in my house.
- Place parchment between layers if you need to stack them
- Let slices sit at room temperature for 15 minutes before serving
- Freeze undecorated bars for up to three months and add caramel later
 Save Pin
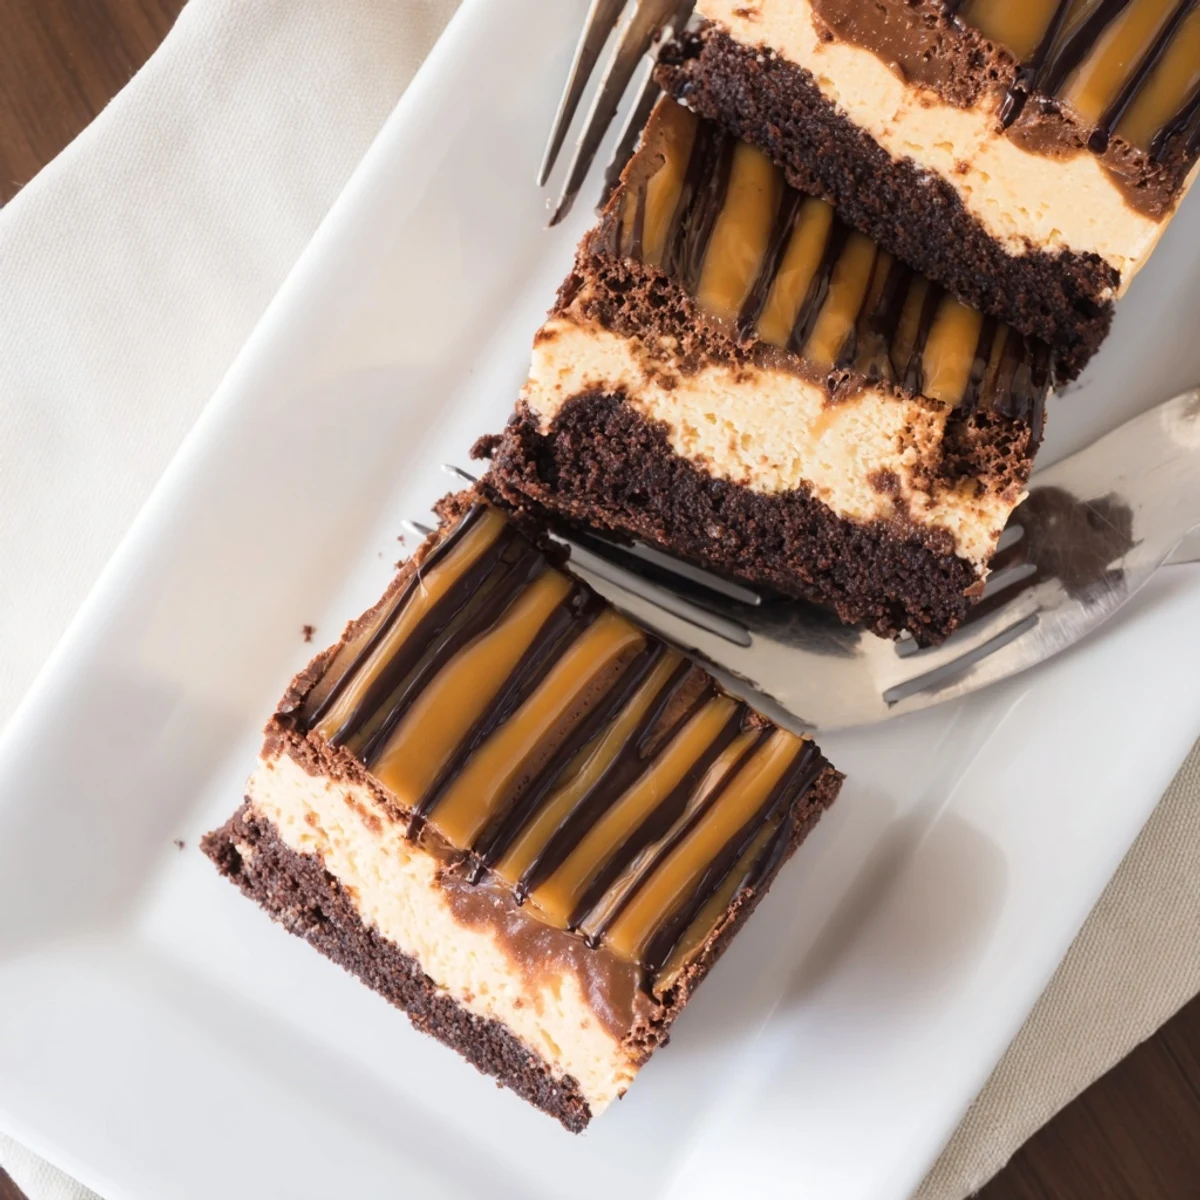
 Every time I make this I remember that late night phone call and how something born from curiosity became the most requested dessert in my entire repertoire.
Recipe FAQs
- → How long should I chill the dessert before serving?
-
Refrigerate for at least 2 hours after baking, then chill an additional 30 minutes after adding the caramel topping. This ensures proper setting and clean slices.
- → Can I make this ahead of time?
-
Absolutely. This dessert actually improves after chilling overnight. Prepare up to 24 hours in advance, keep refrigerated, and add the caramel topping a few hours before serving.
- → How do I know when it's done baking?
-
The edges should be lightly golden while the center appears just set with a slight wiggle. It will continue firming up during chilling, so avoid overbaking.
- → Can I use homemade caramel instead?
-
Yes, homemade salted caramel works beautifully. Use approximately 180 grams and ensure it's warm but not hot when pouring over the chilled base.
- → What's the best way to get clean slices?
-
Use a sharp knife warmed under hot water and wiped clean between cuts. Run the knife along the edges first, then slice through with gentle pressure.
- → Can I freeze this dessert?
-
Yes, freeze individual slices wrapped tightly in plastic for up to 2 months. Thaw overnight in the refrigerator before serving. The texture remains excellent after freezing.
