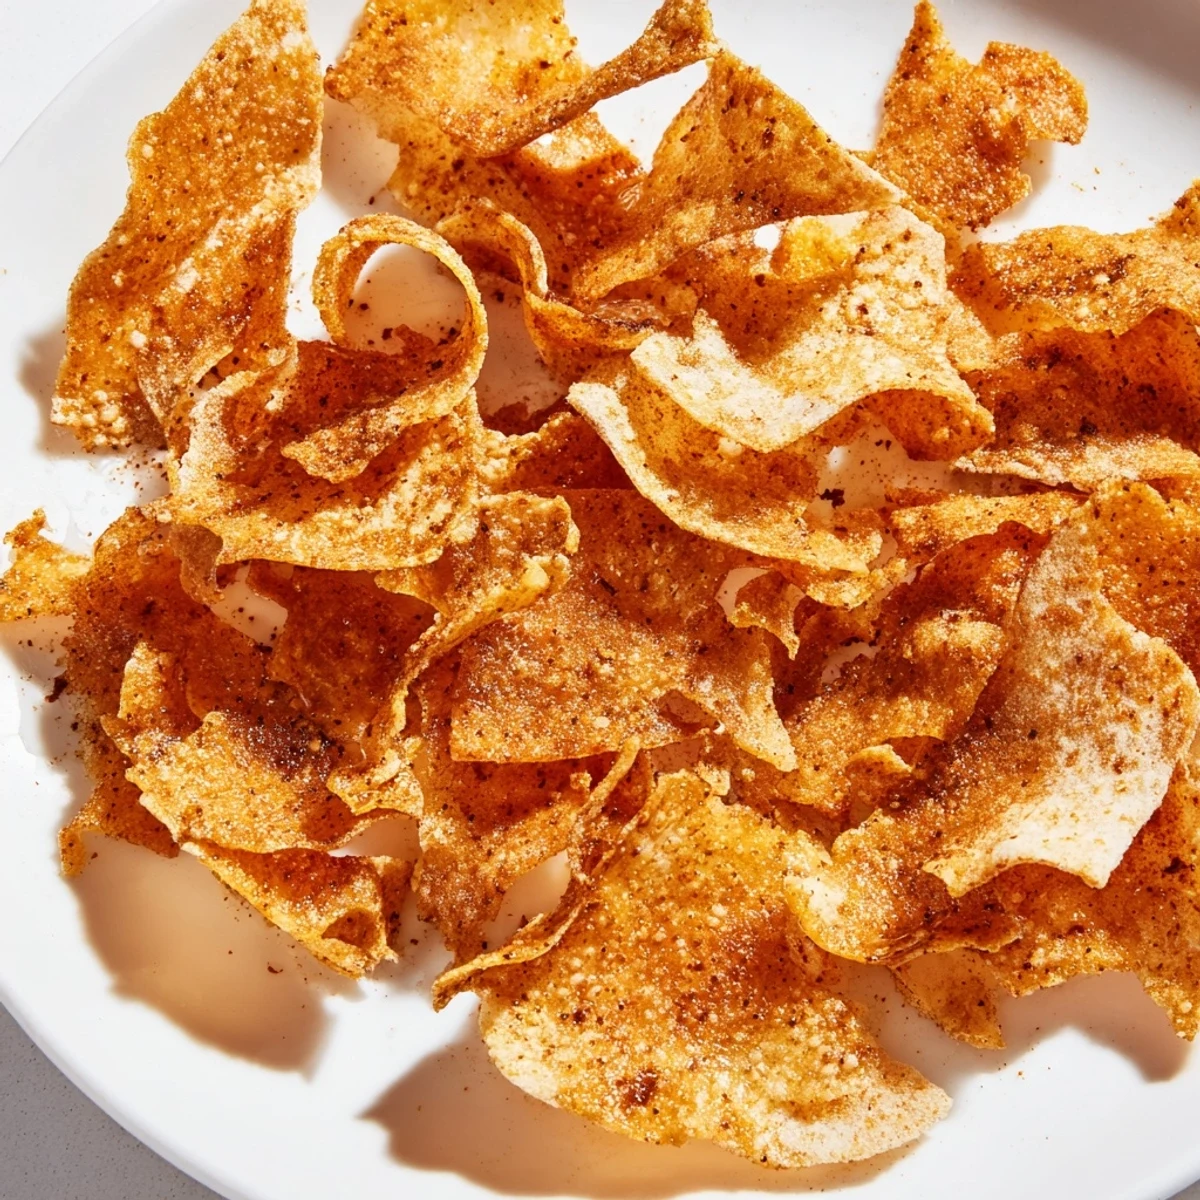
 Save Pin
 These crunchy chickpea flour chips deliver satisfying crispness with a blend of smoked paprika, garlic, and cumin. The naturally gluten-free batter spreads thinly on a baking sheet, bakes until golden, and breaks into perfect snack-sized pieces. Ready in just 40 minutes with only 10 minutes of active prep time.
The rain was hammering against the kitchen window and I had exactly nothing in the pantry worth snacking on until a forgotten bag of chickpea flour caught my eye. Forty minutes later I was sitting cross legged on the floor with a plate of golden shards, completely hooked. These chickpea chips are the kind of thing you stumble into and then refuse to stop making.
My neighbor Sara smelled them through the hallway last autumn and knocked on my door holding a tub of hummus. We stood in the doorway eating chips straight off the baking sheet, laughing at how quickly they vanished.
Ingredients
- Chickpea flour: The backbone of everything here, also called gram flour, and worth seeking out the freshest bag you can find.
- Salt: Just half a teaspoon but it carries the whole flavor team.
- Smoked paprika: This is what makes people close their eyes and ask what is in these.
- Garlic powder: A quiet background note that would be sorely missed if you skipped it.
- Ground cumin: Adds an earthy warmth without overpowering anything.
- Black pepper: Freshly cracked makes a real difference here.
- Water: Half a cup is usually right but trust your eyes more than the measuring cup.
- Olive oil: Two tablespoons in the batter plus a little extra brushed on top for that golden finish.
Instructions
- Preheat and prepare:
- Set your oven to 180 degrees Celsius which is 350 Fahrenheit and line a baking sheet with parchment paper so nothing sticks later.
- Mix the dry team:
- Whisk the chickpea flour, salt, smoked paprika, garlic powder, cumin, and pepper together in a bowl until evenly blended and fragrant.
- Bring in the wet:
- Pour in the water and olive oil then stir until you have a smooth, thick batter with no lumps hiding in the corners.
- Spread it thin:
- Pour the batter onto your prepared sheet and use a spatula to spread it into an even layer about two to three millimeters thin because thickness determines crunch.
- Brush and bake:
- Lightly brush the top with olive oil then bake for twenty to twenty five minutes until the edges are golden and the center feels firm.
- Cool and break:
- Let it rest for a few minutes out of the oven then cut into neat triangles or simply break it into rustic shards, which is honestly more fun.
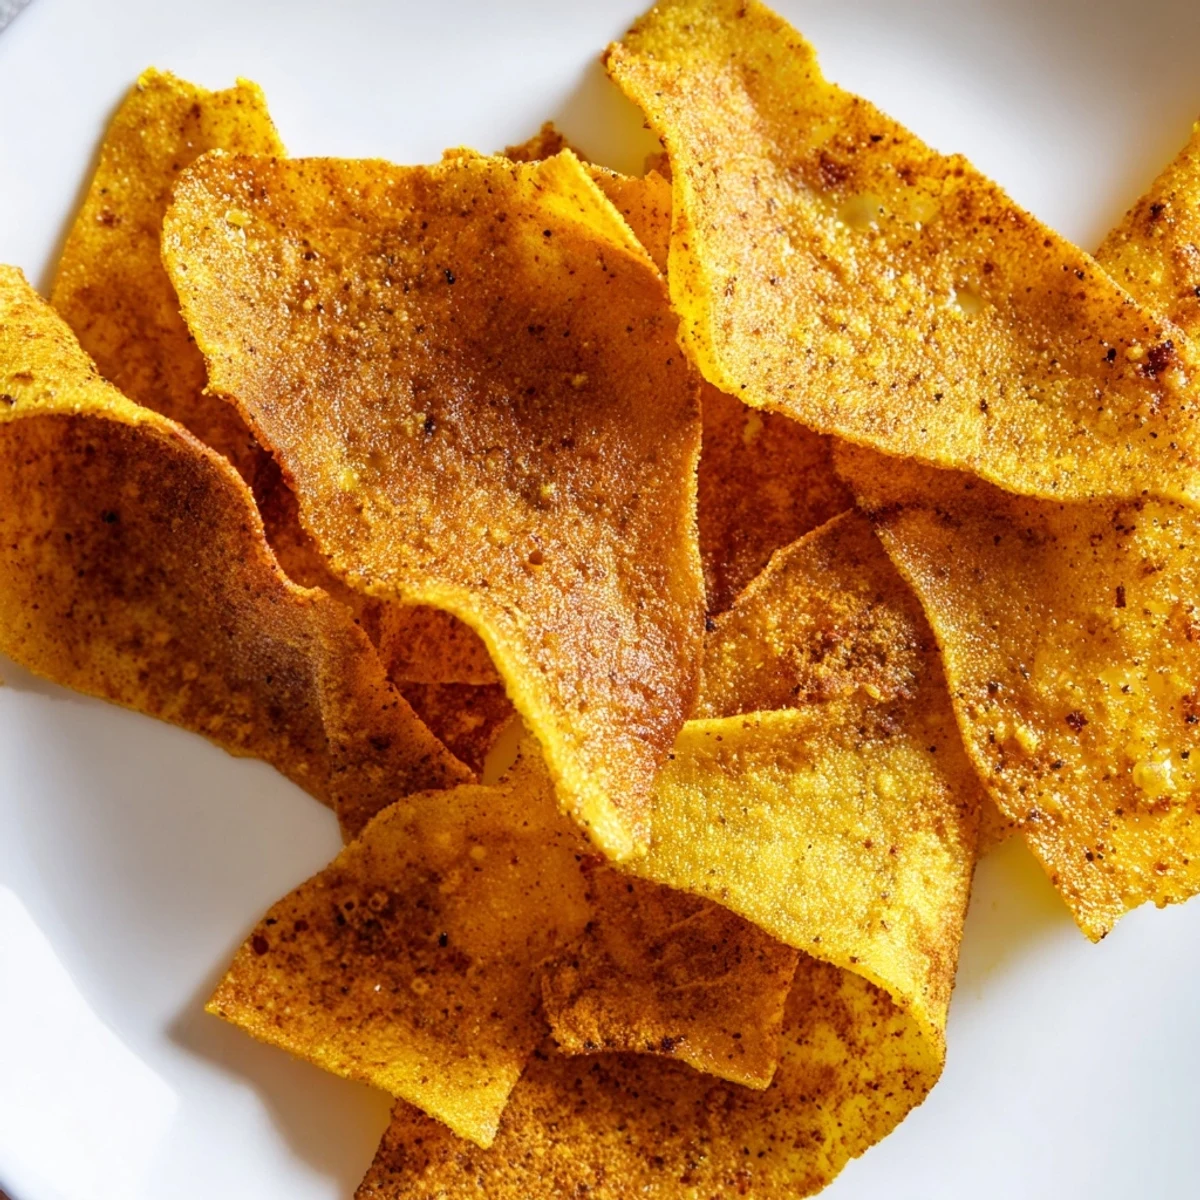 Save Pin
 The night I made a double batch for a friend's potluck, three people asked for the recipe before dinner was even served. That plate never made it to the table and somehow that felt like the highest compliment.
Getting the Texture Right
The batter should look like a thick pancake batter, pourable but not runny. If it seems too wet, sprinkle in another tablespoon of chickpea flour. Humidity changes everything with this flour so stay flexible and trust what you see.
Flavor Variations Worth Trying
Rosemary and thyme were my first detour and they were beautiful alongside a bowl of soup. You could also try nutritional cheese for a bolder direction or a pinch of cayenne when you want heat. The base recipe is really just a canvas.
Storage and Serving
They keep well in an airtight container for up to three days though they rarely last that long in my kitchen. Hummus, guacamole, and salsa are all excellent companions but honestly a squeeze of lemon over a warm chip is hard to beat.
- Let them cool completely before storing or residual steam will soften them.
- A quick ten minute toast in the oven revives leftover chips beautifully.
- Always check your chickpea flour packaging for cross contamination warnings if gluten is a concern.
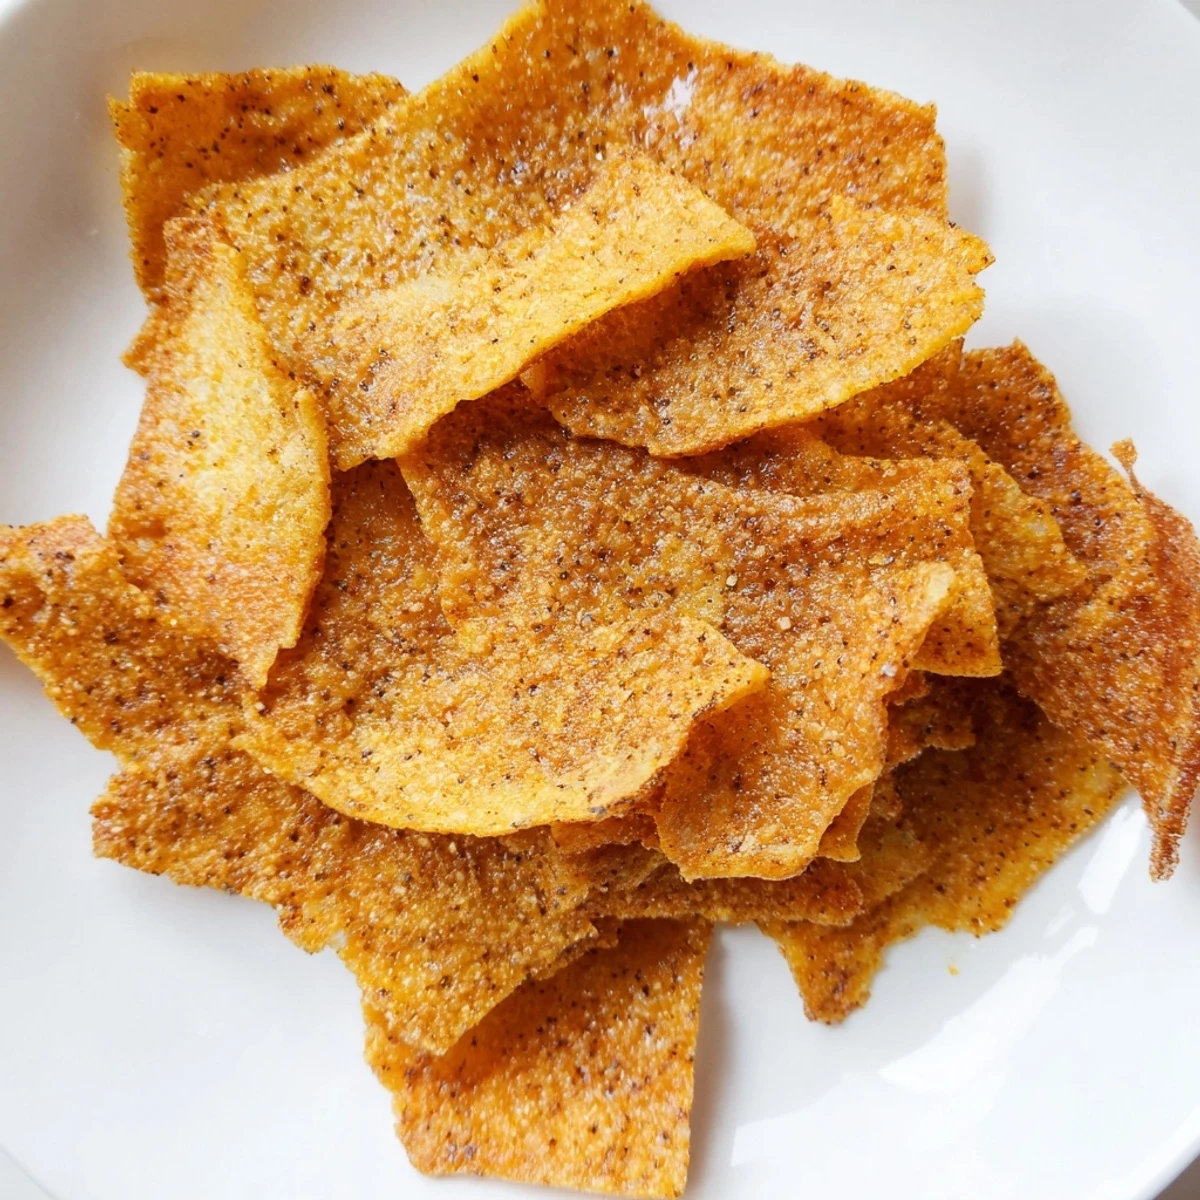 Save Pin
 Keep a batch in your back pocket for rainy afternoons, unexpected guests, or just the ordinary Tuesday that deserves something crispy and warm from the oven.
Recipe FAQs
- → What makes these chips gluten-free?
-
Chickpea flour, also known as gram flour, is naturally gluten-free since it's made from dried ground chickpeas rather than wheat. All other ingredients including spices and olive oil are also naturally gluten-free.
- → How do I achieve maximum crispiness?
-
Spread the batter as thinly as possible (2-3 mm) for the crispiest results. Flipping halfway through baking and brushing with additional olive oil helps achieve even crunchiness. Letting them cool slightly before cutting also improves texture.
- → Can I customize the seasoning blend?
-
Absolutely. The base spice combination works beautifully, but you can add dried herbs like rosemary, thyme, or oregano. Try nutritional yeast for cheesy flavor, cayenne for heat, or onion powder for extra savory depth.
- → How should I store these chips?
-
Keep them in an airtight container at room temperature for up to 3 days. If they lose some crispiness, a quick 5-minute bake at 180°C (350°F) will restore their crunch. Avoid refrigerating as moisture can make them soggy.
- → What dips pair well with chickpea chips?
-
These chips complement creamy dips like hummus, guacamole, or tzatziki perfectly. They also work well with fresh salsa, baba ganoush, or even a simple olive oil and balsamic dipping sauce.
- → Is chickpea flour high in protein?
-
Yes, chickpea flour is an excellent plant-based protein source. One serving provides about 5 grams of protein, making these chips more satisfying than traditional potato chips while offering fiber and essential minerals.
