
 Save Pin
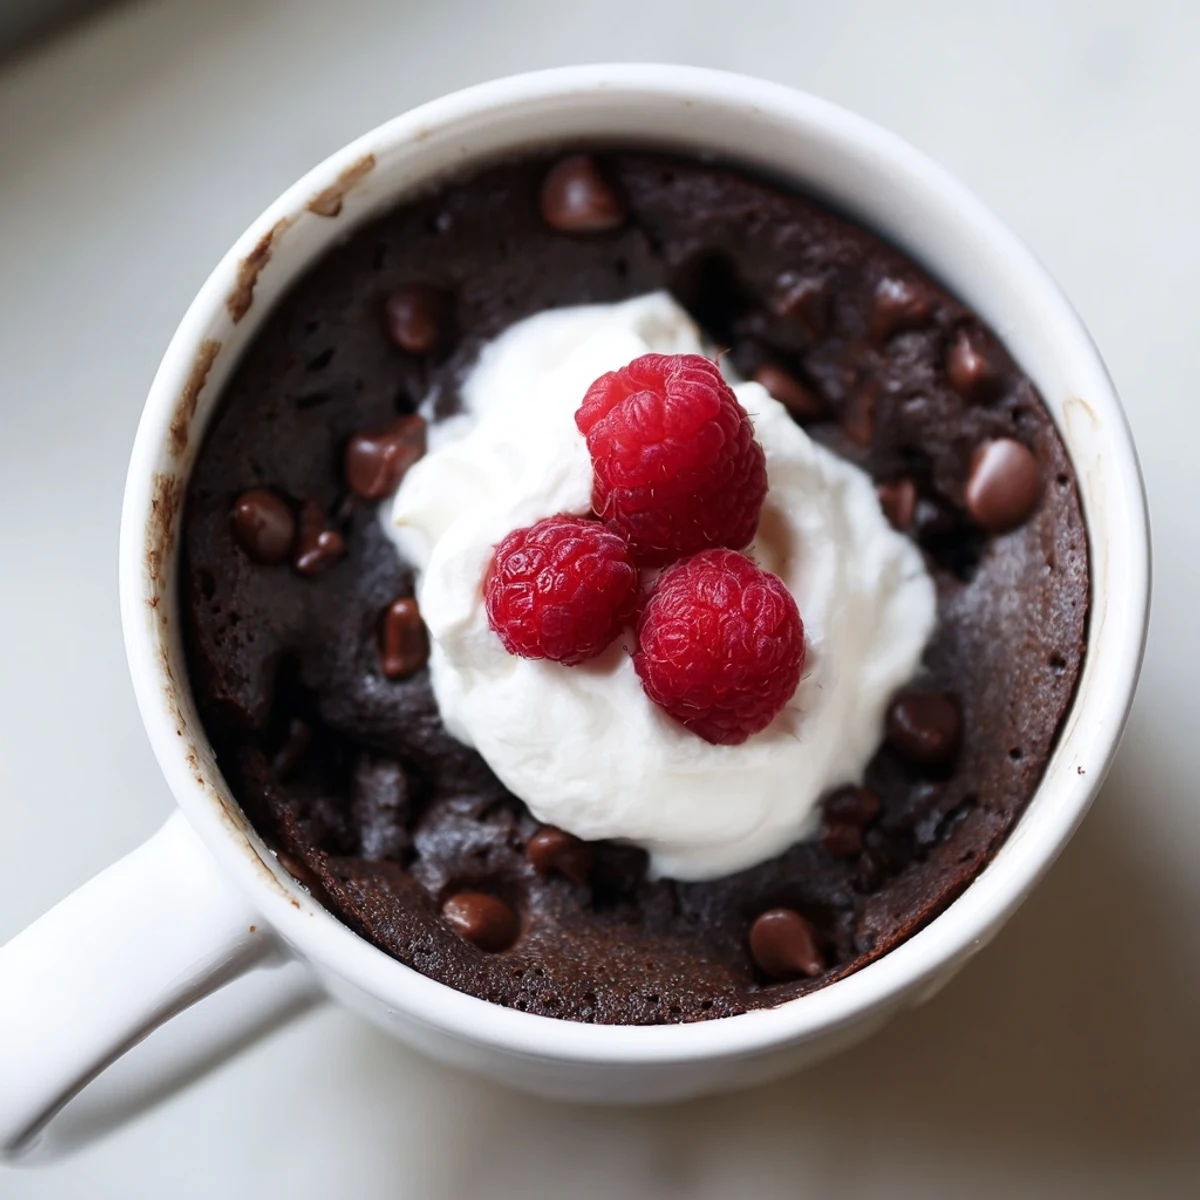
 This gluten-free chocolate mug cake is the ultimate quick-fix dessert for anyone craving something rich and decadent without the fuss of baking. Ready in just 7 minutes from start to finish, it uses basic pantry staples like cocoa powder, gluten-free flour blend, and milk to create a moist, fudgy single-serving treat.
Simply mix the dry and wet ingredients directly in a microwave-safe mug, pop it in the microwave for under 2 minutes, and you have a warm, comforting dessert. Customize it with chocolate chips, top it with whipped cream or fresh berries, and enjoy a personal-sized indulgence that's both vegetarian and gluten-free.
My microwave had been sitting untouched for months, a glorified timer and nothing more, until a rainy Tuesday when chocolate cravings hit hard and the oven felt like too much commitment. Three minutes later, I was staring at a perfectly risen mug cake, fork in hand, wondering why I had ever doubted the machine. The sponge was impossibly tender, deeply chocolatey, and completely gluten free without any compromise. That sad appliance earned its counter space back that night.
I made this for my sister during one of her gluten free phases, fully expecting her polite smile of disappointment. She took one bite, paused, and then guarded the mug with both hands while finishing every last crumb.
Ingredients
- Gluten free all-purpose flour blend (3 tablespoons): The backbone of the cake, and you really do need a proper blend with xanthan gum already included for the best texture.
- Unsweetened cocoa powder (2 tablespoons): Use a good quality one because there are only a handful of ingredients and each one carries weight.
- Granulated sugar (3 tablespoons): It sweetens and helps form that delicate crust on top, so do not skimp here.
- Baking powder (1/4 teaspoon): Just enough lift to keep things airy without overflowing the mug.
- Salt (pinch): A tiny amount rounds out the chocolate and makes the whole thing taste richer.
- Milk, dairy or non-dairy (3 tablespoons): Any milk works, though oat milk gives a particularly creamy result.
- Neutral oil (2 tablespoons): Oil keeps the crumb softer than butter would, and it is easier to stir in cold from the bottle.
- Pure vanilla extract (1/4 teaspoon): A small splash that makes the chocolate taste more complex and rounded.
- Chocolate chips (1 tablespoon, optional): Folded in for molten pockets, or save a few for scattering on top while the cake is still warm.
- Whipped cream or berries (for serving, optional): A dollop or a few berries bring freshness and balance the richness beautifully.
Instructions
- Build the dry foundation:
- In a microwave safe mug of at least 12 ounces, whisk together the gluten free flour, cocoa powder, sugar, baking powder, and salt until evenly blended and no pockets of cocoa remain hiding in the corners.
- Bring in the wet ingredients:
- Pour in the milk, oil, and vanilla, then stir thoroughly with a spoon or small whisk until the batter is completely smooth and glossy with no lumps anywhere.
- Tuck in the extras:
- Drop in the chocolate chips if using and fold them through gently so they are scattered throughout rather than sunk at the bottom.
- Let the microwave work its magic:
- Cook on high power for 1 minute and 30 seconds to 2 minutes, watching for the cake to rise, set, and spring back lightly when you touch the center with a fingertip.
- Rest briefly and finish:
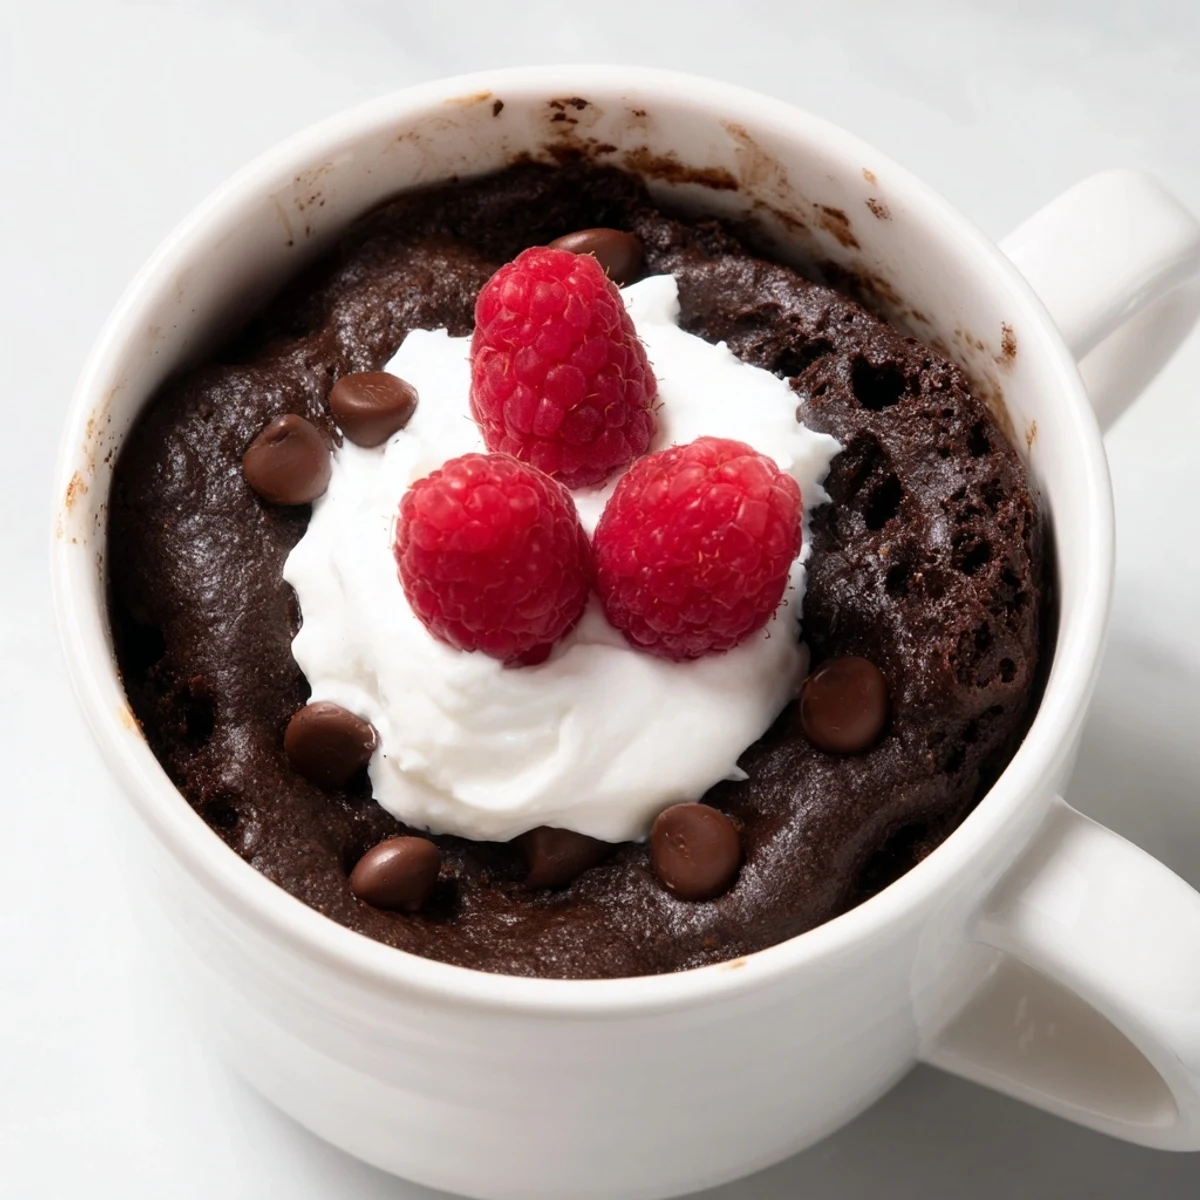
- Let the cake cool in the mug for 1 to 2 minutes so it firms up, then add whipped cream or berries on top if you like and eat it warm straight from the mug.
 Save Pin
 One evening I brought a freshly made mug cake to my neighbor who had been having a rough week, and she stood in the doorway eating it with a plastic fork, laughing about how something so small could feel like such a comfort.
Choosing the Right Mug
Size matters more than you think here, because a mug that is too small will overflow and leave you with a mess on the turntable and a sad, deflated cake. A 12 to 14 ounce mug gives the batter room to rise and then settle back down without incident. Straight sided mugs cook more evenly than tapered ones, so your cake sets uniformly rather than drying out at the edges while the middle stays wet. Ceramic works best, and you should always check that the mug has no metallic trim that could arc in the microwave.
Making It Your Own
The base recipe is a canvas that welcomes all kinds of small twists depending on what you have on hand. A tablespoon of peanut butter swirled into the batter before cooking turns it into something rich and nostalgic. A pinch of espresso powder deepens the chocolate without adding any coffee flavor, while a dash of cinnamon gives it warmth and a slightly different personality. You could also top it with a scoop of ice cream instead of whipped cream for a self saucing dessert moment.
Storage and Reheating
Mug cakes are at their absolute best eaten immediately, but if you somehow have leftovers, cover the mug loosely and keep it at room temperature for up to a day. Reheat in ten second bursts in the microwave just to take the chill off, because too long will make it tough. Honestly though, the chances of having any left over are extremely slim.
- Do not refrigerate the leftover cake because it will dry out and become unpleasantly dense.
- If you want to prep ahead, measure the dry ingredients into the mug and cover it, then add the wet ingredients when you are ready to cook.
- Remember that this is meant to be a spontaneous little treat, so keep it simple and enjoy it warm.
 Save Pin
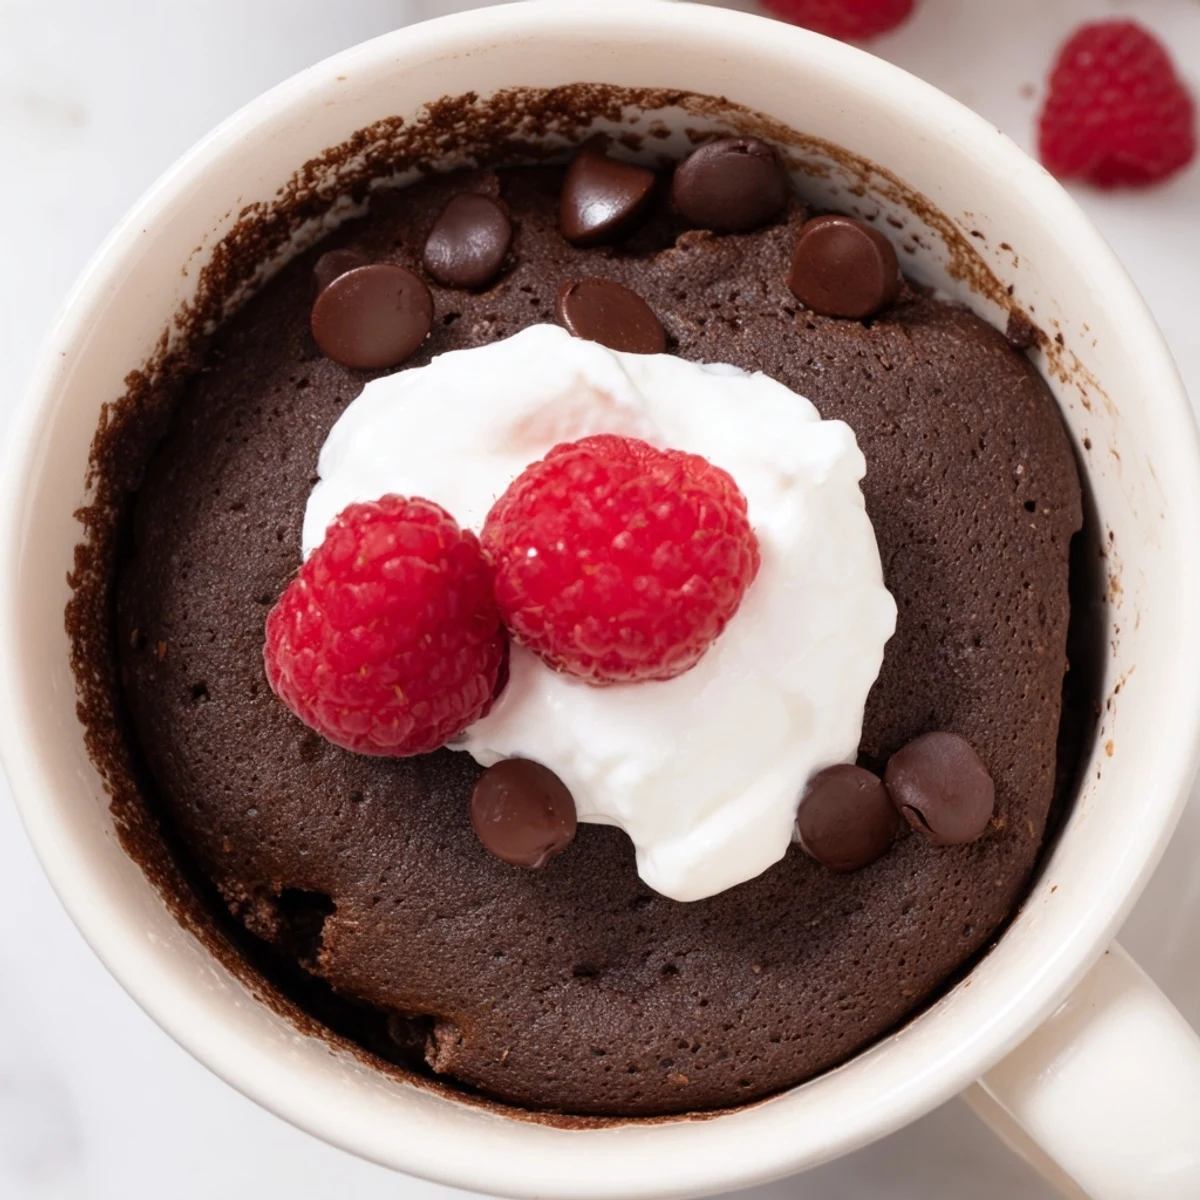
 Some desserts are about celebration and planning, but this one is about the quiet joy of giving yourself something warm and chocolatey just because you want it. Keep these ingredients in your pantry and you will never be more than seven minutes away from that comfort.
Recipe FAQs
- → Can I make this mug cake dairy-free?
-
Yes, simply substitute the milk with almond, soy, or oat milk and use dairy-free chocolate chips. The texture and flavor remain just as rich and satisfying.
- → Why did my mug cake turn out rubbery?
-
Overcooking is the most common cause. Microwaves vary in power, so start with 1 minute 30 seconds and check for doneness. The cake should still look slightly moist on top and spring back lightly when touched.
- → What gluten-free flour blend works best?
-
A store-bought gluten-free all-purpose flour blend that contains xanthan gum yields the best results. If your blend doesn't include it, add a small pinch of xanthan gum to help with texture and structure.
- → Can I add a gooey center to this mug cake?
-
Absolutely. Press a small piece of chocolate or a spoonful of Nutella into the center of the batter before microwaving. As the cake cooks, the center melts into a delicious molten core.
- → Is it safe to microwave in any mug?
-
Use a microwave-safe mug that holds at least 12 ounces to prevent overflow. Avoid metallic-rimmed mugs or delicate ceramics that may crack under high heat.
- → Can I mix the dry ingredients ahead of time?
-
Yes, you can pre-measure the dry ingredients and store them in a small airtight container or zip-top bag. When ready to enjoy, just add the wet ingredients, mix, and microwave for a nearly instant dessert.