 Save Pin
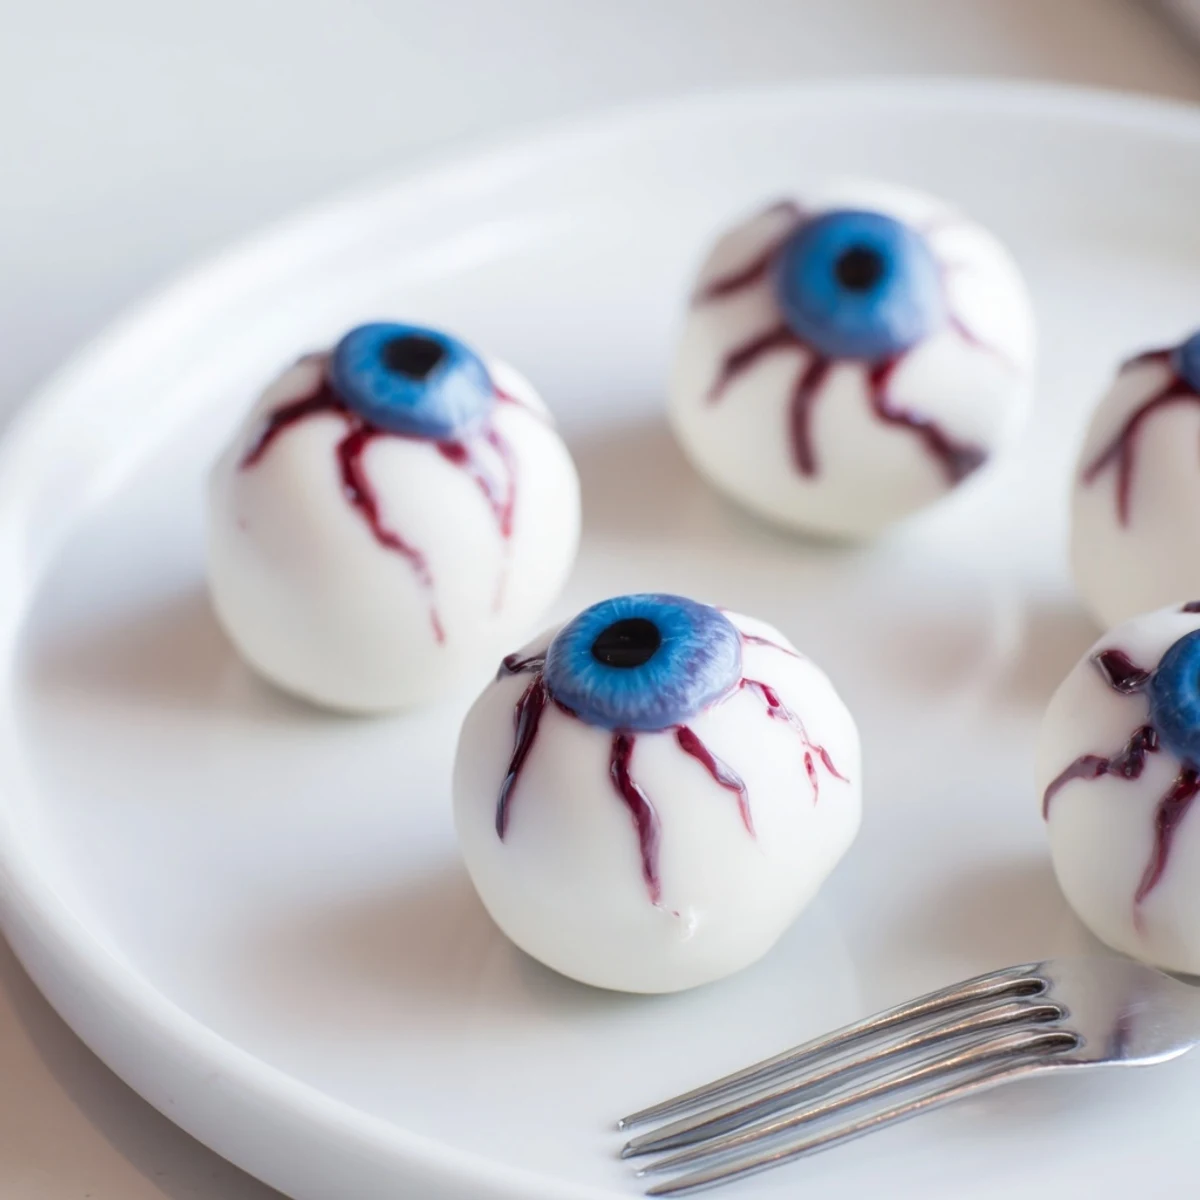
 These Halloween cake eyeballs transform moist vanilla cake into spooky party treats. Crumbled cake mixes with cream cheese frosting, rolled into balls and coated in white chocolate. Each eyeball gets a colorful iris made from blue or green candy melts, with a dark chocolate pupil and dramatic red gel veins creating that authentic eerie look. The process takes about 75 minutes from start to finish and yields 24 impressive eyeballs that are perfect for Halloween gatherings.
The first time I made these for my daughter's class Halloween party, I underestimated how delightfully creepy they'd look. Kids were simultaneously horrified and enchanted, reaching for them with wide eyes while pretending to be scared. One brave eight-year-old whispered that he felt guilty eating something staring back at him, then promptly grabbed seconds.
Last October, my kitchen looked like a crime scene with red gel everywhere and white chocolate splattered across the counter. My husband walked in, stopped dead in his tracks, and asked if he should call the authorities before realizing I was mid-vein-piping session. We ended up hosting an impromptu decorating contest with neighbors, and the winning set had mismatched pupils that gave them a genuinely deranged look.
Ingredients
- Vanilla cake mix: Using a box mix keeps things simple, but homemade cake crumbs work beautifully too
- Cream cheese and butter: Room temperature is non-negotiable for that silky smooth filling that holds everything together
- Powdered sugar: This sweetens and stabilizes the frosting mixture without making it grainy
- White candy melts: These coat more evenly than chocolate chips and set up firm for that satisfying snap
- Dark chocolate or black candy melts: A tiny dollop creates those eerily realistic pupils that seem to follow you around the room
- Red decorating gel: The veins are what sell the effect sloppy and jagged looks authentically spooky
Instructions
- Bake and cool your cake:
- The cake needs to be completely room temperature before crumbling, or youll end up with a sticky mess rather than fine crumbs
- Create the crumb mixture:
- Work the frosting into the crumbs with your hands until it feels like soft cookie dough that holds its shape when squeezed
- Chill the eyeballs:
- Twenty minutes in the freezer firms them up enough for dipping without falling apart in the warm coating
- Coat with white chocolate:
- Tap off excess coating gently and let them set completely before adding the colored irises, or everything will run together
- Add the spooky details:
- Work quickly once the white coating sets pipe jagged red veins radiating outward for that bloodshot eye effect
 Save Pin
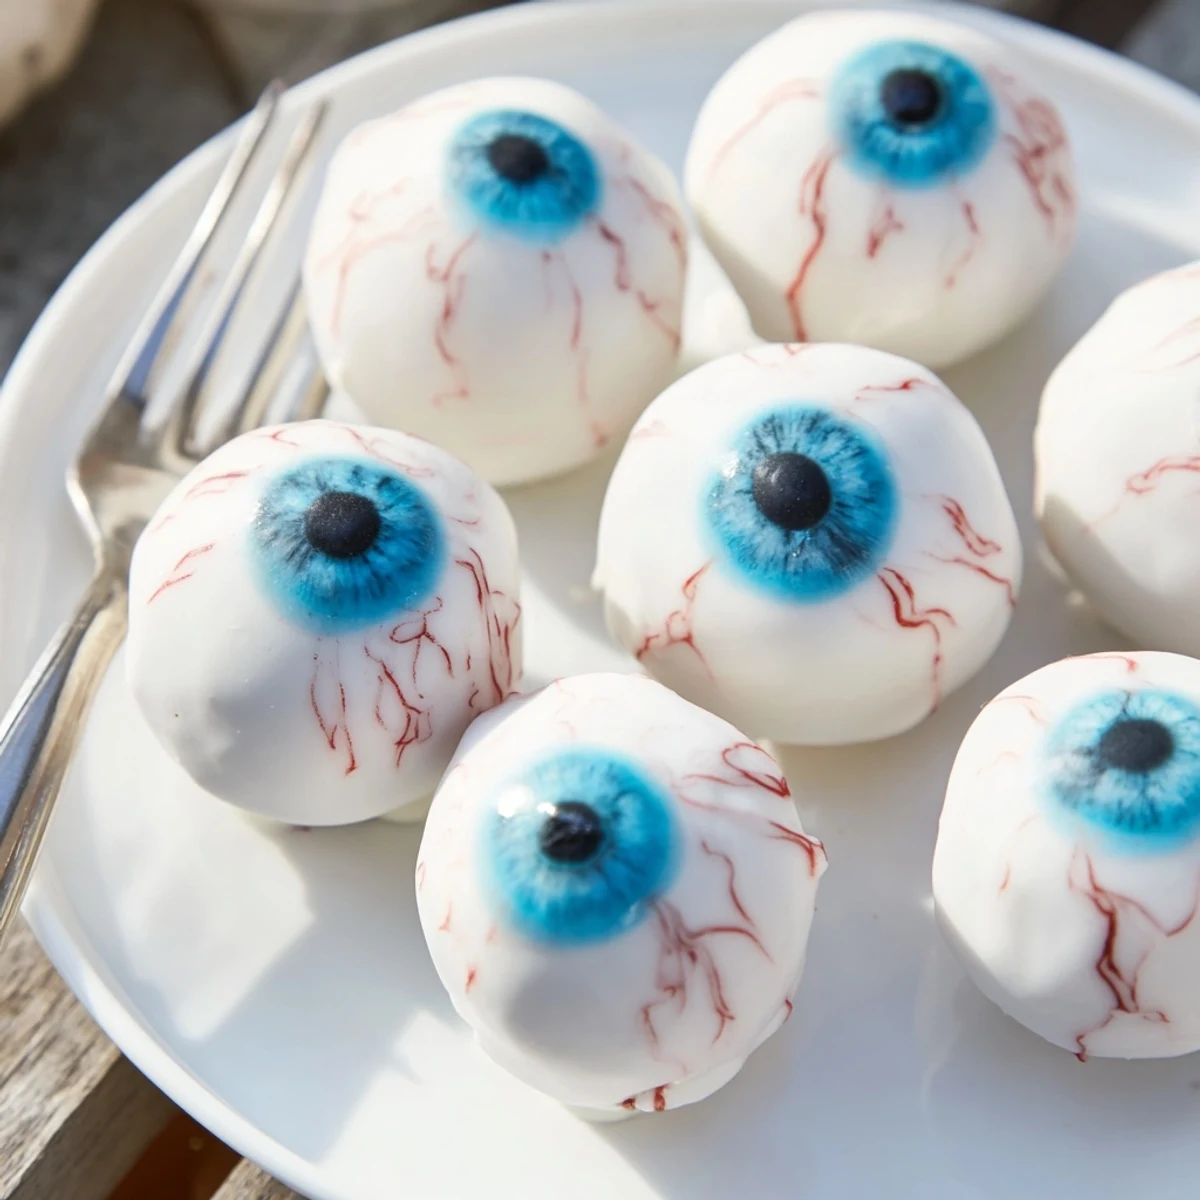
 My friend Sarah made these for her Halloween wedding reception, displayed on a bed of crushed chocolate cookie dirt. Guests kept whispering that they felt watched while eating them, which was exactly the gloriously weird atmosphere she wanted. The photographer ended up taking more photos of the dessert table than the bride herself.
Making Them Ahead
Ive learned that these can be made up to two days in advance if stored in an airtight container in the refrigerator. The coating stays firm and the flavors actually develop more depth overnight. Bring them to room temperature for about fifteen minutes before serving so the chocolate doesnt crack when bitten into.
Flavor Variations
Red velvet cake with white coating creates a startlingly realistic effect when someone bites into one. Chocolate cake works beautifully too and intensifies the contrast with the colorful irises. My personal favorite variation uses lemon cake for a bright surprise flavor that catches people off guard.
Serving Ideas
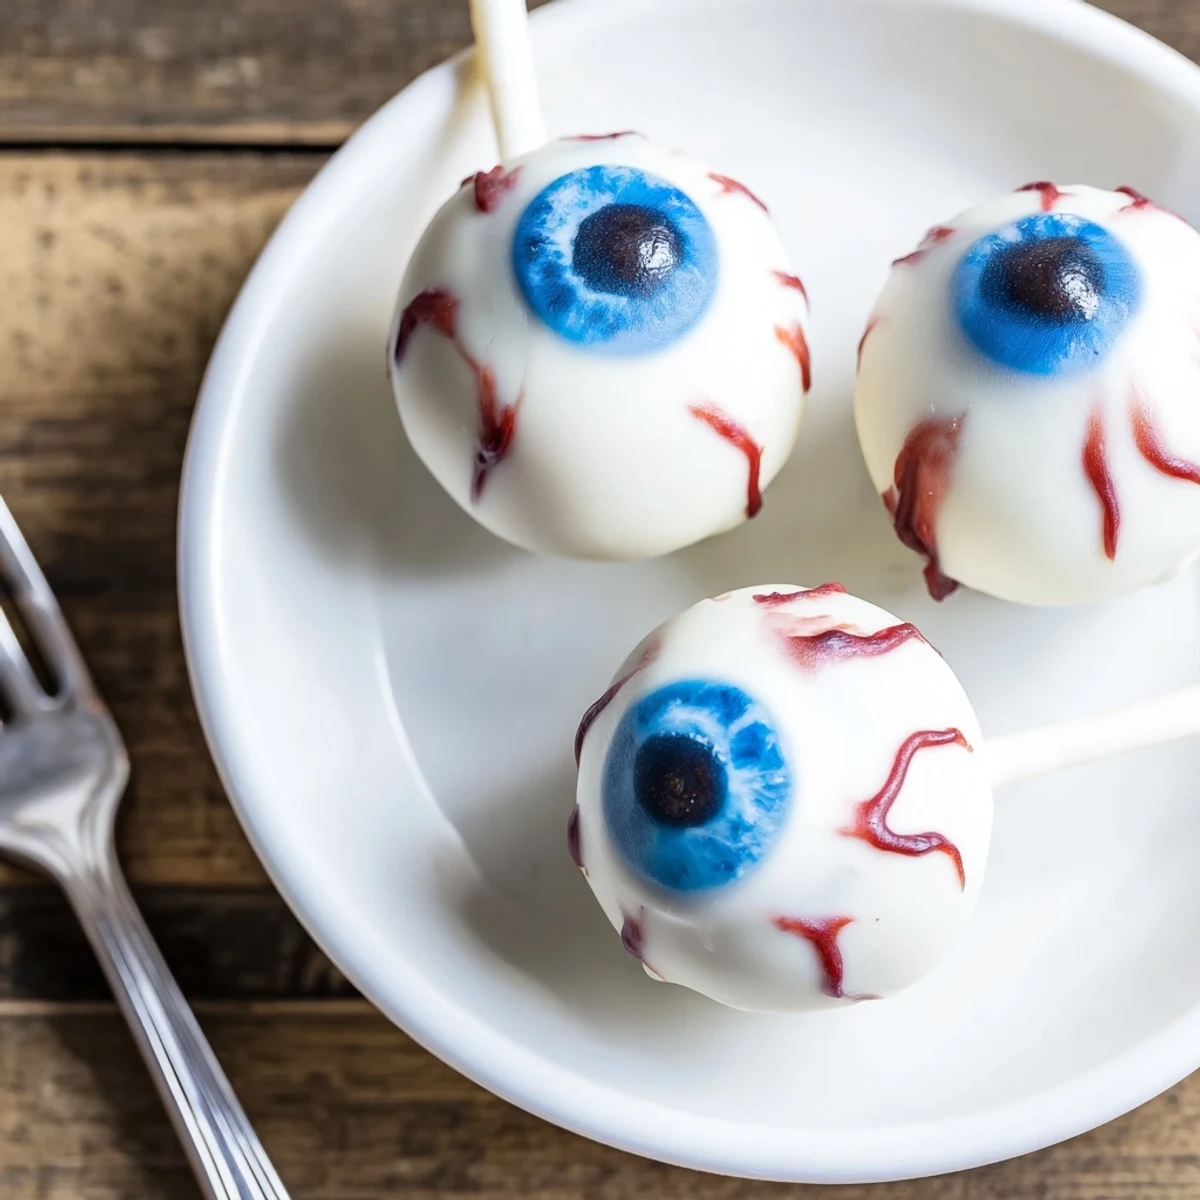
These look absolutely sinister arranged on a black platter or tucked into vintage medicine bottles as edible centerpieces. For buffets, consider inserting cake pop sticks so guests can grab them easily without disturbing the delicate decorations. They also make excellent party favors when wrapped individually in clear bags with Halloween ribbon.
- Place them on a bed of plastic spider rings for extra creepy ambiance
- Keep the red gel uncapped while working because it dries out quickly
- Have wet wipes nearby the red food coloring stains everything it touches
 Save Pin
 Watching kids and adults alike hesitate before finally taking that first bite never gets old. Theres something wonderfully subversive about making food that stares back at you while being absolutely delicious.
Recipe FAQs
- → Can I make these ahead of time?
-
Yes, these can be prepared up to 3 days in advance. Store in an airtight container in the refrigerator. The chilled texture actually helps maintain their shape and firmness.
- → What other cake flavors work well?
-
Chocolate cake creates a darker, more dramatic look. Red velvet works beautifully for a bloody effect. Spice cake complements the autumn theme perfectly.
- → Can I use real chocolate instead of candy melts?
-
Absolutely. White chocolate melts beautifully but may need a teaspoon of coconut oil to reach dipping consistency. Dark chocolate works perfectly for pupils.
- → How do I prevent the coating from cracking?
-
Ensure cake balls are thoroughly chilled before dipping. Work quickly and avoid warm temperatures. If coating is too thick, add a small amount of oil to thin it.
- → What's the best way to create realistic veins?
-
Use a toothpick or fine-tip decorating bottle with red gel. Start from the center and radiate outward with irregular, jagged lines for that authentic spooky appearance.
- → Can I freeze these for later?
-
Yes, freeze undecorated coated balls for up to a month. Thaw in refrigerator overnight before adding the final decorations with gel and colored candy melts.
