 Save Pin
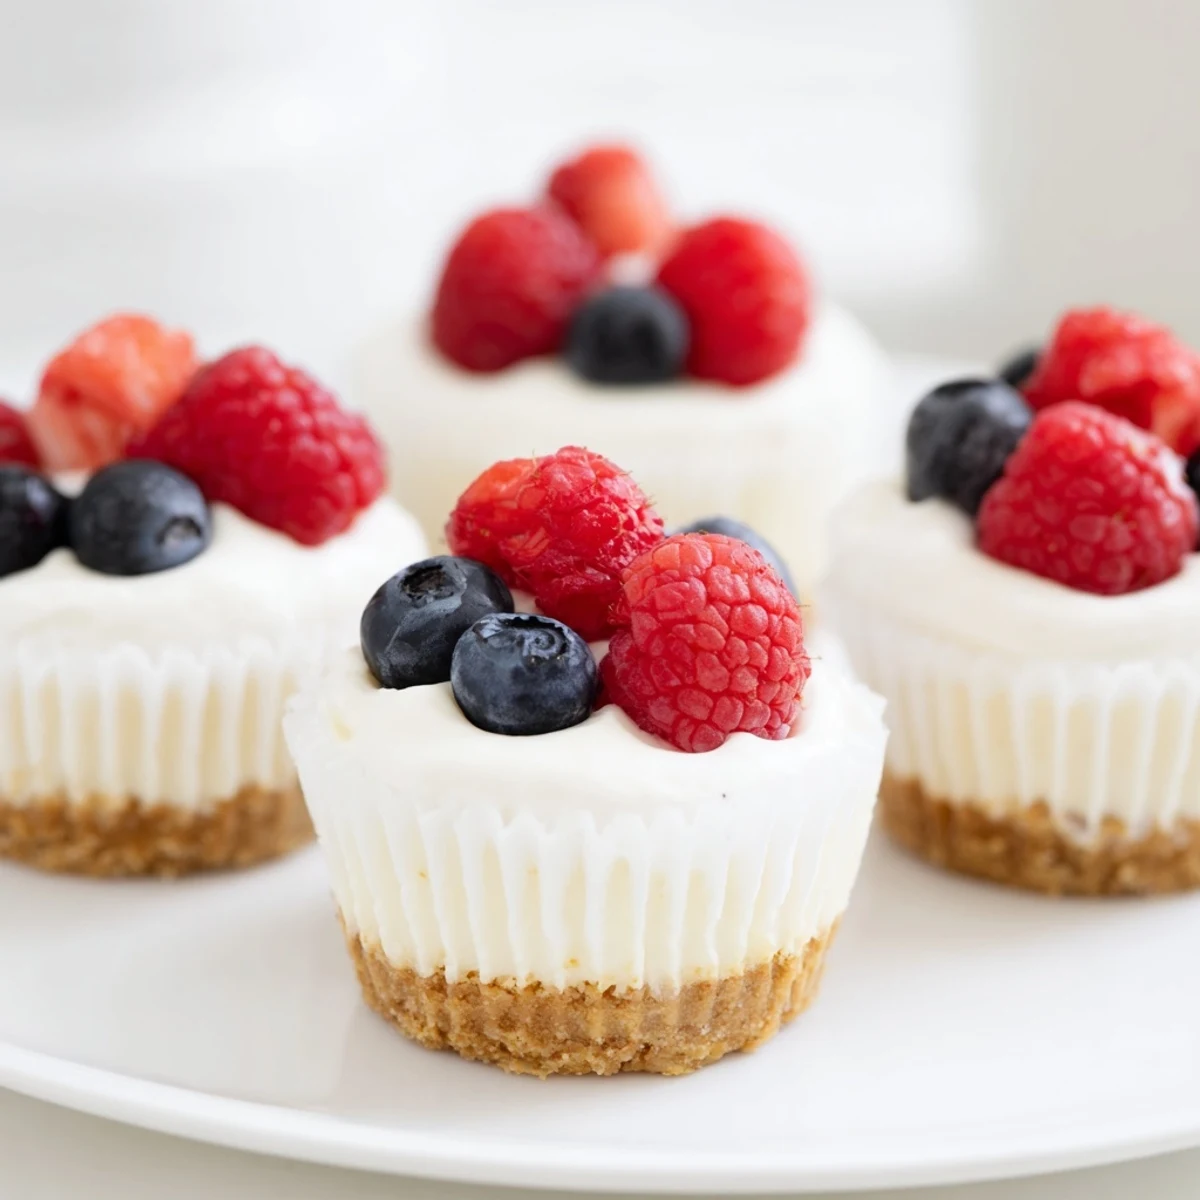
 These delightful individual-sized cheesecakes feature a crisp vanilla wafer cookie base topped with rich, velvety cream cheese filling. Each bite delivers the perfect balance of crunchy crust and smooth, tangy-sweet interior. Ready in under an hour with minimal effort, these handheld desserts are crowd-pleasers at any gathering.
The preparation comes together quickly—simply press a vanilla wafer into each muffin cup, blend the creamy filling ingredients, and bake until just set. The wobbly centers firm up beautifully during chilling time. Top with fresh berries, fruit preserves, or a sweetened sour cream dollop for added elegance and flavor.
My aunt brought these tiny cheesecakes to our Fourth of July gathering last summer, and I honestly hovered by the dessert table the entire time. Something about that buttery vanilla wafer bottom with the tangy cream cheese filling just works in a way regular cheesecake never quite captured for me. When she told me they took twenty minutes start to finish, I demanded the recipe right there on her paper napkin.
Last month I made three batches for my daughters birthday party, and the kids gravitated toward them immediately. Something about bite size desserts makes people feel less guilty about reaching for seconds, plus they are adorable on a serving platter. My neighbor asked if I could teach her how to make them, which is basically the highest compliment possible.
Ingredients
- 12 vanilla wafer cookies: These become an instant crust so no pressing crumb mixtures into pans
- 16 oz cream cheese softened: Room temperature prevents lumps and guarantees silky texture
- 1/2 cup granulated sugar: Just enough sweetness without overpowering the tangy cream cheese
- 2 large eggs: Add them one at a time to keep the filling smooth
- 1 tsp pure vanilla extract: Real vanilla makes a noticeable difference here
- 1/4 cup sour cream: This little bit of tang cuts through the richness beautifully
- 1 tbsp all purpose flour: The secret ingredient that prevents cracking while baking
- Pinch of salt: Balances the sugar and enhances all the flavors
Instructions
- Preheat your oven:
- Set it to 325°F and line a 12 cup muffin tin with paper liners while the oven warms up
- Prepare the crusts:
- Drop one vanilla wafer into each muffin cup flat side down for instant bottoms
- Beat the base:
- Mix softened cream cheese and granulated sugar until completely smooth with no lumps remaining
- Add the eggs:
- Crack in each egg individually and mix thoroughly before adding the next one
- Finish the filling:
- Blend in vanilla sour cream flour and salt just until everything comes together
- Fill the cups:
- Divide batter evenly among all 12 liners filling each about three quarters full
- Bake until set:
- Bake 16 to 18 minutes until centers are just set with a slight wobble like jelly
- Cool completely:
- Let them rest 10 minutes in the pan then move to a wire rack until fully cooled
 Save Pin
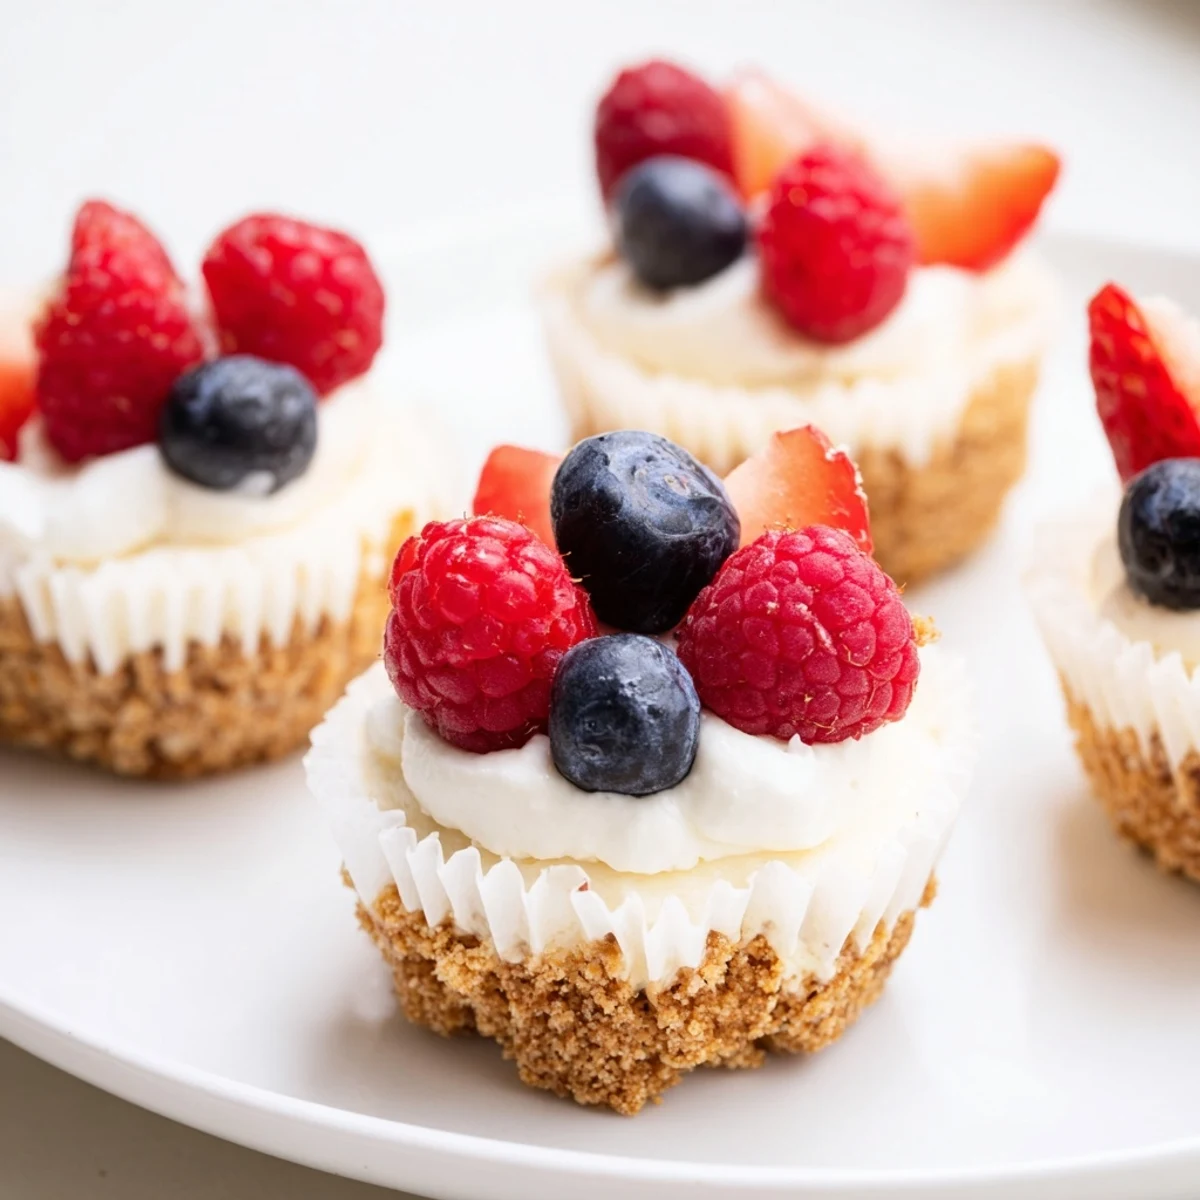
 The first time I made these I panicked when they puffed up like soufflés in the oven but they settled beautifully during cooling. Now I keep a batch in the fridge for whenever that afternoon sweet craving hits or unexpected guests drop by.
Serving Suggestions
Mix sour cream with powdered sugar for a quick dollop on top or add fresh berries for color. Sometimes I skip the toppings entirely because they are perfect plain with that subtle vanilla crust.
Make Ahead Magic
These actually improve after chilling overnight so they are perfect for parties. The texture becomes firmer and the flavors meld together beautifully.
Easy Variations
Try lemon zest in the batter for brightness or chocolate wafers instead of vanilla for a cocoa version. The possibilities are endless once you have this base recipe down.
- Crushed graham crackers work if you cannot find vanilla wafers
- A teaspoon of lemon juice transforms the flavor profile completely
- Mini chocolate chips folded into the batter make them extra special
 Save Pin
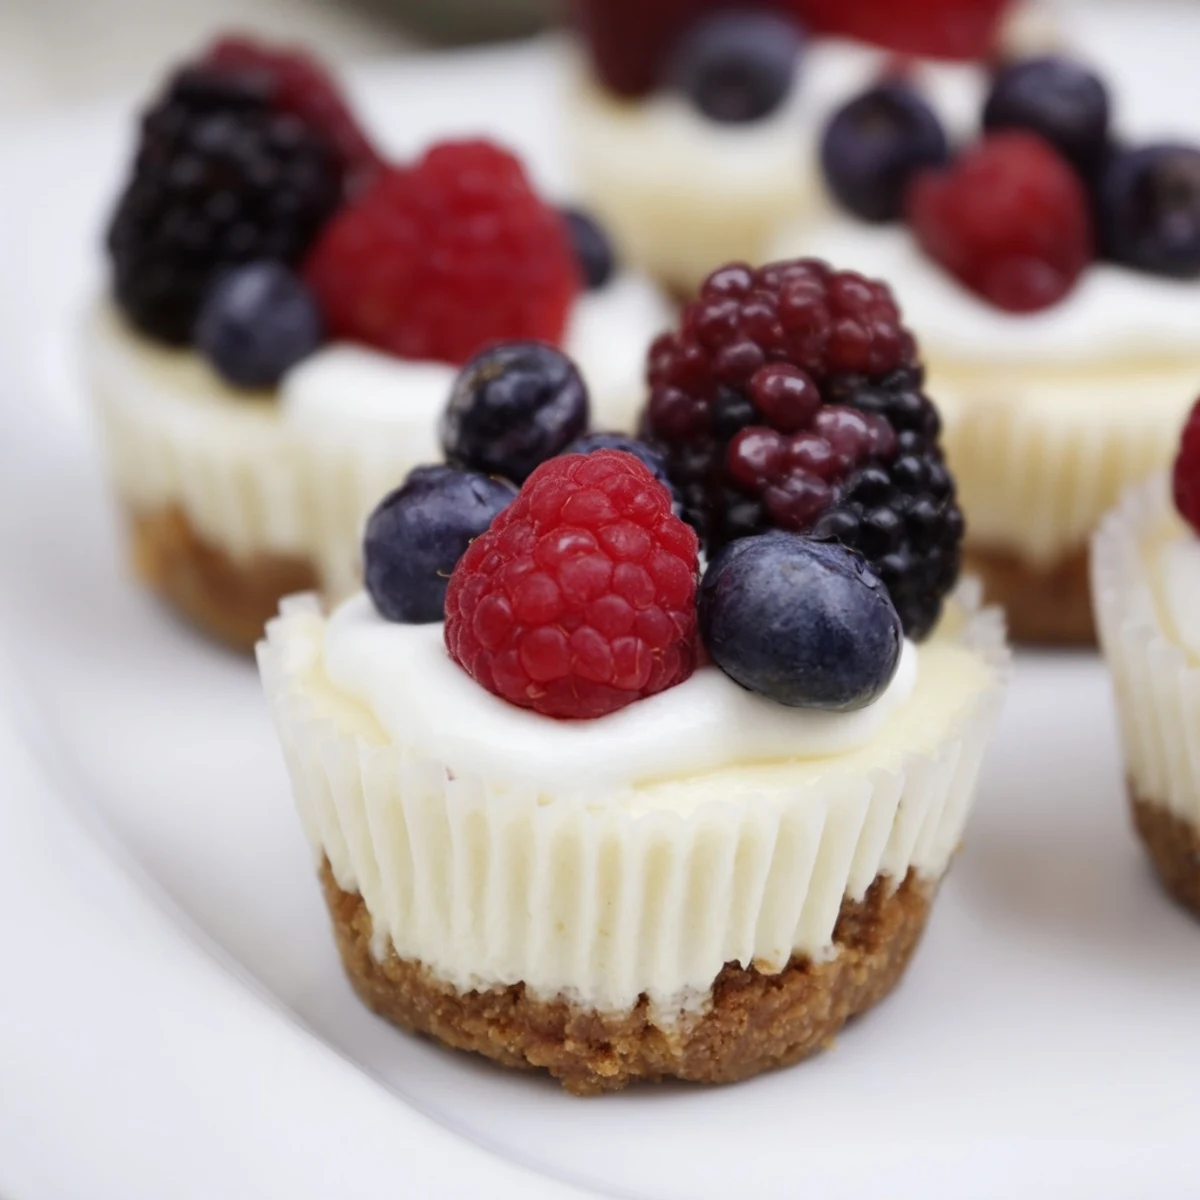
 There is something so satisfying about pulling a tray of these out and watching everyone reach for one immediately. Hope they become a staple in your dessert rotation too.
Recipe FAQs
- → Can I make these ahead of time?
-
Yes, these mini cheesecakes actually improve with time. Prepare them up to 3 days in advance and store refrigerated in an airtight container. The flavors meld together beautifully, and the texture remains perfectly creamy.
- → Can I freeze mini cheesecakes?
-
Absolutely. Once completely cooled, place them on a baking sheet and freeze until firm. Transfer to a freezer-safe container for up to 2 months. Thaw overnight in the refrigerator before serving. Add toppings like fresh berries after thawing.
- → What can I use instead of vanilla wafers?
-
Graham cracker crumbs, crushed digestive biscuits, or shortbread cookies work wonderfully as crust alternatives. For a gluten-free option, use crushed gluten-free vanilla cookies or almond flour mixed with melted butter.
- → Why did my cheesecakes crack?
-
Cracking usually occurs from overbaking or rapid temperature changes. Remove them from the oven when centers are still slightly wobbly—they'll continue cooking as they cool. Let them cool gradually in the pan before transferring to a wire rack.
- → How do I know when they're done baking?
-
The edges should appear set and slightly puffy while the centers remain gently wobbly—similar to a custard or traditional cheesecake. They'll firm up completely during cooling. Avoid the temptation to overbake for the creamiest texture.
- → Can I add mix-ins to the filling?
-
Certainly. Fold in lemon zest, chocolate chips, crushed Oreos, or fresh fruit puree before baking. Just keep mix-ins to about 1/4 cup total to maintain proper batter consistency and baking time.
