 Save Pin
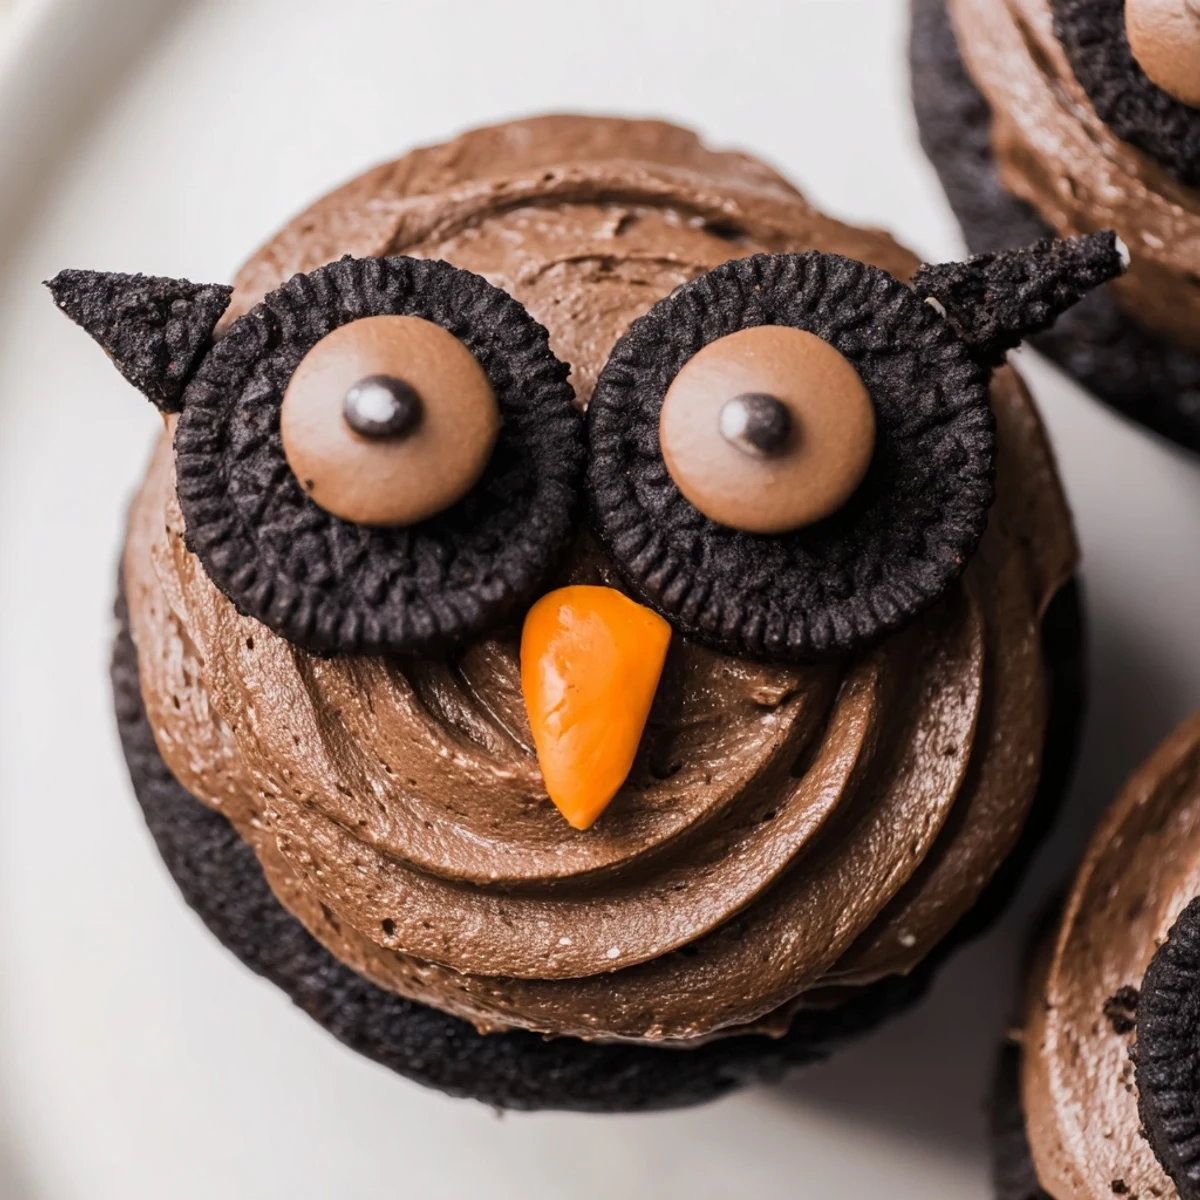
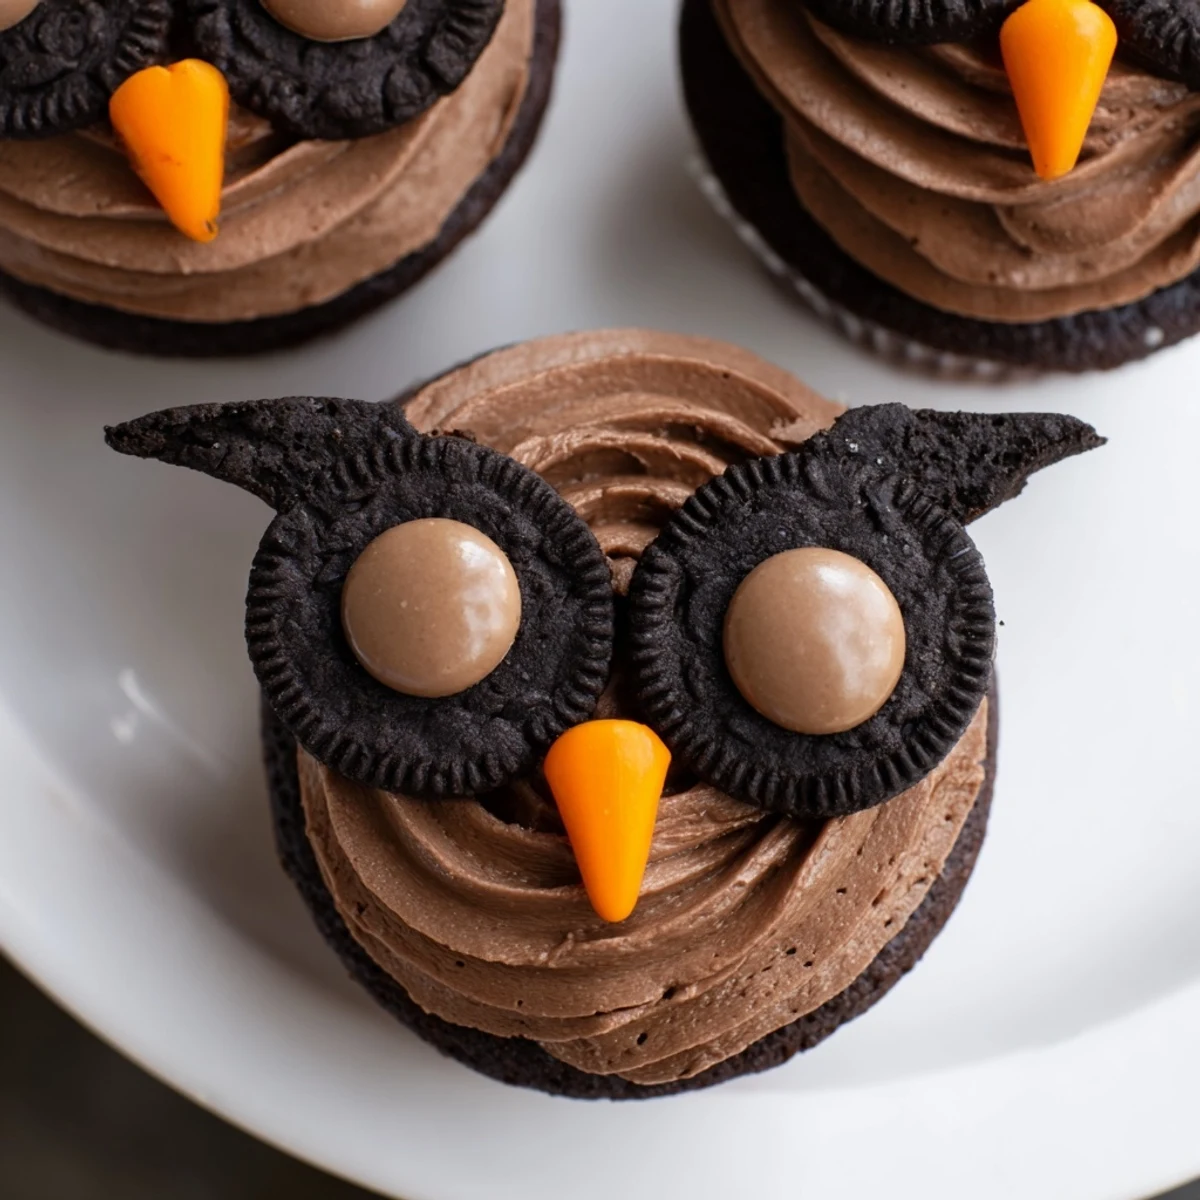
 Transform classic chocolate cupcakes into charming owl creations with simple decoration techniques. Split Oreo cookies to create expressive eyes, complete with chocolate candy pupils and orange beaks. The rich chocolate cupcake base pairs perfectly with creamy cocoa frosting, making these whimsical treats ideal for children's birthdays, Halloween gatherings, or any celebration calling for adorable desserts.
My daughter came home from school one afternoon bubbling about animal-themed treats for the class harvest party. She looked up at me with those earnest eyes and asked if we could make owls. I panicked at first, then remembered those Oreo commercials from childhood and somehow it clicked in my head that cupcake owls were absolutely possible.
The night before the party, my kitchen counter was covered in cookie crumbs and stray chocolate candies. My daughter sat on a stool carefully placing pupils on owl eyes while I frosted cupcakes, both of us slightly covered in cocoa powder. Every single owl came out with its own personality somehow.
Ingredients
- All-purpose flour: The backbone of these cupcakes, providing structure without overwhelming the chocolate flavor
- Unsweetened cocoa powder: Use good quality cocoa here since its the main flavor event of your cake base
- Baking powder and baking soda: Both work together to give these cupcakes their lift
- Salt: A small amount balances all the sugar and enhances the chocolate
- Eggs: Room temperature eggs incorporate better into your batter for consistent texture
- Granulated sugar: Sweetens and tenderizes the crumb while helping the cupcakes brown nicely
- Milk: Adds moisture and fat for a tender cake that isnt too dense
- Vegetable oil: Keeps cupcakes moist longer than butter would
- Vanilla extract: Rounds out the chocolate flavor beautifully
- Unsalted butter: Room temperature butter creates the smoothest frosting base
- Powdered sugar: Sweetens and thickens your frosting to the perfect spreading consistency
- Oreo cookies: Double-stuffed ones give you more cream surface for those expressive owl eyes
- Brown chocolate candies: These become the pupils that give your owls their soulful look
- Orange or yellow candies: Create the beak that brings each owl face together
Instructions
- Preheat your oven:
- Set it to 350°F (175°C) and line your 12-cup muffin tin with paper liners.
- Mix the dry ingredients:
- Sift together flour, cocoa powder, baking powder, baking soda, and salt in a medium bowl.
- Whisk the wet ingredients:
- In a large bowl, beat eggs and sugar until fluffy, then add milk, vegetable oil, and vanilla.
- Combine everything:
- Gradually stir dry ingredients into the wet mixture until just incorporated.
- Bake the cupcakes:
- Divide batter evenly among liners and bake for 16 to 18 minutes until a toothpick comes out clean.
- Make the frosting:
- Beat butter until creamy, then mix in powdered sugar, cocoa powder, vanilla, and milk until fluffy.
- Frost the cooled cupcakes:
- Spread a generous layer of frosting on each completely cooled cupcake.
- Prep the owl eyes:
- Carefully twist Oreos apart, keeping the cream side intact for each eye.
- Assemble the faces:
- Place two cream-sided Oreo halves on each cupcake, add brown candy pupils, and position an orange candy beak below.
 Save Pin
 When my daughter brought home an empty container after the party, she told me her classmates spent ten minutes just choosing which owl to eat first. Those silly cupcakes somehow became the highlight of the whole harvest season.
Making Them Your Own
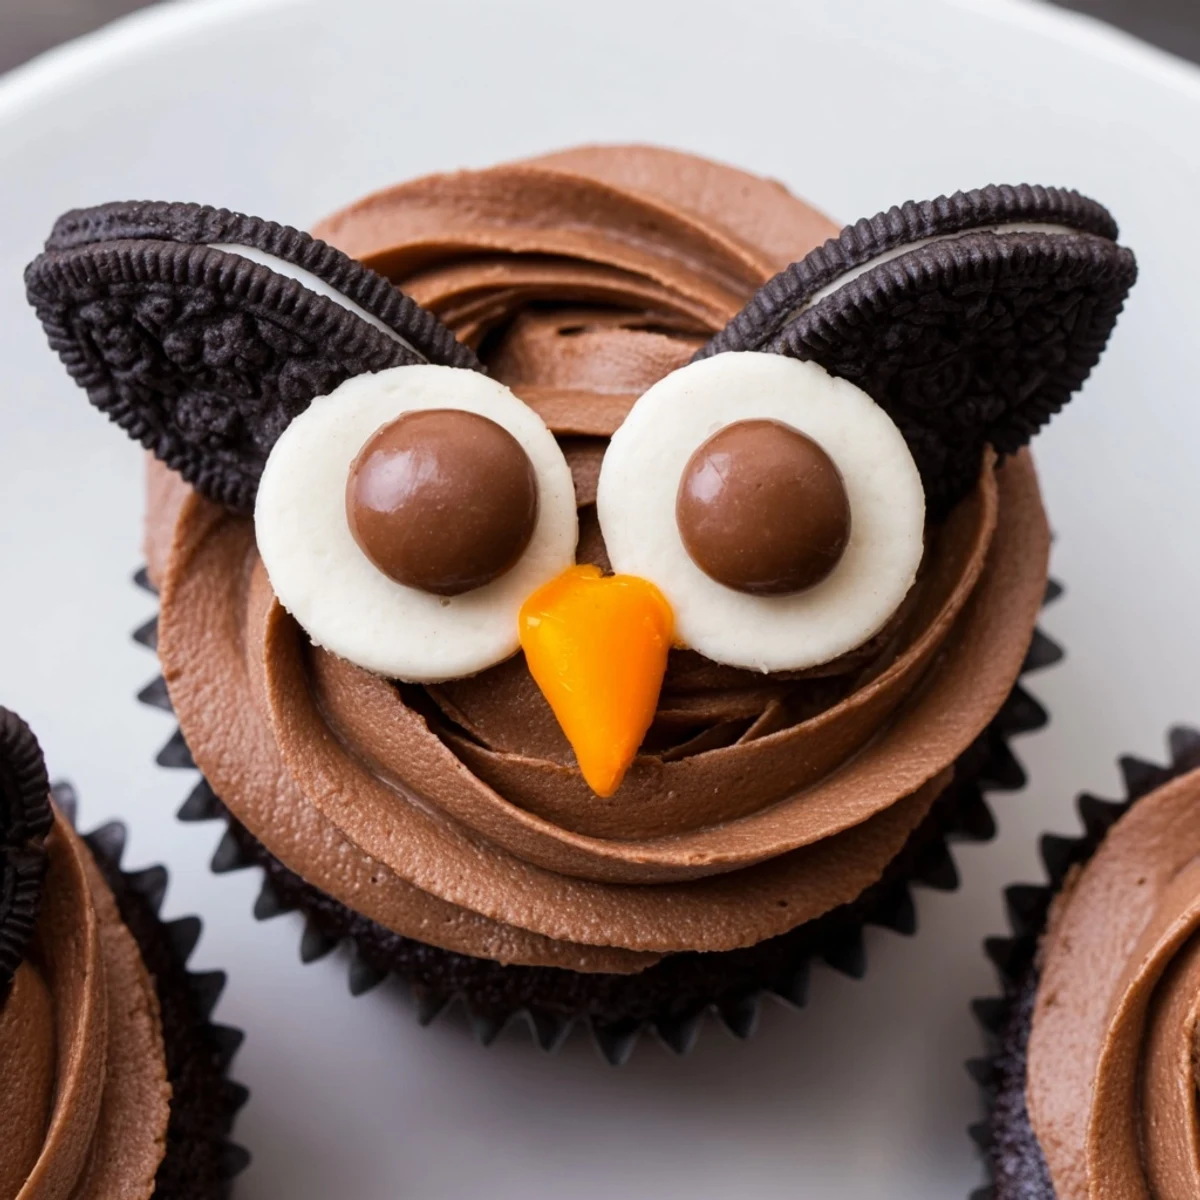
Vanilla cupcakes work beautifully if chocolate isnt your thing, and the white frosting creates such a striking contrast with the dark Oreo eyes. We once made a batch with yellow cake and orange frosting for fall.
Getting Creative With Expressions
Different candy shapes change the whole personality of your owls. We have tried candy corn beaks, chocolate chip pupils, and even broke some Oreos into jagged pieces to create angry owl eyebrows that made everyone laugh.
Setting Up Your Decorating Station
I learned to separate all my Oreo halves and sort all candies into small bowls before frosting anything. Working assembly line style keeps the frosting from setting and makes the whole process feel manageable rather than overwhelming.
- Have extra Oreos on hand for inevitable breakage
- Keep a damp paper towel nearby for sticky fingers
- Work with one cupcake at a time once frosting is applied
 Save Pin
 These owl cupcakes have become our go-to for everything from birthday parties to school bake sales. They remind me that the best desserts are the ones that make people smile before they even take a bite.
Recipe FAQs
- → How do I keep the Oreo cream intact when separating the cookies?
-
Gently twist the Oreo cookies apart slowly, applying even pressure. The cream typically stays on one side. If the cream sticks to both halves, gently press them back together and try twisting from a different angle. Double-stuffed Oreos work best as they provide more stability.
- → Can I make these cupcakes ahead of time?
-
Bake and cool cupcakes up to 24 hours in advance. Store in an airtight container at room temperature. Frost and decorate on the day of serving for the freshest appearance. Undecorated frosted cupcakes can be refrigerated overnight - bring to room temperature before adding decorations.
- → What alternatives work for the candy eyes and beaks?
-
Use brown Reese's Pieces, chocolate chips, or fondant circles for pupils. For beaks, try orange M&Ms, candy corn pieces cut into triangles, or shaped orange fondant. Get creative with different candy combinations to create unique owl expressions.
- → Why did my cupcakes turn out dry?
-
Overbaking is the most common cause. Check at 16 minutes and remove when a toothpick comes out with just a few moist crumbs. Also measure flour accurately - too much flour creates dry texture. Let cool completely before frosting to prevent melting.
- → Can I use box cake mix instead of from-scratch batter?
-
Absolutely! Use your favorite chocolate cake mix prepared according to package directions. The decorations are what make these special, so using a mix saves time while still delivering impressive results. Just ensure the cupcakes are completely cooled before decorating.
