 Save Pin
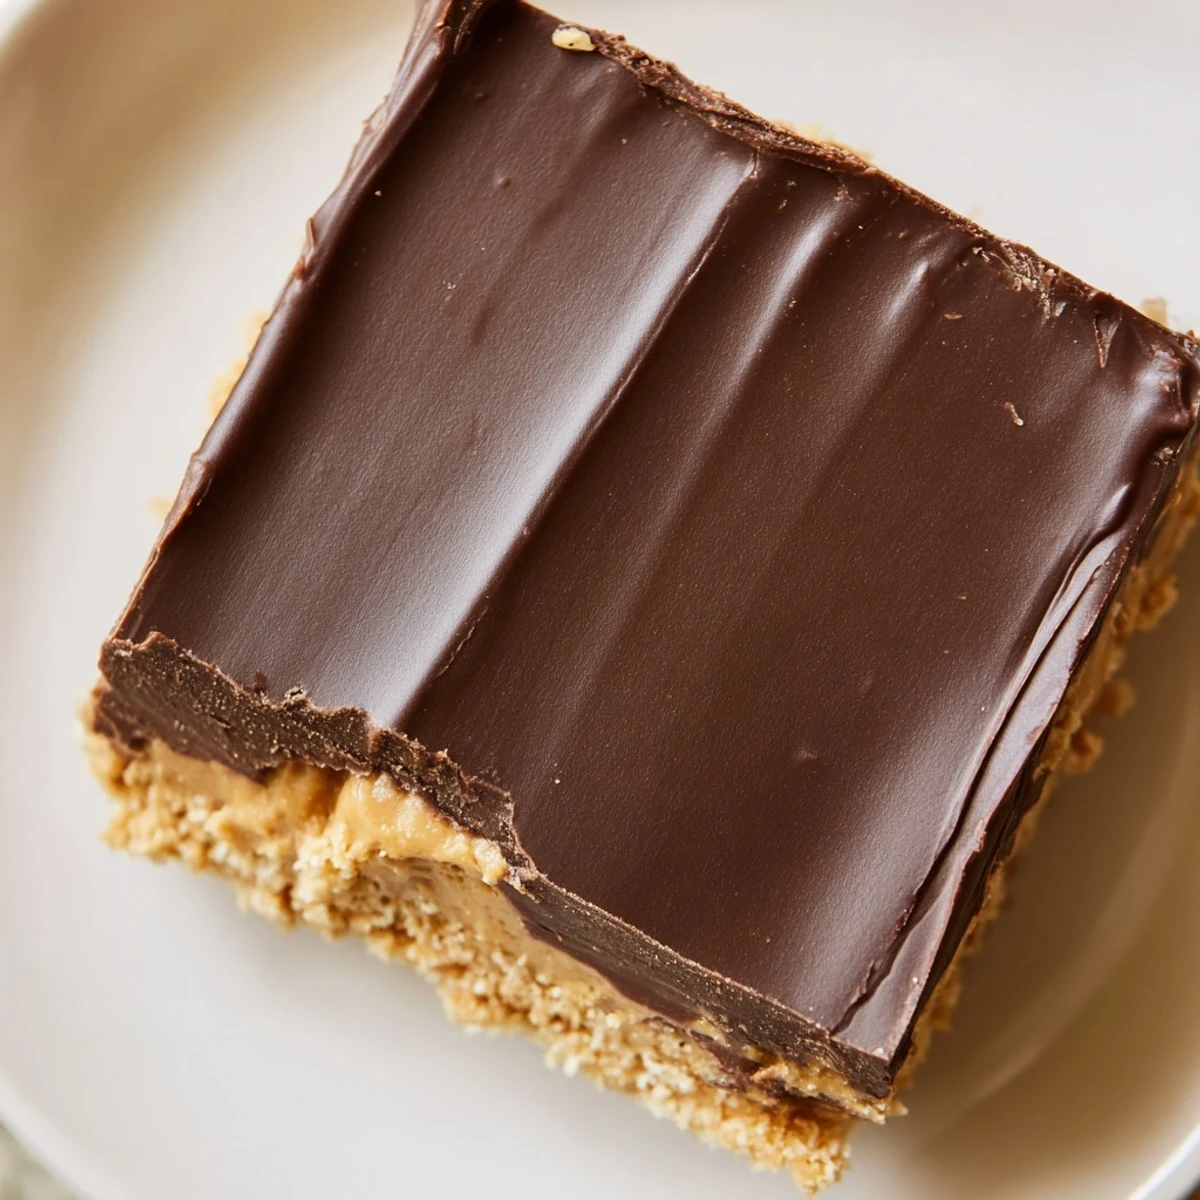
 These indulgent bars feature a creamy peanut butter and graham cracker base, topped with a velvety chocolate layer. The no-bake preparation comes together in just 15 minutes, requiring only a quick stint in the refrigerator to set.
The combination of smooth peanut butter and semisweet chocolate creates a perfect balance of sweet and salty flavors, while the graham cracker crumbs add a subtle crunch to the buttery foundation.
The summer I discovered peanut butter bars was the summer my oven broke, and honestly I never bothered fixing it until fall arrived. These no-bake squares saved me during a stretch of hundred degree weeks when turning on any appliance felt like a personal offense. Rich, salty sweet, and impossibly easy, they became my default potluck contribution and late night fridge raid snack all in one.
My neighbor Carla stopped by one afternoon while I was pressing the base into the pan and ended up staying for coffee and an hour of conversation about her grandkids. She took six bars home and called me that night asking for the recipe, which she now makes for every church bake sale.
Ingredients
- 1 cup creamy peanut butter: Use the standard commercial kind here, not the natural stir kind that separates, because the stabilizers help the base set firmly.
- 1/2 cup unsalted butter, melted: Salted butter works too, just hold back on any additional salt in the base.
- 2 cups powdered sugar, sifted: Sifting matters more than you think because lumps create weird pockets of sweetness throughout the bars.
- 1 1/2 cups graham cracker crumbs: You can crush your own from whole crackers or buy the boxed crumbs, either way the texture they add is irreplaceable.
- 1 1/2 cups semisweet chocolate chips: Semisweet strikes the right balance against the salty peanut butter layer without veering into cloying territory.
- 1/4 cup creamy peanut butter for the topping: This small addition thins the chocolate just enough to spread smoothly and adds a subtle richness underneath.
Instructions
- Line the pan:
- Tear a sheet of parchment paper large enough to overhang two sides of your 9x9 inch dish, pressing it into the corners so it cooperates with you.
- Build the base:
- Stir melted butter and peanut butter together until completely smooth, then work in the powdered sugar and graham crumbs until a thick cohesive dough forms and pulls away from the bowl.
- Press it in:
- Transfer the dough to your prepared pan and press it down evenly using a spatula or your palms, making sure the surface is as flat as you can get it.
- Melt the topping:
- Combine chocolate chips and the remaining peanut butter in a microwave safe bowl, heating in short twenty second bursts and stirring between each one until glossy and lump free.
- Spread and chill:
- Pour the chocolate over the base and spread it edge to edge with your spatula, then slide the whole pan into the refrigerator for at least two full hours.
- Cut and serve:
- Grab the parchment overhang to lift the whole slab out of the pan, then use a sharp knife to cut sixteen squares, wiping the blade clean between cuts for neater edges.
 Save Pin
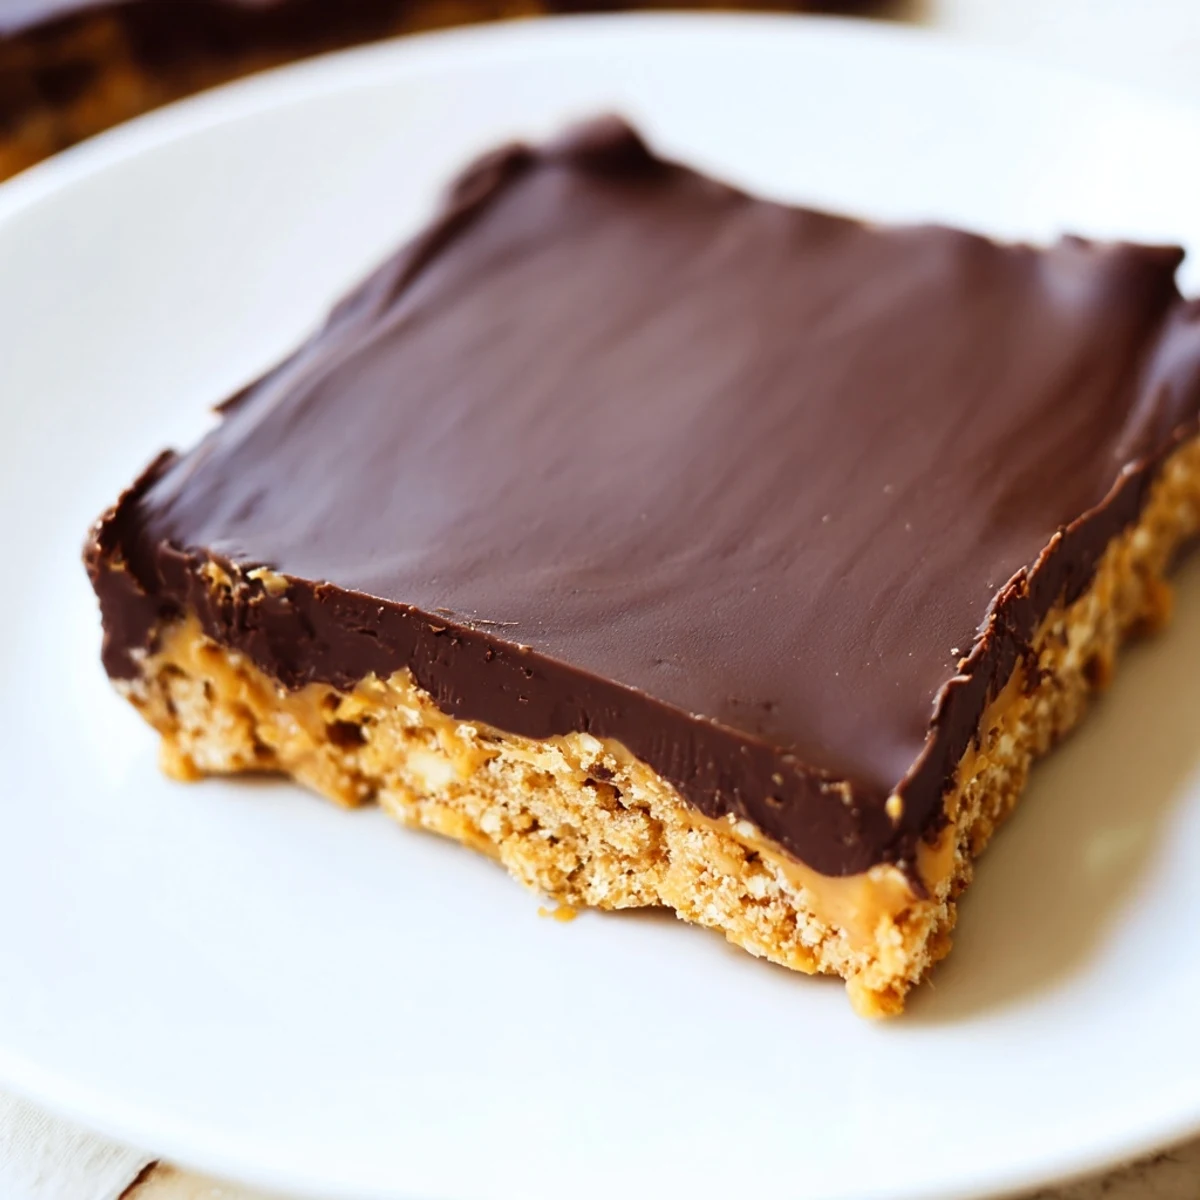
 I packed a tin of these bars into a care package for my college dorm neighbor once, and she told me she hid them under her bed so her roommates would not find them.
Making Them Your Own
Chunky peanut butter gives the base a satisfying crunch that contrasts beautifully with the smooth chocolate top, and a handful of chopped roasted peanuts scattered over the warm topping before chilling adds even more texture. You could also swap the graham cracker crumbs for crushed digestive biscuits or gluten free cookies if that suits your dietary needs.
Storage and Make Ahead
These bars hold up beautifully in an airtight container in the refrigerator for about a week, though in my experience they rarely last that long. You can also freeze them layered between sheets of parchment for up to three months and thaw a few at a time as needed.
A Few Final Thoughts
A sprinkle of flaky sea salt across the warm chocolate topping before it sets takes these from great to genuinely memorable. The salt amplifies every flavor already happening and balances the sweetness perfectly.
- Let the bars sit at room temperature for ten minutes before cutting so the chocolate does not shatter.
- Use a hot dry knife for the cleanest slices through the chocolate layer.
- Always store leftovers in the fridge because the peanut butter base softens quickly at room temperature.
 Save Pin
 Some recipes earn a permanent spot in your rotation simply because they ask so little and give so much back, and these peanut butter bars are exactly that kind of reliable friend.
Recipe FAQs
- → How long do these need to chill?
-
Refrigerate for at least 2 hours until completely firm before cutting. This ensures clean slices and proper texture.
- → Can I use natural peanut butter?
-
Natural peanut butter works but may produce a softer texture. For best results, use commercial creamy peanut butter with stabilizers.
- → How should I store these?
-
Keep refrigerated in an airtight container for up to one week. The chocolate layer stays firm when chilled.
- → Can I freeze these bars?
-
Yes, freeze individual squares wrapped in plastic for up to 3 months. Thaw in the refrigerator before serving.
- → What can I substitute for graham crackers?
-
Digestive biscuits, vanilla wafers, or gluten-free cookie crumbs work well as alternatives to graham cracker crumbs.
- → Why add butter to the chocolate layer?
-
The extra peanut butter creates a smoother, more spreadable chocolate topping that cuts cleanly without cracking.
