 Save Pin
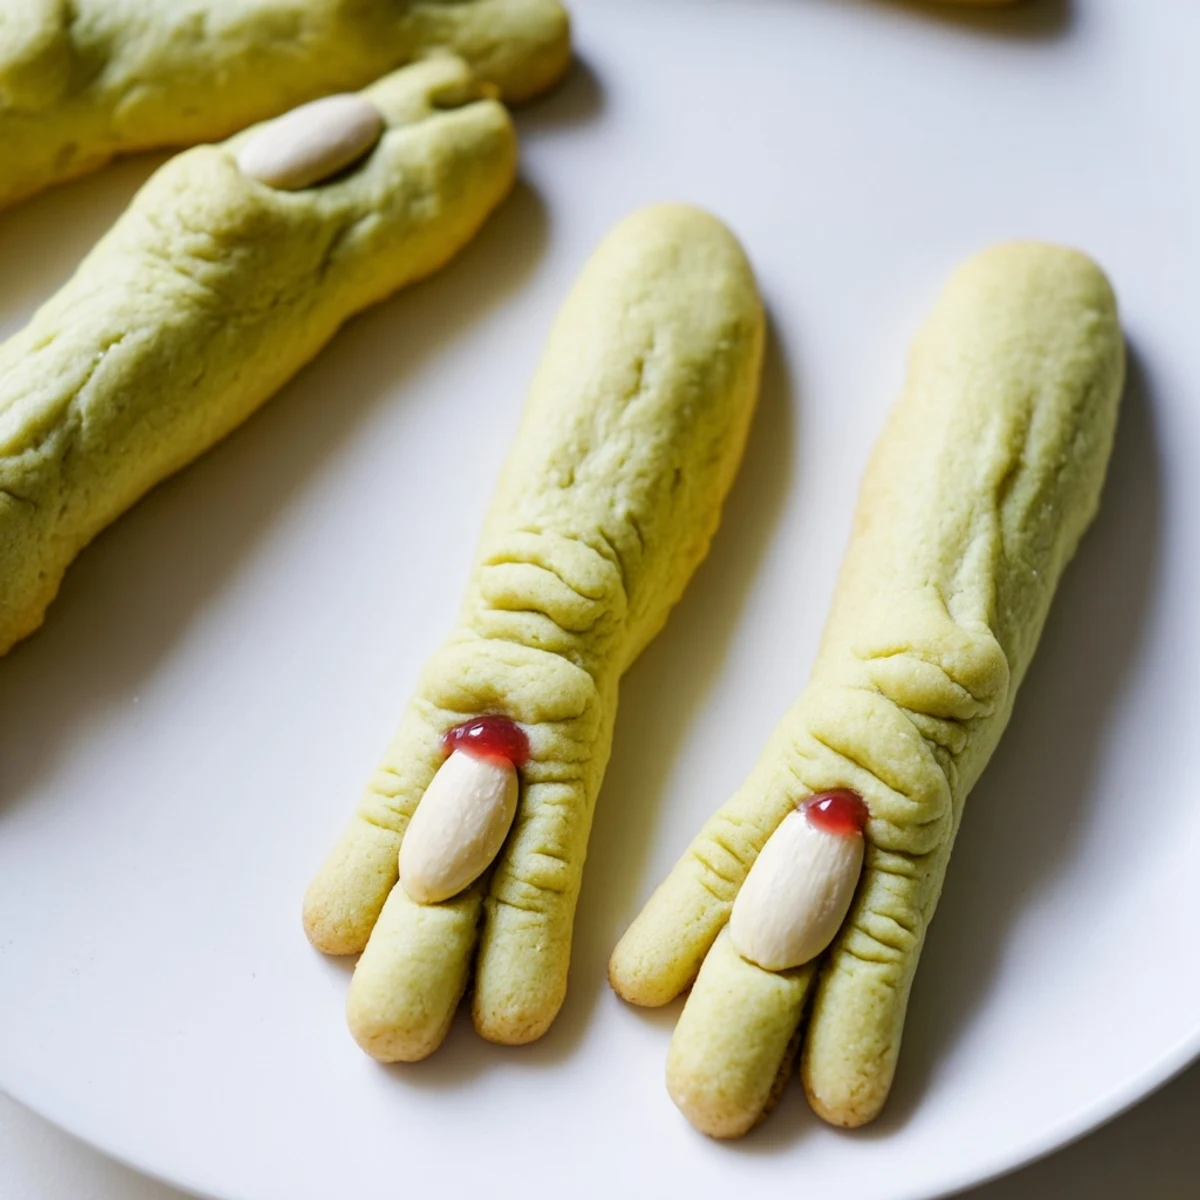
 These witch finger cookies combine buttery vanilla-almond dough with creepy realistic details. Shaped by hand into 3-4 inch fingers, each features knuckle lines created with a knife and a blanched almond pressed into the tip for a fingernail. After baking to golden perfection, red food coloring or strawberry jam creates a gruesome "bloody" effect around the nail bed. The result is 24 delightfully spooky treats that taste as good as they look — perfect for Halloween parties, school events, or haunted gatherings. Serve with hot cider or your favorite spooky beverage for the complete festive experience.
The first time I brought these to a Halloween party, my friend actually hesitated before picking one up. That was the moment I knew these witch fingers were doing their job perfectly. Now they are the most anticipated treat at every October gathering I host. Something about that realistic knuckle detail really gets people talking.
Last year my niece helped me shape an entire batch and she took such creative license with the knuckle lines that some fingers looked positively arthritic. We laughed so hard our stomachs hurt and the cookies still disappeared in record time. There is something wonderful about a recipe that invites that kind of playful participation.
Ingredients
- Unsalted butter: Softening this properly makes all the difference between cookies that spread beautifully and ones that hold their creepy finger shape
- Almond extract: This is the secret flavor that makes people pause and ask what is in these cookies
- Branched almonds: Having exactly 24 on hand saves you from having to reshape any missing fingernails at the end
- Red gel or jam: This tiny detail transforms them from cute to convincingly gruesome
Instructions
- Preheat your oven:
- Getting to 325F with parchment lined sheets means your fingers will bake evenly without any accidental burning at the tips
- Cream butter and sugar:
- Mix until the mixture looks light and fluffy which creates that perfect cookie texture
- Add egg and extracts:
- The combination of vanilla and almond gives these cookies their signature flavor that keeps people coming back
- Mix dry ingredients:
- Whisking flour baking powder and salt separately ensures even distribution throughout the dough
- Combine everything:
- Mix just until the dough comes together to avoid tough cookies
- Shape the fingers:
- Roll tablespoon portions into 3 to 4 inch logs then use a knife to create those essential knuckle lines
- Add fingernails:
- Gently press an almond into one end of each finger being careful not to crack the dough
- Bake them:
- Eighteen to twenty minutes is all it takes for them to turn lightly golden and set
- Create the bloody effect:
- Pull off the almonds add a dab of red coloring or jam then press them back into place for that freshly severed look
- Cool completely:
- Letting them finish cooling on a wire rack ensures they are firm enough to handle
 Save Pin
 My dad who normally refuses anything Halloween themed could not stop eating these at our fall festival last year. He kept saying they were too realistic to be delicious but his empty plate told a different story. These cookies have become a strange sort of family tradition.
Making Them Extra Creepy
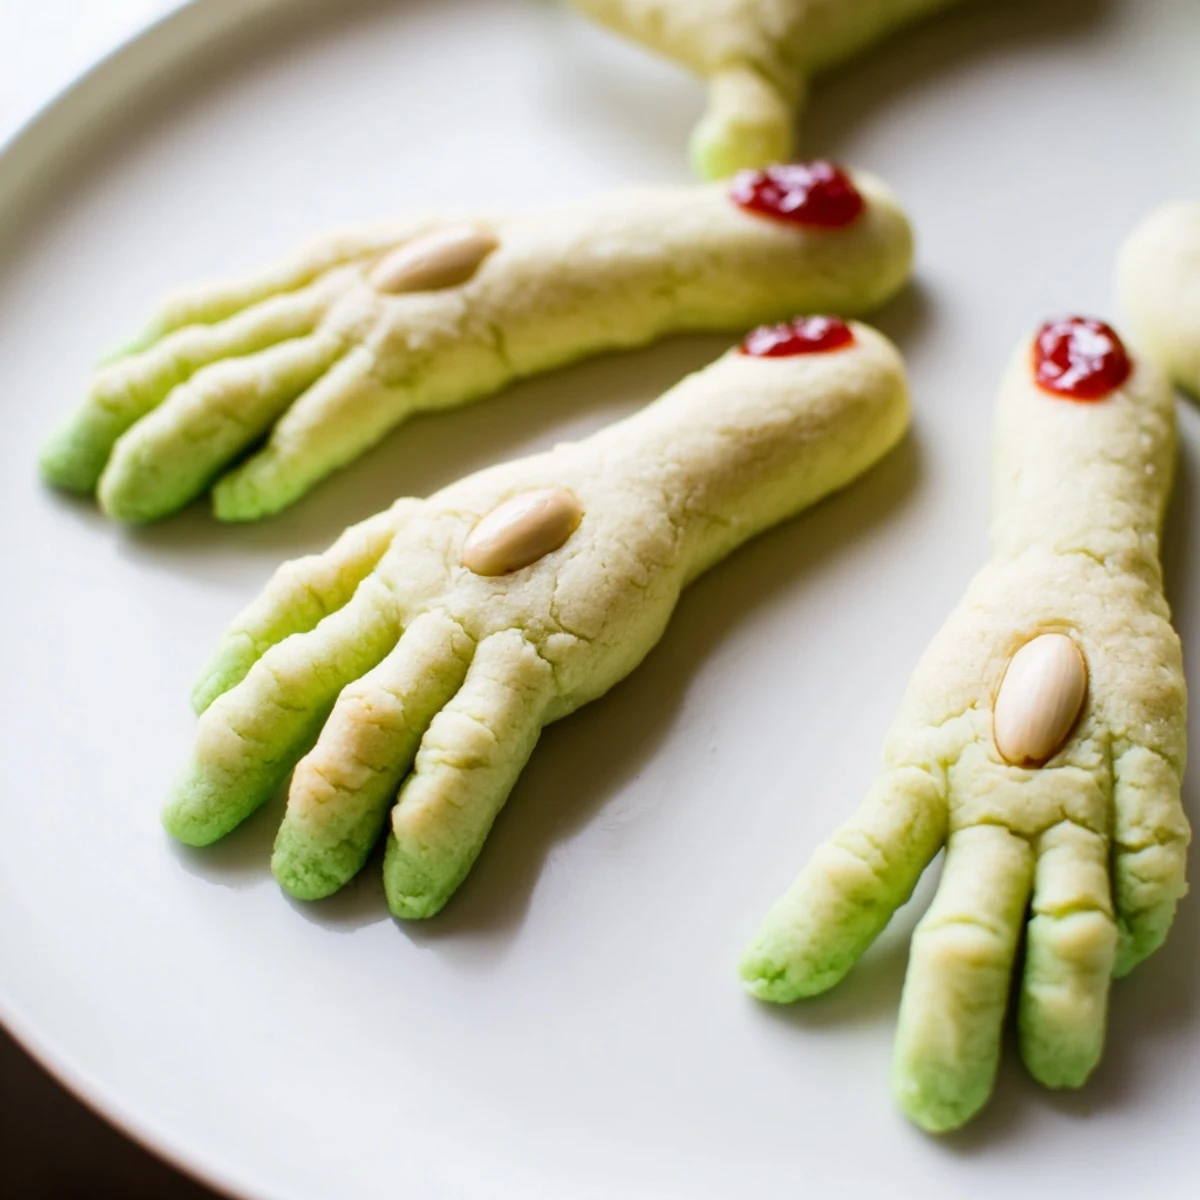
I have learned that tinting small portions of the dough with green or pale gray food coloring creates variety that makes the platter look even more unsettling. Some years I make a few extra gnarled fingers and tuck them between the normal ones for that surprise factor. The visual variety makes people do double takes which is exactly what you want at a Halloween gathering.
Flavor Variations
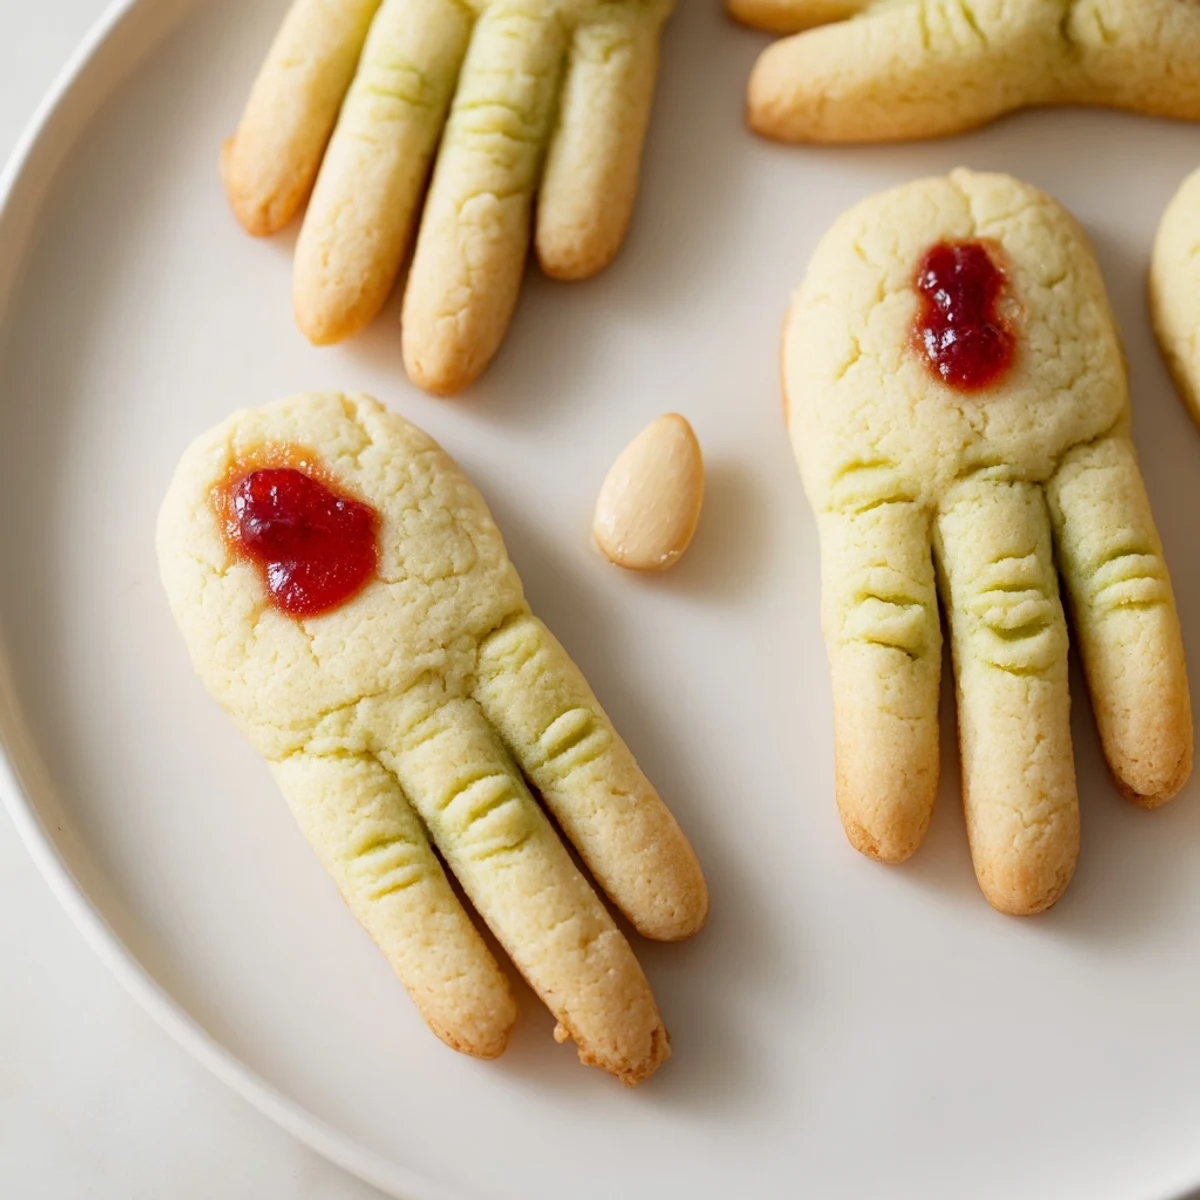
The almond extract is traditional but lemon extract works beautifully if you want something brighter and less classic. One year I accidentally used strawberry jam instead of raspberry for the blood effect and the slightly lighter color actually looked more fresh and realistic. The basic cookie dough is forgiving enough that you can play with flavors while keeping the creepy presentation intact.
Serving Suggestions
These cookies absolutely shine when arranged on a dark platter or wooden board that makes them stand out dramatically. I once served them in a shallow bowl lined with black paper napkins which made them look like they were reaching up from somewhere dark. The presentation matters almost as much as the taste with these.
- Pair with hot apple cider for the ultimate October evening combination
- Stack them vertically in a glass jar for maximum creepiness
- Keep some extra red gel on hand for touch ups before serving
 Save Pin
 Every batch I make reminds me that the best Halloween treats are the ones that make people gasp before they laugh. These witch fingers have earned their permanent place in my spooky baking repertoire.
Recipe FAQs
- → How do I make the knuckle details on the fingers?
-
Use a small knife to gently score horizontal lines across the dough after rolling it into finger shapes. Press lightly to create indentations that resemble natural knuckles without cutting completely through the dough.
- → Can I make the dough ahead of time?
-
Yes, the dough can be prepared and refrigerated for up to 2 days before shaping and baking. Let it soften slightly at room temperature for 15-20 minutes before rolling into fingers for easier handling.
- → What works best for the bloody nail effect?
-
Strawberry or raspberry jam creates the most realistic bloody appearance with a slightly sticky texture. Red gel food coloring also works well and dries completely. Apply either after baking while the almonds are removed, then press the nuts back into place.
- → Can I freeze these cookies?
-
Baked cookies freeze beautifully for up to 3 months in an airtight container. Thaw at room temperature before serving. You can also freeze shaped, unbaked fingers on a baking sheet, then transfer to a freezer bag and bake straight from frozen, adding 2-3 minutes to the baking time.
- → How do I get the cookies to look more realistic?
-
Vary the length of fingers slightly for natural appearance. Some bakers tint portions of dough with green or gray food coloring before shaping for an extra corpse-like effect. Creating deeper knuckle creases and positioning almonds at slight angles adds to the creepy realism.
